Backyard Patio – DIY Project

After much deliberation and back and forth, B and I have finally figured out what we’re going to do to create a backyard-patio living space. There was a few different options discussed, but I think we’ve come up with a solution that will work for the space, long term, and won’t break the bank (hopefully).
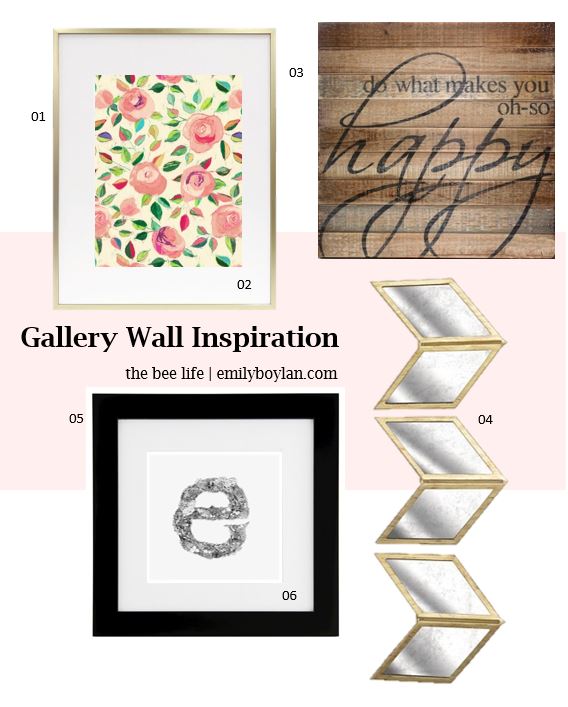
Inspiration:

We did the measurements last night and the biggest part of adding in a completely flat patio (without a deck or floating deck) that I was having an issue is, was the weird space it would be next to the house, being low without a direct door leading out to it. But I think having larger greenery in pots surrounding the area in the corners closer to the house, will help solve that problem I was having.  I also think adding in some lights above the one patio area leading up to our sun room on the second floor will add an intimate feel. We will also have a separate dining area from the lounge area, which I think it’s crucial, since I want both spaces to feel spacious.

Our plan is to get 20×20″ square concrete pavers and river pebbles to place in between the pavers. I’m still determining all the spacing between each of the pavers, I was originally thinking 1-inch, but most of the projects I’ve seen are about 3-inch gaps are larger, so we will see where we net out with ours.

Needless to say, B and I are both itching to get this project complete, although it’s not going to be as inexpensive as I had hoped from the initial figures, but I will be sure to follow-up with the finished product and details in the next month or so!


DIY – Childhood Nightstand

I recently received my old childhood night stand from my parents house, but it was in desperate need of a little make-over, since I had last repainted it in high school to match my pink and orange room. *sigh* I still wish I had a pink and orange room…

Anyways, I digress. This was a really easy and low cost DIY because all it really needed was a new coat of paint, especially since in my dark teenage years I had written touching notes on my night stand like; “love sucks” and other cryptic messages. *smiles* So it needed a little sanding and fresh coat of white paint on the base.

Before

Next, I painted the fronts of the drawers, Naval by Sherwin Williams, it’s such a pretty color, I am trying to figure out what else I can paint with it. I was planning on replacing the knobs, but they were painted on from previous paint jobs, and I really didn’t want to deal with the hassle of trying to wrangle them off and potentially damaging the drawers, so plan B. Plan B was to spray paint the handles metallic silver, which I just so happened to have from a few other previous projects. I had to make-shift something to cover up the drawers, so some magazines and painters tape did the trick. It actually worked out pretty well and I only had to make a few touch-ups with the navy.
DSCN2140
To give this even more of an upgrade, I went ahead and added some adhesive/ contact paper ($5.99 at Target) into the drawers to make it pop!  Not to mention, over the years this little nightstand has seen some love, so it was looking a little rough. I decided to put the contact paper on the outside of the drawers as well, so that when you opened them there was an added pop. I did some simple measuring and cutting, this was even easier because the contact paper has measuring lines on the backside – this probably took me about 20-minutes to finish up.

Even though this is for a guest bedroom, I think it’s important and nice to have nightstands and all the essentials for when your guests stay over – that’s why I’ll be getting a lamp as well to finish off this look!

After

Before and After - the bee life
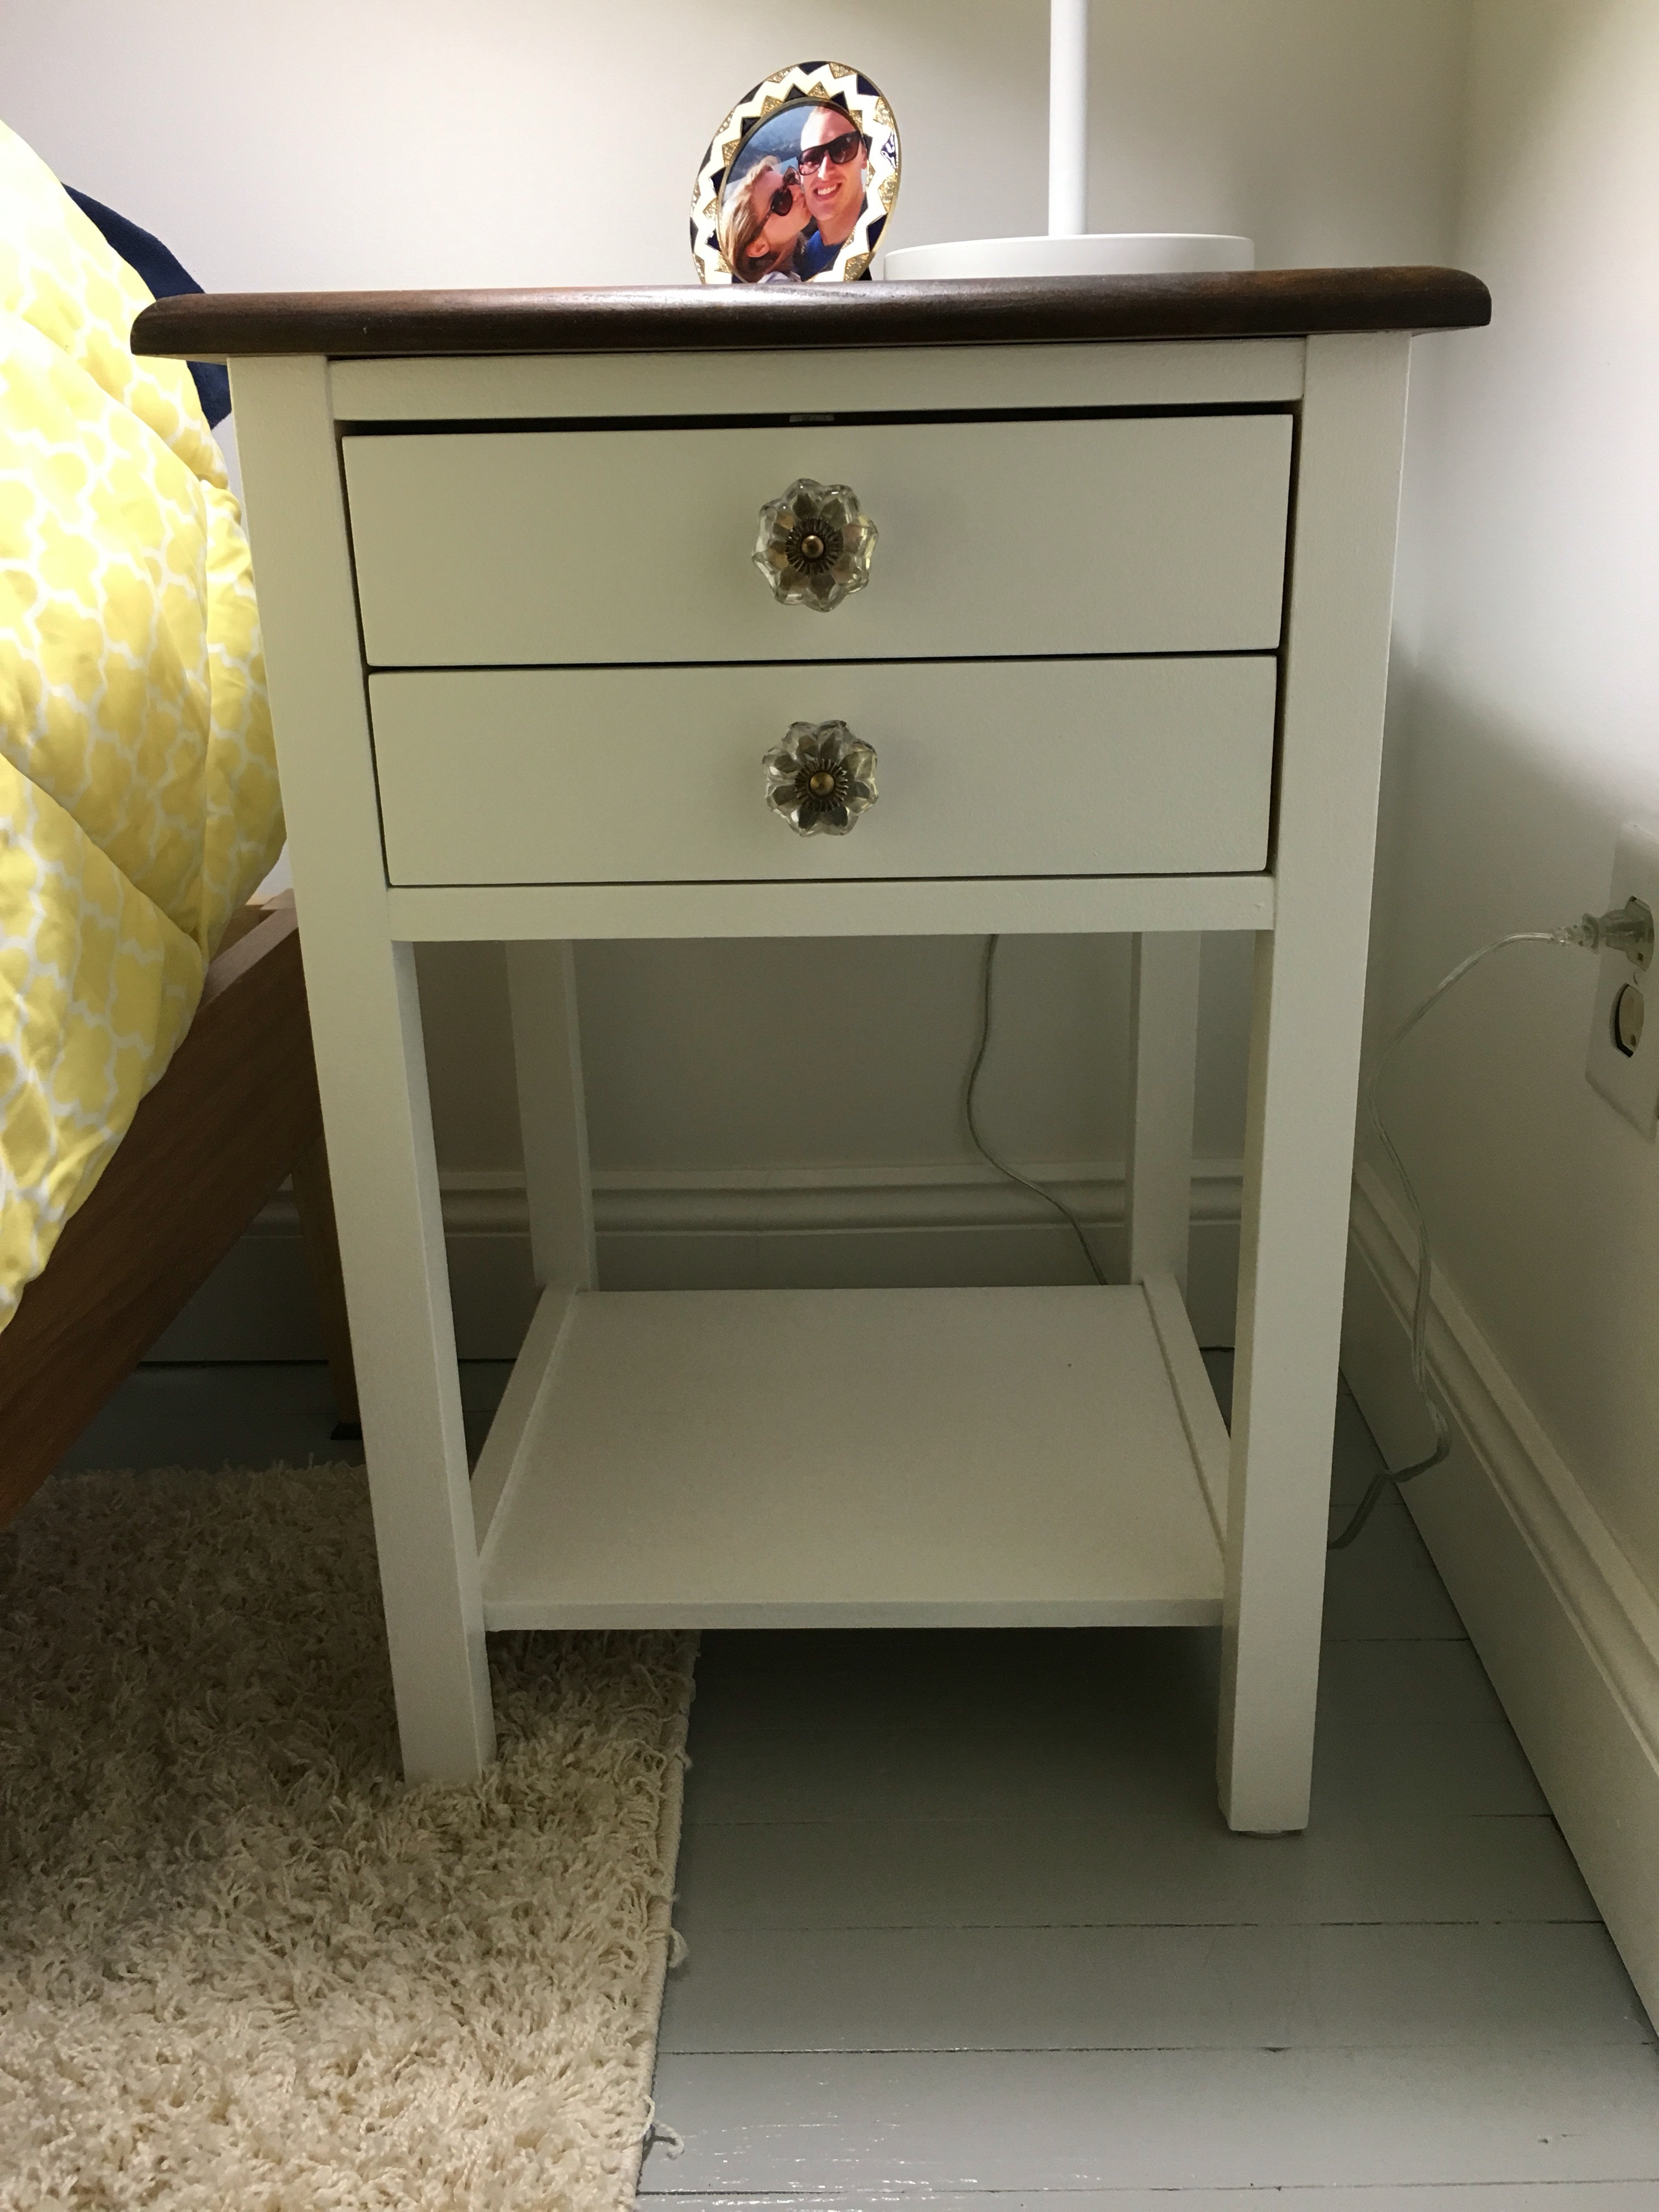
I love the way it turned out, and I am sure this little night stand will have a few more makeovers in it’s lifetime.  The added detail of the contact paper on the sides of the drawers and inside, just upgrade the whole piece.  I may still try and get new knobs at some point, but for now this little $5.99 makeover will do the trick and accomplishes the task of being functional and matching within the space!  What I love the most about some DIY’s is that it doesn’t take a lot, to make a big difference – time wise or cost.

Hope you all have a great week!


DIY – Upgraded Built-in’s

One of my spring projects was to give a simple upgrade to our living room built-in’s that bookend our fireplace.  I planned to do this with textured wall-paper, that I have used in a few other spots around the house like our dining room built-in’s, our stair-backs on our stairs leading to our master, and even in our DIY bar that started out in our apartment. Overkill? No, surprisingly this is the most subtle upgrade you could do to these tiny spaces for a big impact. Not to mention it’s extremely affordable ($20  for 56 sq.ft.) and super easy to do.

Since we live in a century home, I like to build off the history of the home and add to it when possible, this smaller ‘tin ceiling’ patterned print is the perfect accent to give a face lift without completely giving it an overhaul and taking it into a different era. Textured Wallpaper - Lowes - the bee life

Before:

DSCN1981DSCN1982

After about 30-minutes of leisurely watching eNews (learning all about Lemonade) and measuring, cutting, soaking and putting into place, boom! Instant upgrade. All while dinner was cooking in the oven.

After:

DSCN1984DSCN1985DSCN1989
DSCN1988
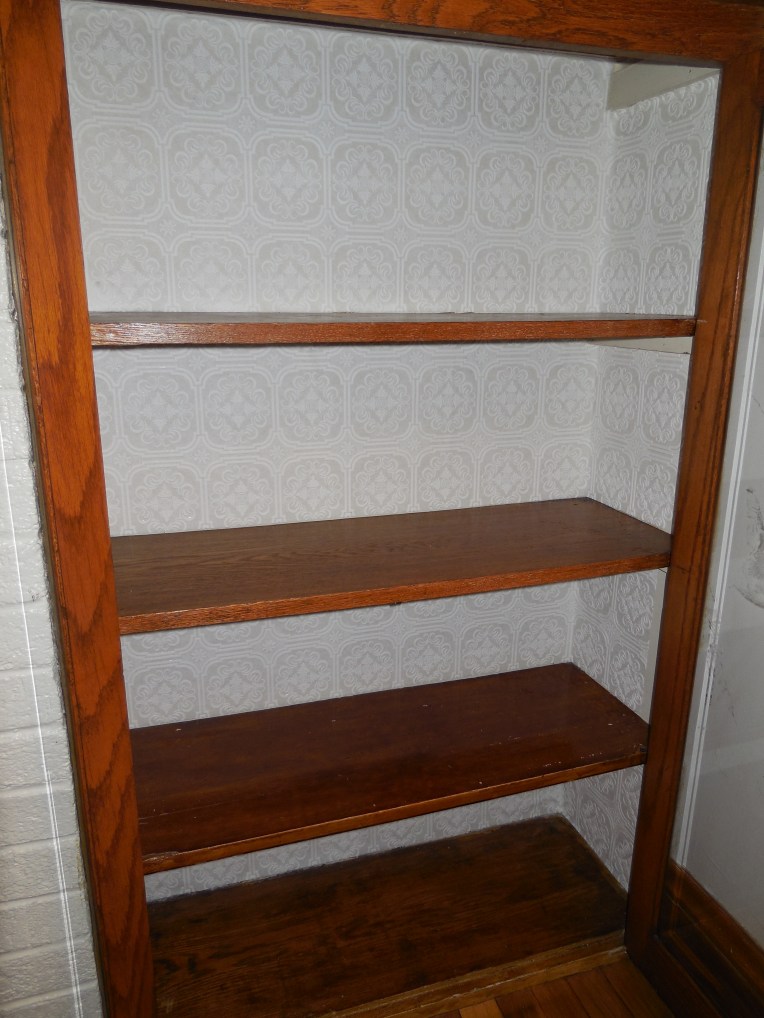
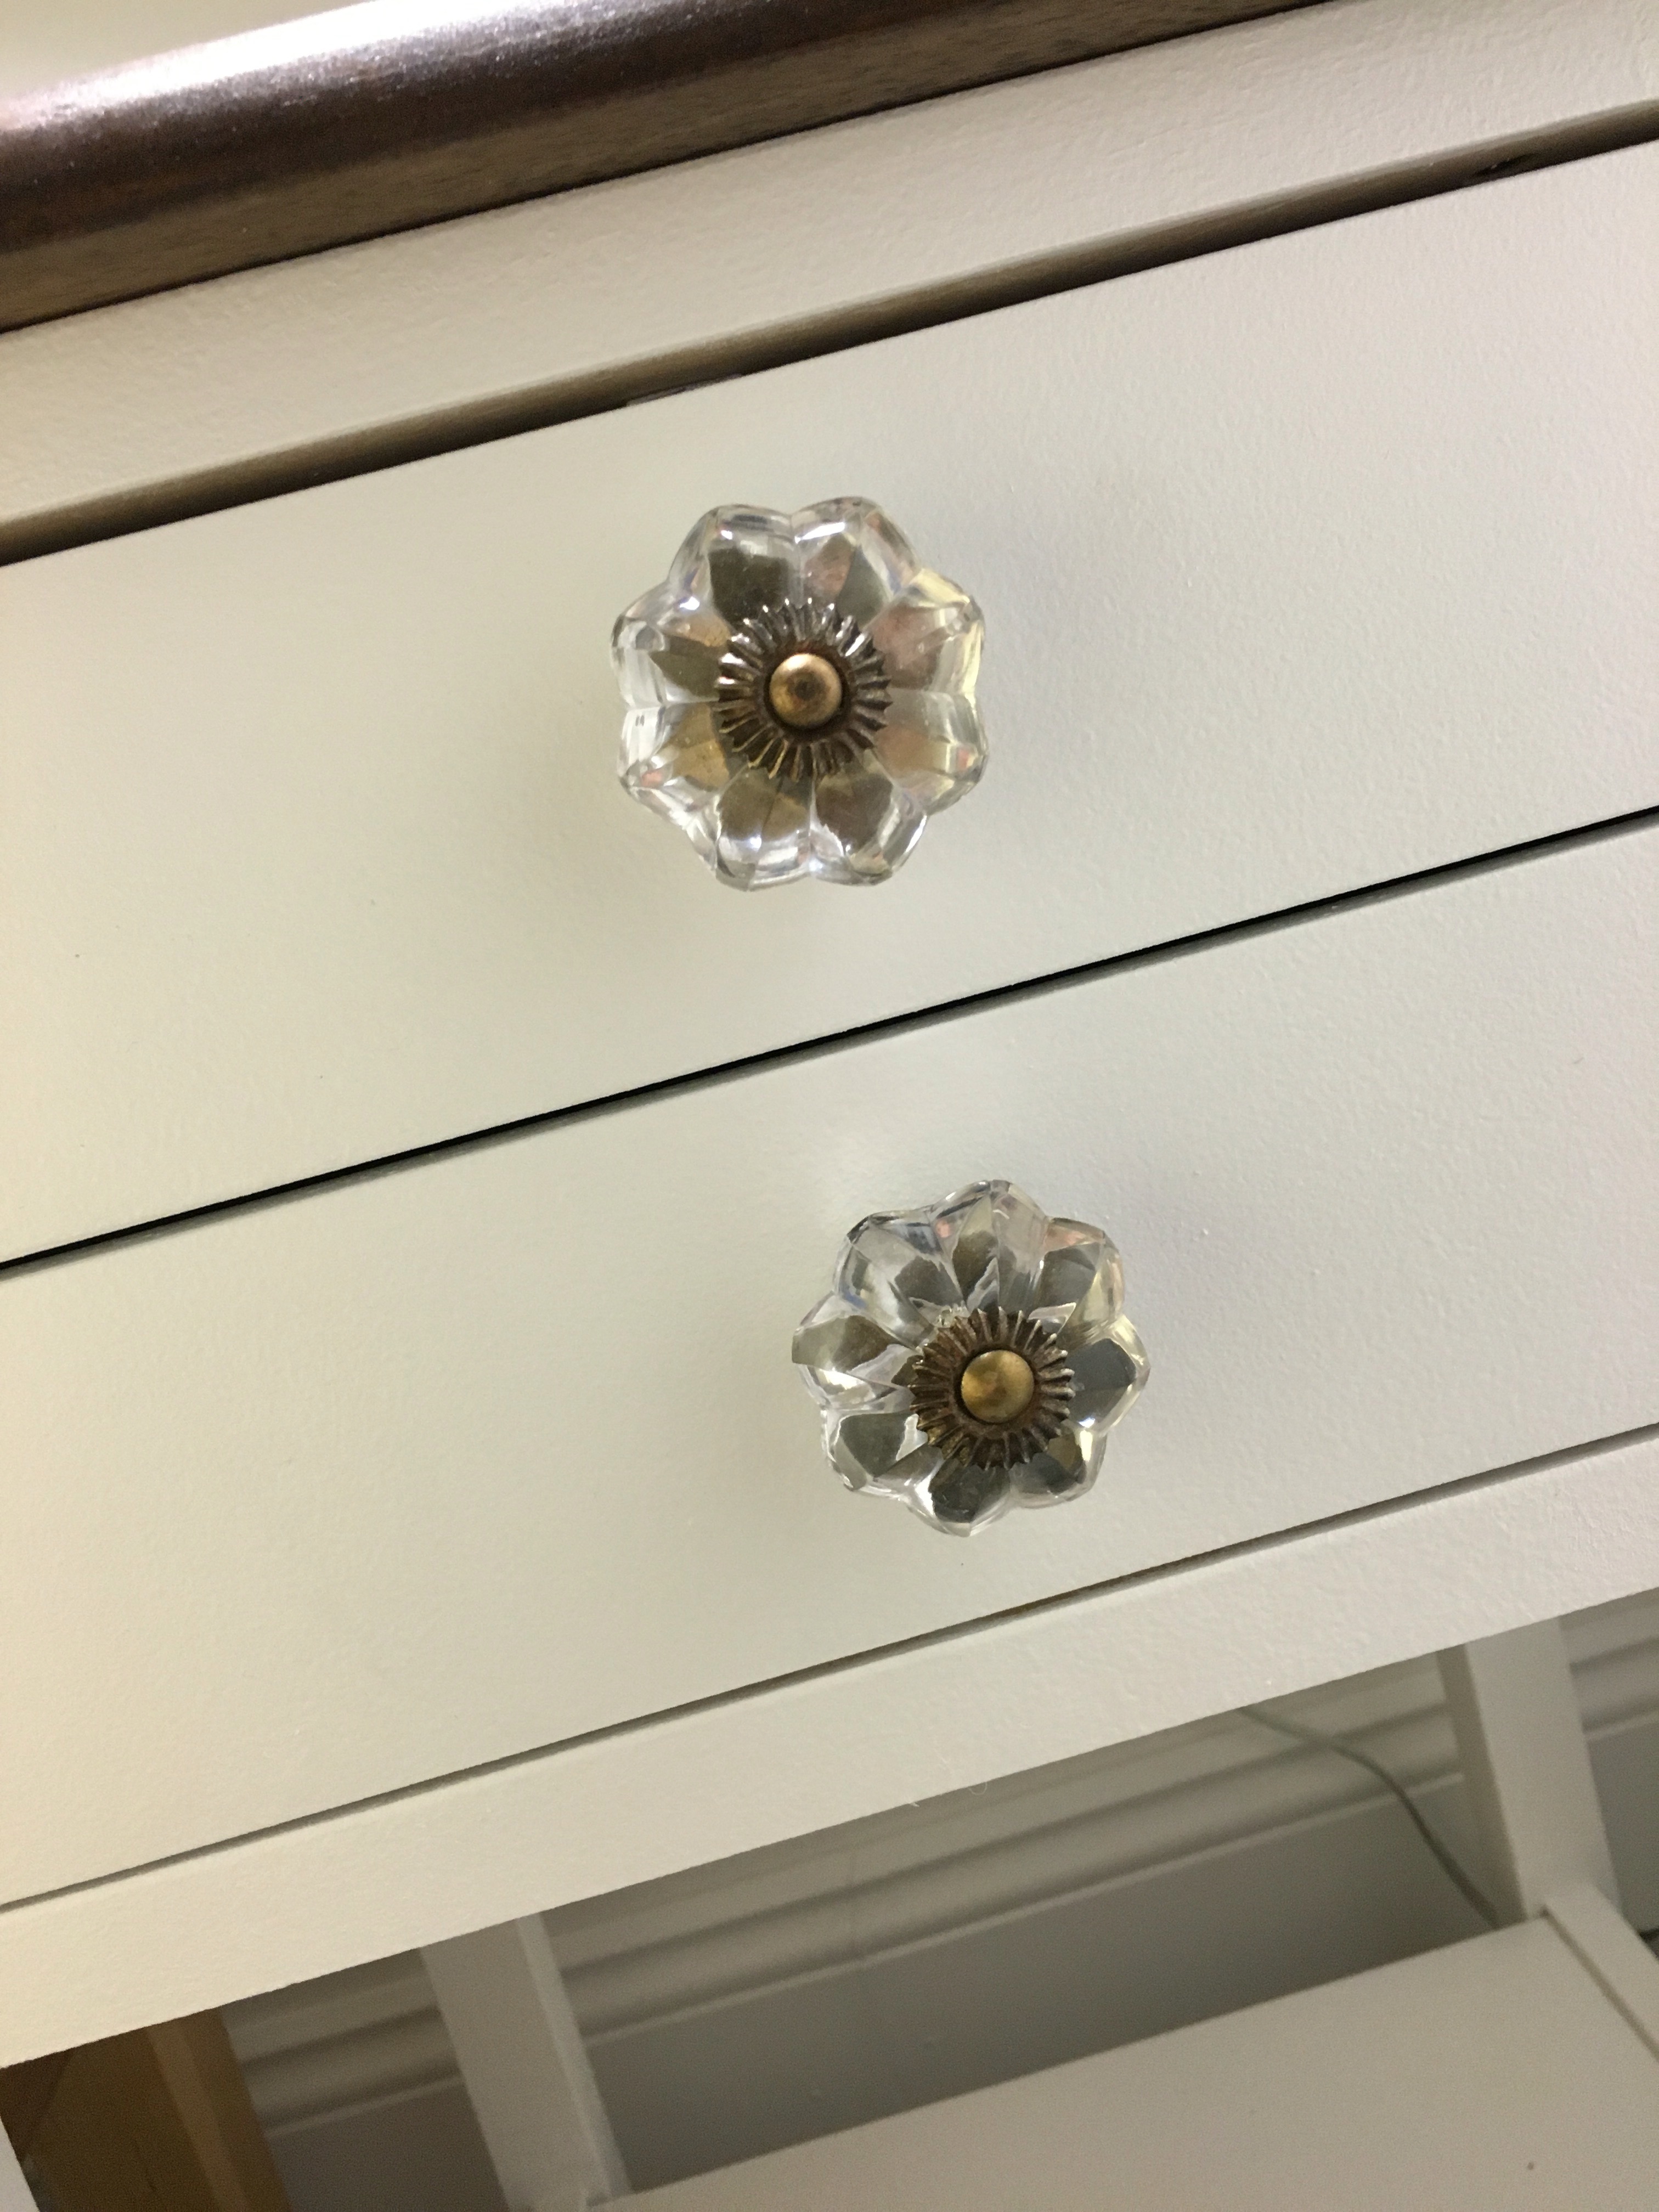
With the doors closed, and if the lightening is just right, you can hardly notice – but on the flip-side, if the lighting is just right, you can also see how pretty this added touch is.  Sadly, I ran out of paper and was only able to get one side done, I completely underestimated the amount I had left over from the stairs in order to complete these built-ins. But it was a good start, and like I said – easy, not very time intensive, and pretty straight forward for $20 a roll.


Latest Obsessions: For the Home 

HERE’S WHAT I have been obsessed with in and around the home, especially since our master is nearly completed.  These are the things I am constantly looking for whether it be in the store or buried in a photo album.

Old Photos: Since the inception of the gallery wall in our living room, and the idea of using old, black and white photographs, (from years long before I was ever born) I can’t help but want to find more! There are so many hidden gems stored away that I know I haven’t found yet.  The last time I was home I insisted my parents dig out their old photos… And there is was, these beautiful wedding pictures of my grandma B, pictures I’d never seen before, pictures that took my breathe away (one pictured below). I also need to dig around in B’s grandma Dee’s pictures. I love making copies and filling my frames with family and memories that make up our history.

Table Top Clocks: I am over the wall clock, practical and useful in some rooms (like the kitchen) but not so much in other rooms. I LOVE table top clocks, vintage or modern, gold or silver, I’m probably going to start hoarding them and put one in every room! I just stumbled upon these gems at Target, $9.99 each, I’ll take one of each, please!
Clocks
01 | 02 | 03

Wooden Accents: With recent DIY projects, I find myself drawn more and more to custom wooden signs with hand crafted letters. I also love wooden frames that elevate the look and feel while tying in a natural element to the room and adding warmth. I have a specific DIY in mind to help finish off the gallery wall in our master, something similar below, only incorporating B and I’s initials or a special date or longitude/latitude.  There are also plenty of pieces like this found in stores, that have a custom, hand-drawn look for the not so crafty people!


What are you obsessing about lately when it comes to pieces in and around your home?

Spring Projects

It’s April 1st! Can we officially think spring, yet?

I’m going too, and to help think spring here is an oh so exciting list of some projects at and around the house that I want to accomplish this spring.

  1. Install new doors: We purchased new doors for our back and side, that are a little more hearty and will hopefully keep some drafts out.  Installing these will give a bit of a face-lift, boring project but a nice upgrade.
  2. Window tables: We had glass block installed over the winter in our basement and have these awesome 100-year old windows that were taken out, I want to clean up at least one or two and create a little coffee table for our sun-room.  Whether it be simple, or have an extra shelf for space.
  3. Paint the Exterior of our house: As much as we would love to get new vinyl siding, that just isn’t in the budget for us right now.  So I’m starting to look for some estimates to see how much a fresh paint job on the house would be, would give it the face lift it needs, as much as I’d like to think B and I could do this – I don’t even want to try.
  4. New lattice in the front: The current lattice is attached to the support underneath the front porch, and it’s so heavy that it’s causing everything to sag. So we  need to clean this up a bit and secure it in another way. I’ve also been thinking about some different options other that your standard diamond lattice pattern… like these below.
  5. Landscape the front: Once we get the lattice complete, I would love to get our front professionally landscaped, mainly because I have no clue where to start and trust me I’ve tried. But we have a blank canvas that is just dying for some life and a little extra privacy for our front porch, although I am scared to see how much this might cost.
  6. Scrapbook! Although this isn’t a “house” project, I am in desperate need to catch-up with my scrapbooking, I am over a year behind and have plenty of photos to start posting into a page. This is the perfect rainy day project on the weekends.
  7. Wallpaper Built-In’s: With the left over wallpaper from the stairs going up into our master, I’d like to wallpaper the insides of our built-in’s in our living room, we did this in the dining room and it makes an understated pop to the room and brightens it up!

The list could go on… I am sure there are a handful of other projects we will come up with, I know B has his own little list of things he is already planning in his head, like doing some updates to the laundry area in the basement and organizing that!  The projects are endless, and I knew after the attic was finished it wouldn’t be long before he started itching for a new one! Come on warm weather, we’ve got some things to do!!

DIY – Reading Side Table

As I have mentioned in a few previous posts, I was on a little mission to try and find some “trash treasures” on garbage day, older pieces that just needed some TLC – well I found one that I picked up back in October and finally finished this piece up. It was a side table with no drawers, a few torn spots but relatively in good shape. See for yourself. . .

I had initially wanted to spray paint it a bright color and find some baskets to go in the inside (but didn’t really have a complete game plan for the inside).  I’m glad we waited a bit for a few of the other pieces in our master suite to wrap up, because I ended up sanding this down and just re-staining it to match the tops of our night stands (plus I like staining pieces WAYY more than painting or spray painting). So I sanded this bad boy down, because we had gotten the top a little messier than we we had found it (oops!) and gave it a few coats of stain.  I found my inside solution one day at Target near the front $1 bins – I grabbed some adhesive paper for $3 a roll – and gave it a shot. Well I scored, two rolls later this baby was brought back to life.

IMG_0933IMG_0934IMG_0935
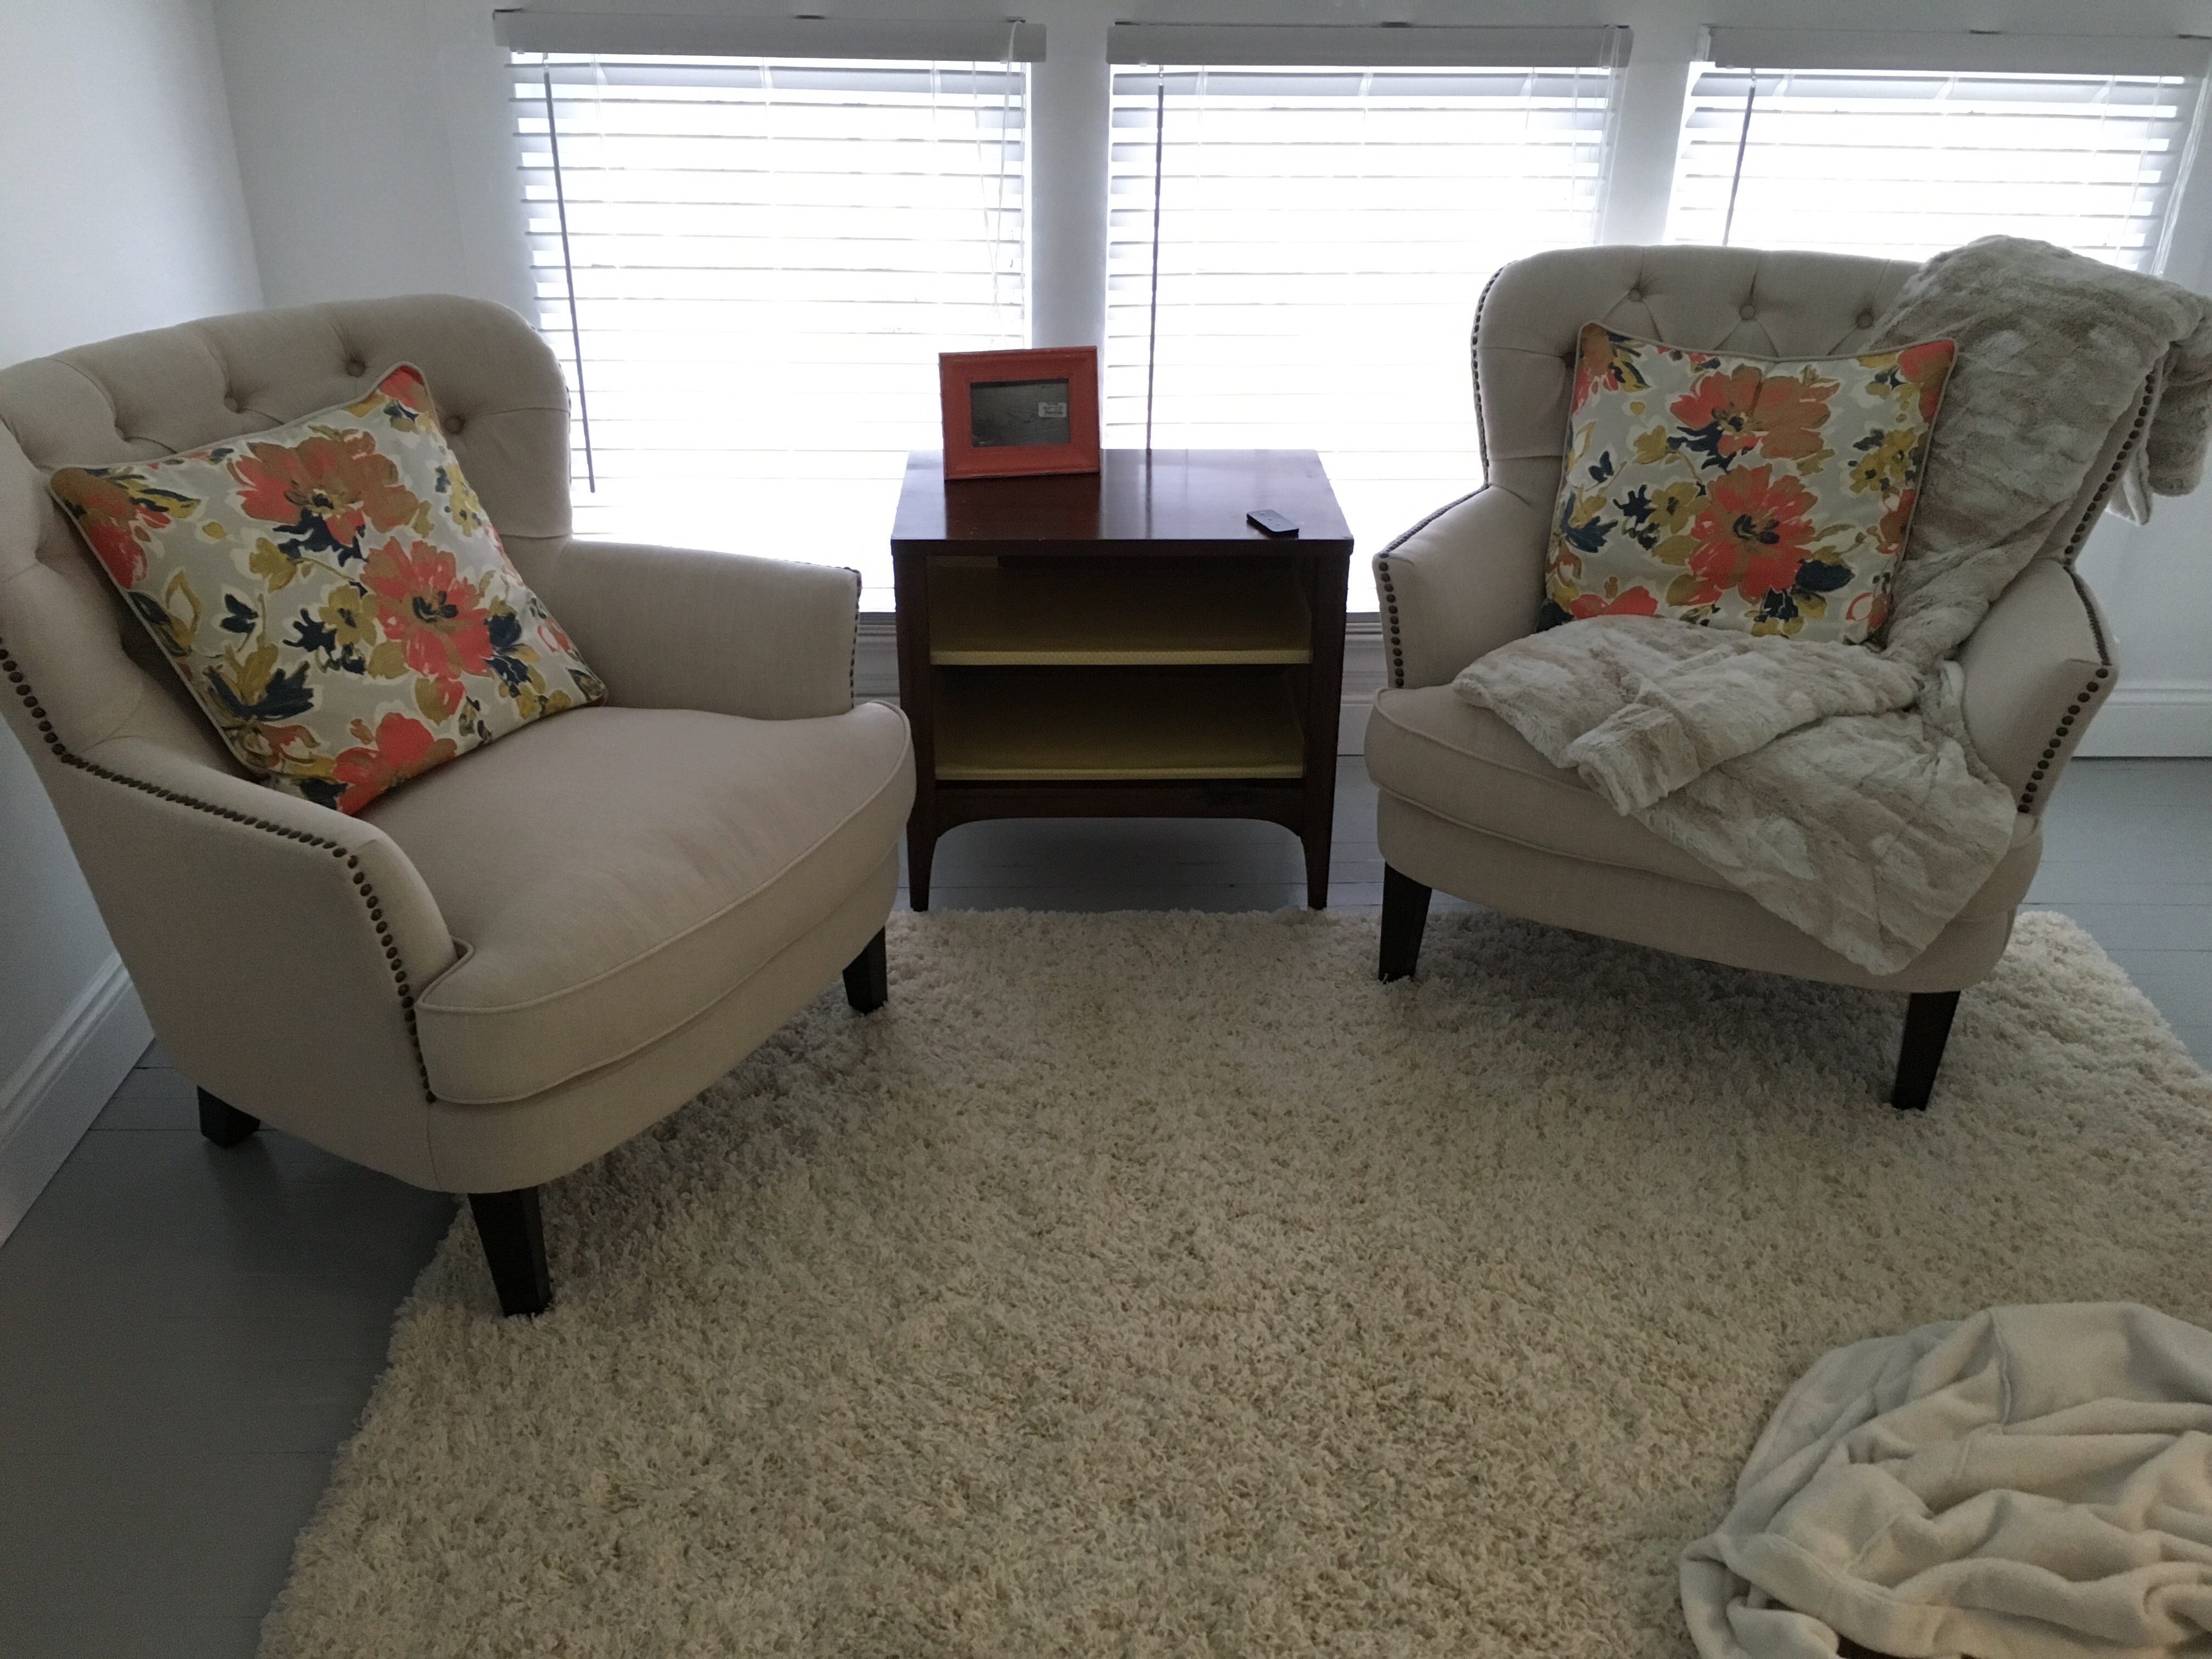
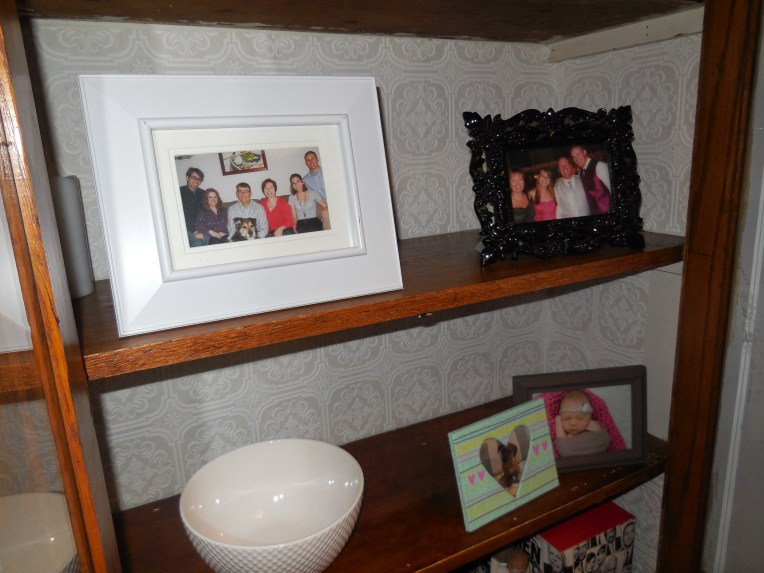
The basket was a gift from Kates (filled with wine) that I happen to try in one of the openings and it worked out perfectly! We did have to buy some thin plywood that we ended up cutting and gluing on the top and bottom shelf’s to make them level, since there was a dip down. So other than the nominal cost of that, the only other expense was the $6 for the adhesive paper, since we already had the stain and poly. I love the way it came out, especially with the subtle pattern and pop of color!

Happy Friday!


Attic Update – 8 months

Exciting updates with this post on our biggest home renovation to date! Our attic turned master suite-oasis, and ohh boy did we out do ourselves this time. Attic Update Month 8 - the bee lifeSo I’m probably getting you all excited for a big reveal, sorry folks, not yet. But I do promise a few sneak peaks! The perfectionist in me has a few things that still need to be purchased and a DIY that is going to make a big difference – so until then we will all have to wait for the big reveal!

We are up and living in our master suite, and it’s awesome! It came out exactly how I pictured and more! Not to mention our second floor is now fully open to family and friends for a weekend visit. Now for the sneak peaks…   Our DIY mini barn door, strictly decorative to cover an uglier door heading into a storage space. We used old gas pipe we had found in the demo and threw together the rest!  If you’re interested in the specifics, leave a comment below, but I saw inspiration for a full size door and we just figured out the measurements for our custom piece.

Textured wallpaper on the stair backers. We had started with deciding to paint the backs white and the tops grey, but the white backs just weren’t cutting it. Adding this pre-glued wallpaper was beyond easy and  an amazing upgrade. Totally worth the $20 and 40-minutes after work!

A little sneak of the gallery wall! I am loving the way it’s turning out, however it still needs a few extra final touches! I am a firm believer that you can’t rush these types of projects you have to look and do what speaks to you and the wall. (Nerdy, I know)

Our little seating area!! Obsessed with these chairs. Obsessed with these pillows. Still need a few final touches like a light for the side table, a foot ottoman and maybe a few other pictures.

So yes, we’ve been busy! A lot of this was wrapped up a few weekends ago, the day B proposed we had put a solid 10 hours in, since then we’ve been able to dial back, slow down and work on the smaller things as we can- oh and enjoy the finished product!

Stay tuned!

DIY – Night Stands

As our attic nears completion (spoiler) I wanted to share a few of the other projects along the way that although much smaller than the overall guts, walls and refinish, have been key for the final touches.

With such a big project like this, I really wanted to try and find a bargain or two especially with furnishings, and I would say we did a pretty good job of splitting that between bargain vs. brand new.

The Before

One surprise that took me awhile to come around too (and find) was our night stands. I found plenty that I loved, but not enough for the price tag that came with them. It had been my mission on garbage days to find some treasures people put out on the tree lawns – but no such luck (only found one).

Enter the “unfinished lamp table with two drawers” from Home Depot. Similar to what we wanted and a price tag that was palatable ($71.99), especially when purchasing two for the price of one finished  – not to mention these suckers are sturdy!

International Concepts Unfinished Lamp Table with 2-Drawer

The After

We ended up painting and staining the tops to mimic one of the pricier side tables we had seen from Target, upgraded the hardware and wah-la you have a high-end night stand for a fraction of the cost! We love the way they turned out.


Since we already had stain and poly from our dining room table project, we saved on materials cost there. We also already had white paint for other projects and the walls (another cost savings) and the knobs I found in a 4-pack at Marshalls for $4.99. Can’t beat it!

Although this was a little extra work on top of all the other finishing touches like paint, trim, caulking, more painting, cleaning, etc. it was totally worth it and we have a completely custom piece that finish the space!

Gallery Wall Inspiration

As we near the finishing touches for our master suite, there is one wall that is completely random the room is also in need of a dedicated place to add a pop of color and make a statement (you’ll soon see the randomness when final photos are posted).

So I’ve been thinking… gallery wall! But when I go to look for inspiration I can’t find a happy medium of what I am looking for, since my ideal gallery wall is all the same, evenly spaced and matched up, like the one below.  A lot of the gallery walls I find are either simple and uniform (not what I’m going for in this space) or completely over done and just too much. Like I said, I want happy medium.

Generations of wedding days. Also like this layout for travel pics:

Here is some of my inspiration and my go-to places for finding the perfect mix of unique, personal, and colorful items for a gallery wall, especially if you’re trying to mix up the mold without over killing it!  Places like Marshall’s/TJMaxx/Home Goods are perfect to find different pieces and pops of color, I also love websites like Society 6 for unique pieces of art that’re trendy and different.  My friend Lucy; http://boundryandthorn.com/ also creates insanely cute floral letters and unique hand-drawn prints which truly give your gallery wall an authentic feel.  Another goal for mine is to have a mix of textures and materials, I’m thinking, wood accents, metal frames, or elements of gold to really pop and add dimension.

Gallery Wall Inspiration - the bee life
01 | 02 | 03 | 04 | 05 | 06

I already have some pieces at home that’re laying around to help get this statement gallery wall started! I just want to be sure to have a good mix of girly and masculine, since it’s also B’s space, any hints or suggestions on how to incorporate that aspect into the mix?