
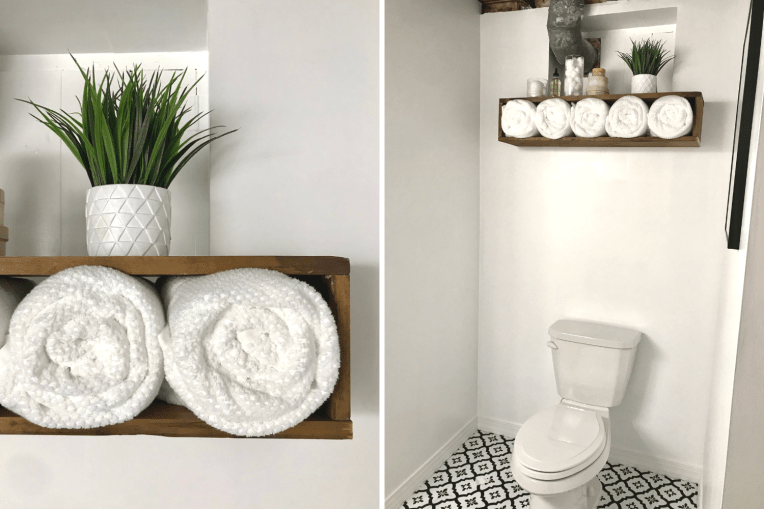
For our bathroom project we have an ugly door above our toilet that is access to a crawl space area that we don’t use, but might need to access so we couldn’t do anything too permanent. So in addition to painting this ugly door white, we wanted to hide it a little more, I knew I wanted to put some sort of shelf in that area, but I couldn’t decide how many, what kind or finding the perfect pre-made piece that fit.
That is when I spotted some beautiful old wood we had in our garage and I was inspired to build our own rectangular floating wall shelf to help cover it up while also bringing in some natural wood feel into the space. Since these pieces of wood were just shy of 4-feet they would work perfectly for the space. Here is how I built our shelf – you’ll need minimum materials, especially if you have your own scrap wood lying around!
What You’ll Need:
– Wood Glue
– Miter Saw
– Nail Gun + Nails
– Wood Boards
– L brackets for hanging + Screws
Step-by-Step:
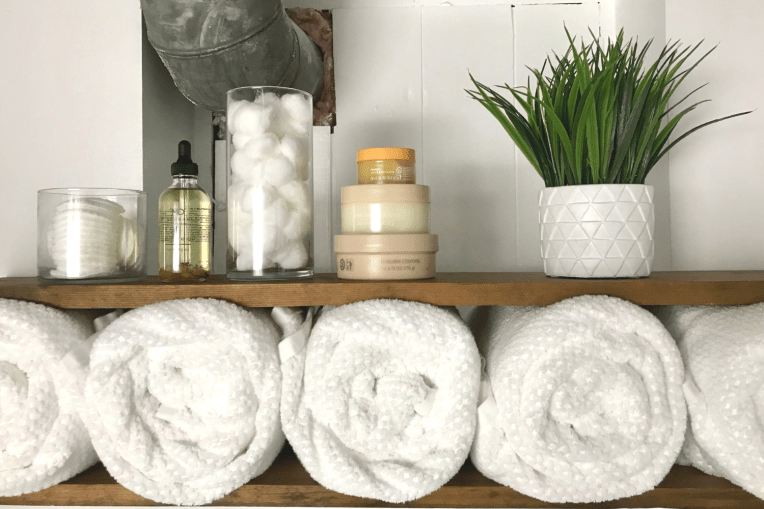
1. Measure your space & determine the size of your shelf, I wanted it to be a bit oversized the crawl space door area, but didn’t want it to be too tall. So I went with 3-feet in length and then about 8-inches high including the thickness of the main shelfs.
2. Measure and draw lines and cut your pieces of wood for your main top and bottom shelves with the miter saw.
3. Determine and measure your in-between pieces and cut appropriately with the miter saw. You should have all your pieces cut! Two long top and bottom pieces and then two smaller side pieces that will fit in between the longer pieces, connecting them!
4. Add wood glue to your in-between pieces and attach the top with your in-between with a nail gun. You may need a helper to hold the pieces in place while one staples, be sure to staple along the length of your board. Continue this for all four corners, be sure to wipe any excess glue after stapling the pieces together.
5. Let your piece dry before moving forward with adding the L brackets and hanging. Sand any rough edges, paint or stain if necessary based on your aesthetic.
Pro-tip: Make sure the screws going into the shelf aren’t longer than the board thickness!
6. Determine spacing based on wall studs and add the L brackets to the inside of the top of the shelf and then drill into the wall with screws (this is probably a two person job!). We will be painting the metal part touching the wall – although once filled up with towels you can’t even tell!
7. Now for the fun part – adding the finishing touches and add your finishes!
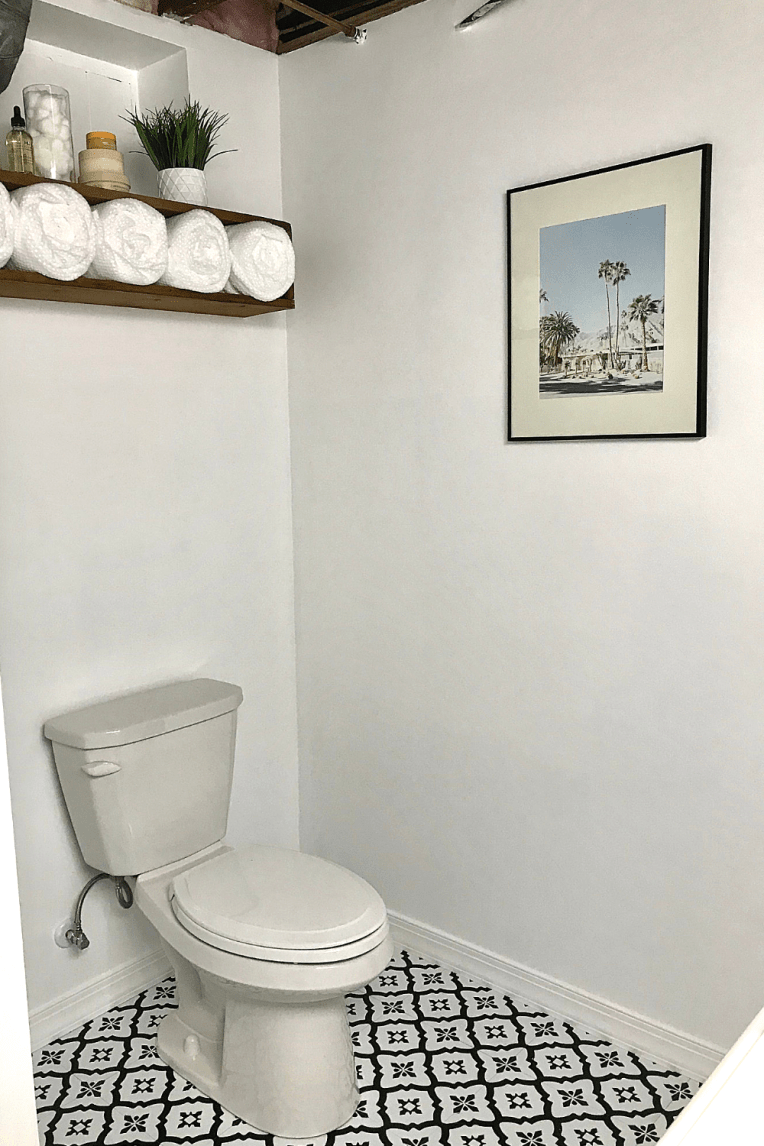
I’m so excited to be adding in finishing touches to our bathroom space – and as you can see you’re getting a bit of sneak peak of the space, but mainly the showstopper (that floor!) We still have small finishing touches to do around the room, like the crawl space door we’re trying to hide, we still need to cover up that heating pipe entrance – plus I’m sure I’ll be getting some different accents to put on top of the shelf.
Price Breakdown:
So the obnoxious part of this (for you, not me!), is the cost of this project was $0. The wood for the shelves we got from my sister in-law’s house, because I knew I would have a good project pop up to use them with! Everything else was around the house – but pending the wood, you can get the Wood Glue for about $3, L-brackets for about $5, and screws for anywhere from .30 – .50 cents each. Meaning you could make this shelf for about $10-15.
Since a lot of our bathroom is white with the black pops of black in the floor, I love the addition of natural wood, we have another finishing piece to help tie into this vibe that we have yet to do as well – so the big reveal will have to be a bit delayed still. But I’ll be sharing some of our project woes, lessons learned to help you prevent the same mistakes on your upcoming projects!


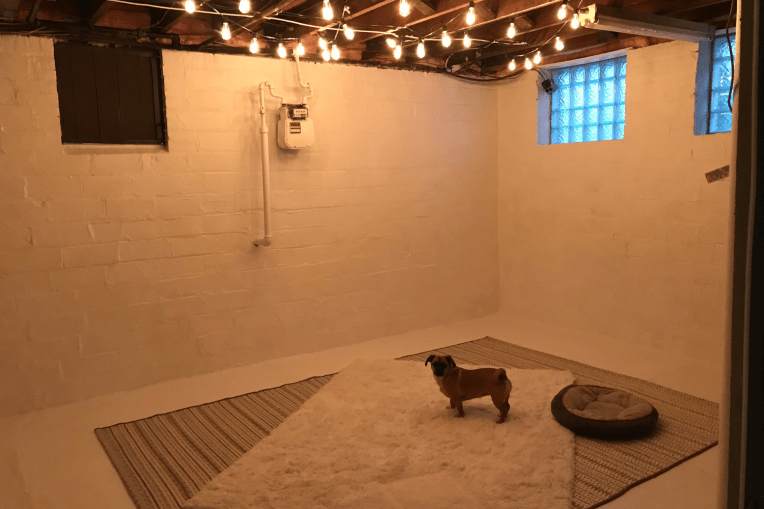
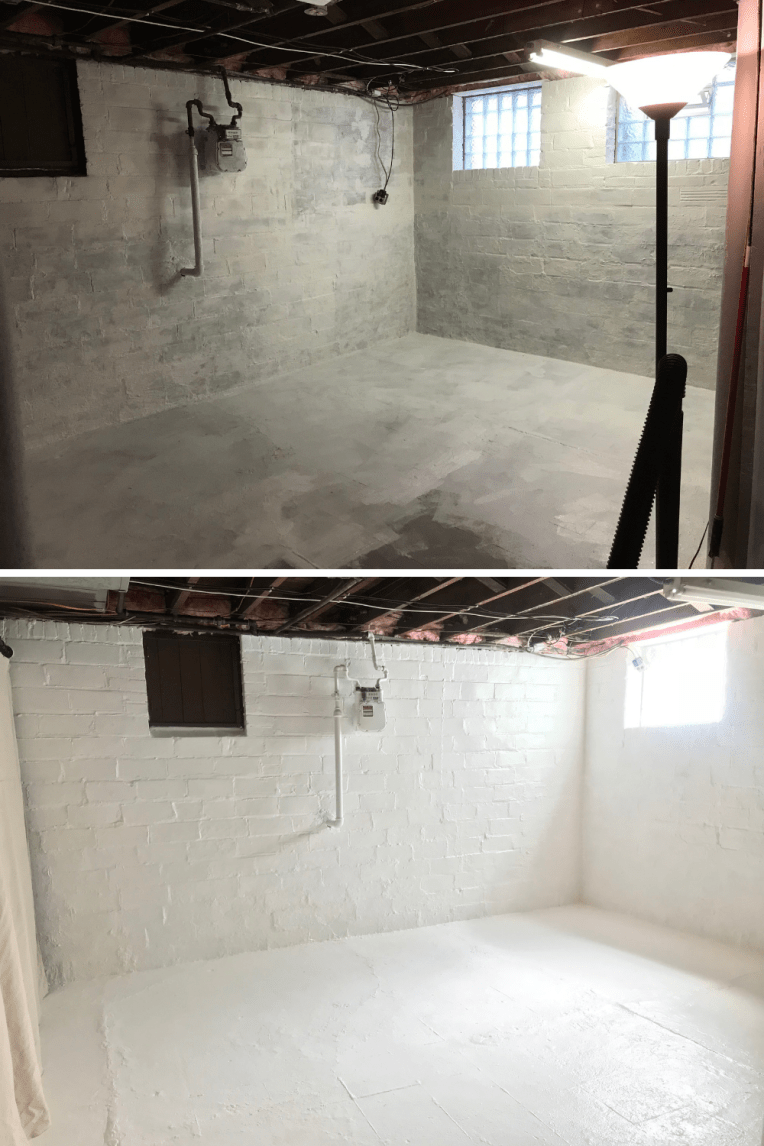 Painting & Waterproofing: This was super fun, not! *tongue out face* … in order to properly prep the space we had to do a lot of scrapping, sanding and getting the exterior walls ready for the waterproofing paint. This was dusty, tiring and time intensive – but we wanted to make sure we were doing this right! Once the wall was prepped – we started painting with the thick waterproofing paint – I think we ended up doing at least 2-coats, and then painted with normal paint overtop the waterproofing paint. We even painted the floor! So we had a completely white space – the paint alone made our basement look 10x bigger!
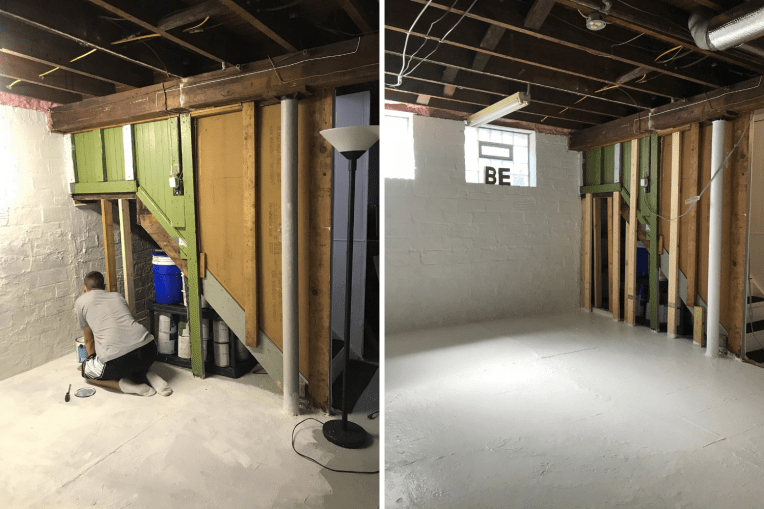

 I can’t wait to show the finished space with you soon – with custom art and other


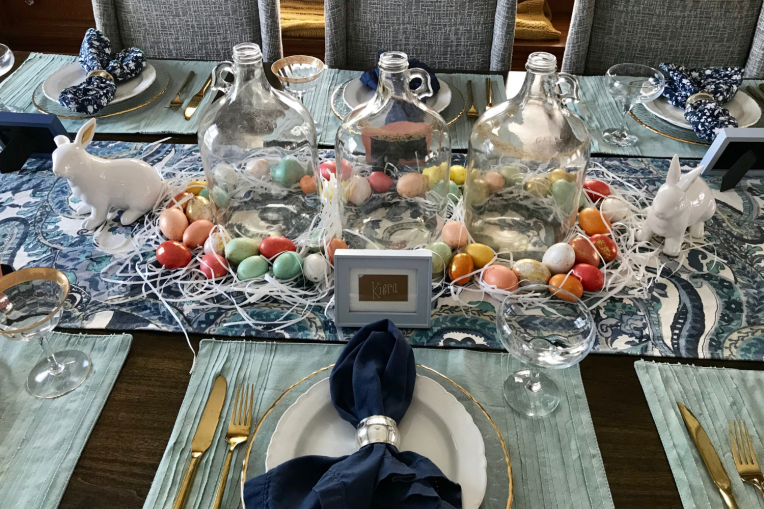
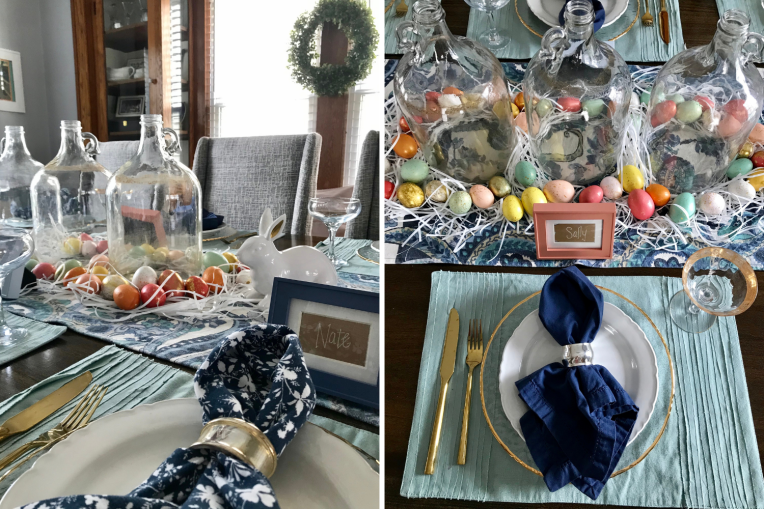
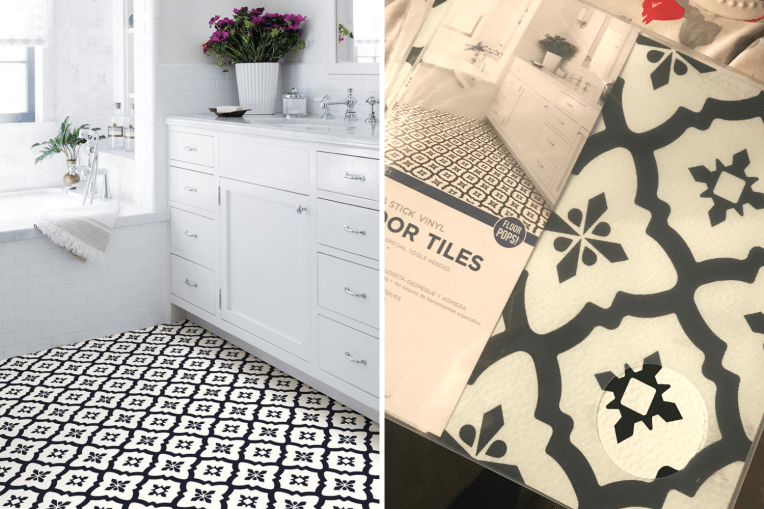 Since our floor is going to be our statement, in addition to our shower – we really want to compliment the space, while enhancing the neutral colors and adding a little umph the space. Since we have gold faucets, hardware and overhead vanity light, the look and feel that we’re going for, for this space is classic with a little bit of vintage glam.
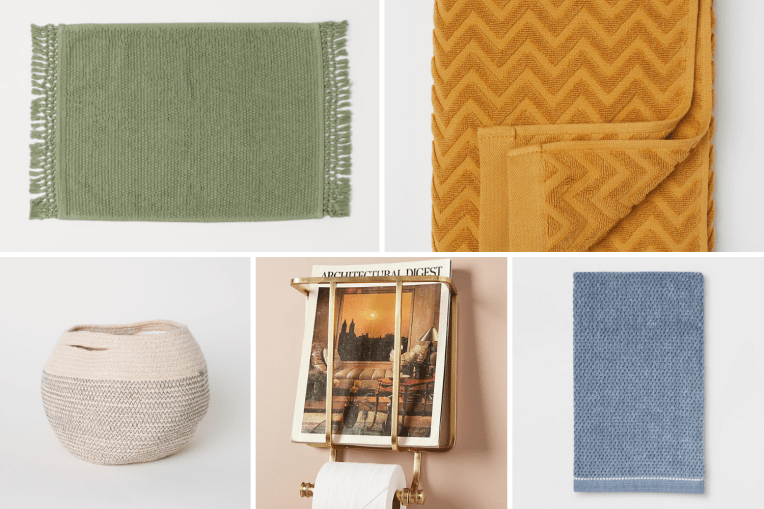 Shop the bathroom accessories:
 Front Coat Closet. After updating
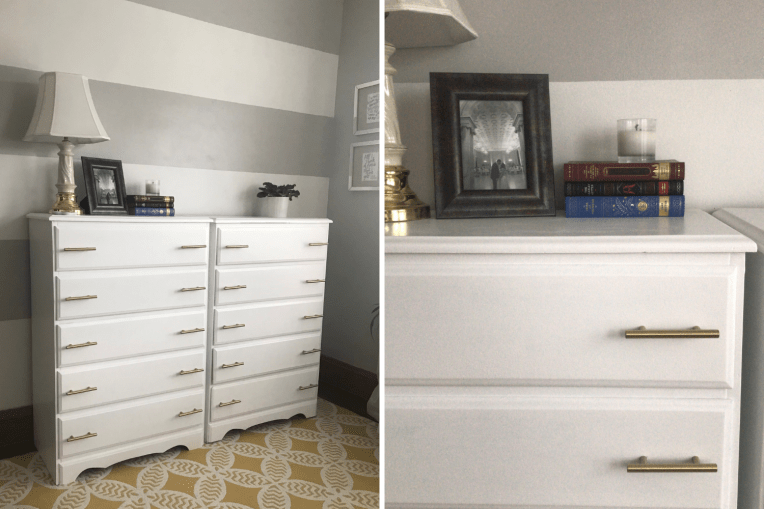
  We’ve been working through some other projects like our bathroom remodel, which was moving quickly but now we’re just waiting to gear back up on it for finishing touches – which I use very lightly! In between, I’ve been decluttering and better organizing these commonly used spaces around the house. Beyond planning for house projects, we’re starting to plan for trips this year – it’s always important for us to get away, recharge, explore new places and eat some good food!