Tips for Swoon Worthy Engagement Pics

Planning your engagement photos?  With the Pinterest & Instagram the exposure and pressure to have pin-worthy engagement photos is kind of a thing.  There are sooo many stunning photos out there it’s a bit intimidating! So how do you make yours special? Well, I have a few tips to help make sure these photos are swoon worthy, personalized and show stoppers.

Wardrobe.  If you really want something show stopping, yet simple – steal the show with a jaw dropping look. Whether it’s a gorgeous skirt, bright color in front of a stark back drop, or a casual look on a fall day – don’t skimp on the wardrobe! Also ladies, don’t forget about your significant other and making sure they step up to the plate and match your look.  Just remember, wear what you’re comfortable in, and true to you both as a couple!

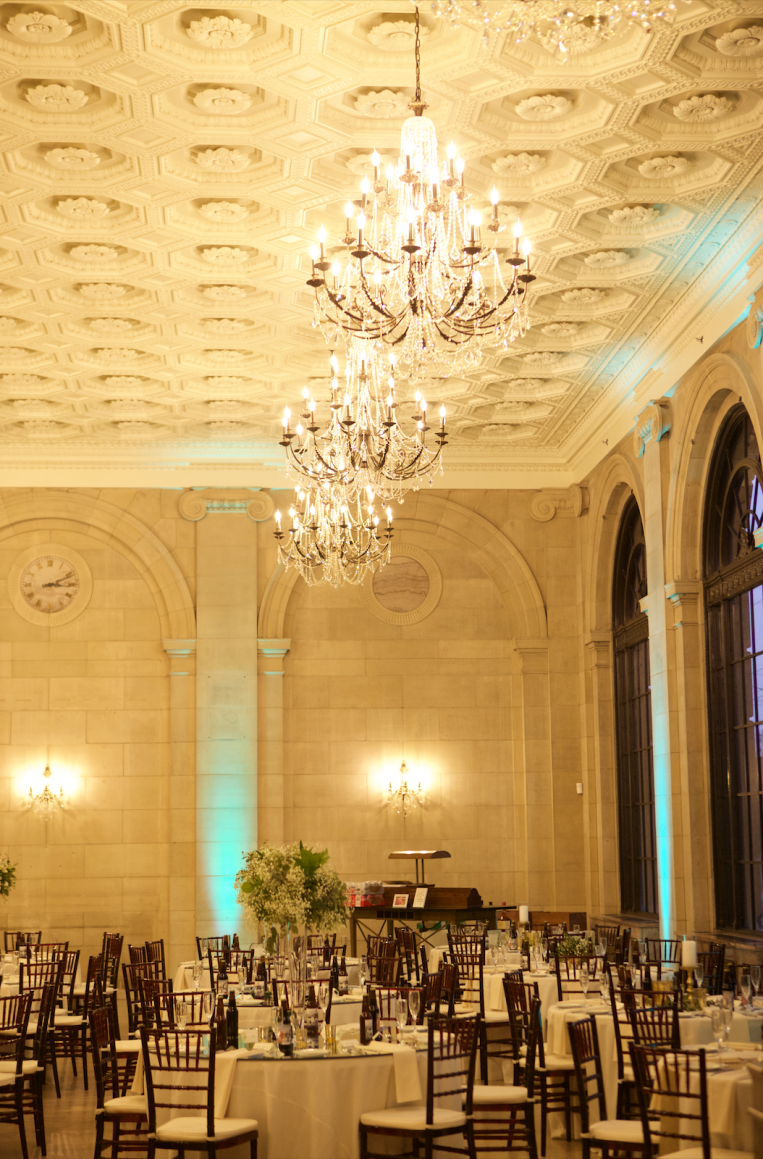
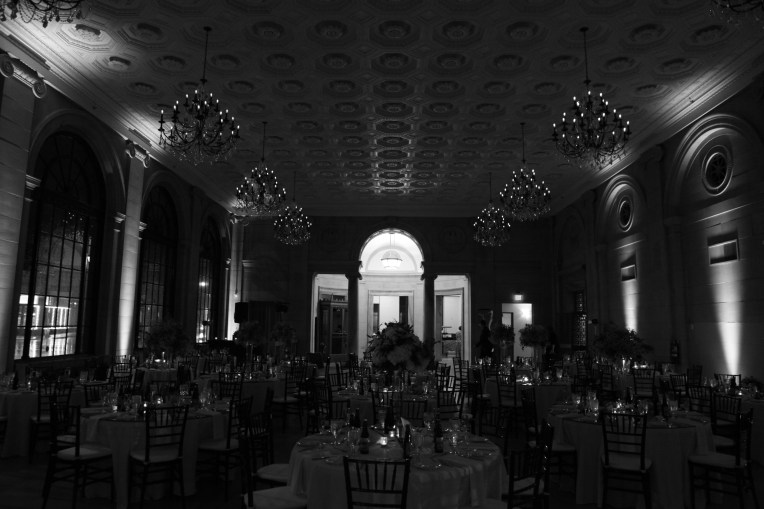
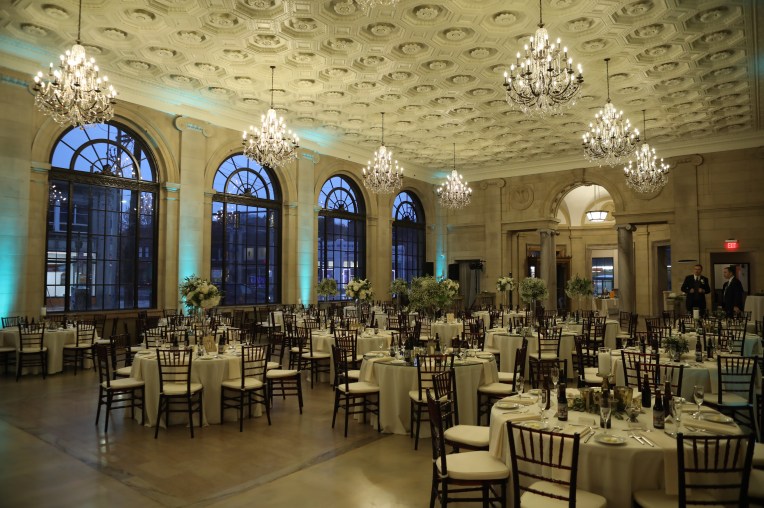
Location.  Beach? Forest? City-scape?  Your favorite diner? With the help of your photographer scope out your spots, and see what might work – but have a couple ideas in mind.  Working to get multiple locations in one day? Make sure they’re close, and again chat with your photographer too see what might be possible. Don’t forget that some of the simplest locations will result in the most stunning pictures.

Time of Day.  We wanted some beach photos, and our photographer recommended sunrise photos instead of sunset.  Although we had to get up super early, the sky was perfect, no one was around and we were able to capture some gorgeous shots.  Evening photos could get tough and might need lighting to be involved, which could be a bit more costly, and some locations might not allow photography, so be sure to ask ahead of time if you photographer doesn’t!

Photographer. Finding the right photographer that has a portfolio inline with your vibe is important! But don’t forget about working within your budget – since you still have to save up for the big day! Although, this is a good test run to see how you’ll work with them on your actual wedding day.  Some photographers might also offer a package for engagement & wedding day, so be sure to ask!

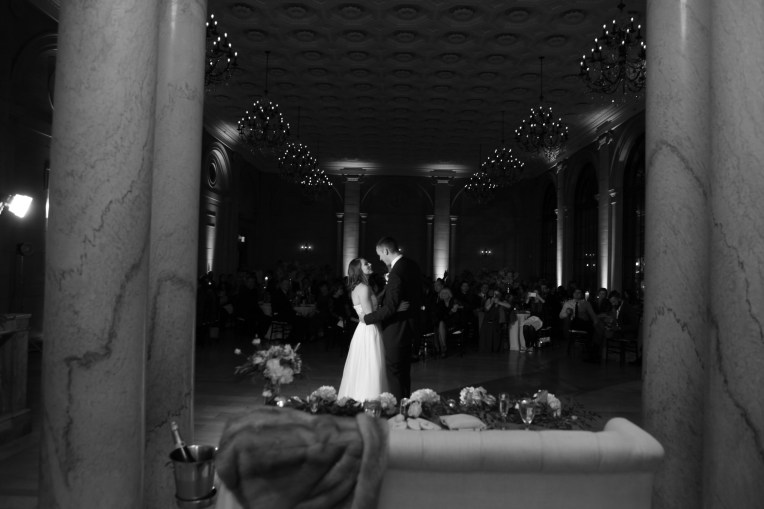
For B and I, it was a little awkward at first, posing, kissing, and trying to look longingly at each other.  But once we got warmed up, we started to get the hang of it and have a little more fun.  Also have fun with props (balloons, your pup, fresh flowers) and don’t over think it – but also talk with your photographer and be sure to share your vision and even a few examples from your Pinterest board to show some different angles or inspiration!

bee (1)


Missed Out? Or planning your wedding? Check these out:  Our Engagement Photos Tips for Creating your Wedding Registry How to Plan your Honeymoon Our Wedding Sneak Peak


Image Sources: Black & White Close-up Blue Tulle Skirt White Dress Kiss Forest  Hands & City

Latest Obsession 07.18 – Fashion Ed.

This summer has been HOT! So lately I’ve been trying to find outfits that are not only cute and fashionable, but are easy with the heat.  So I’ve been leaning on a few staples to help me stay inspired through this hot hot heat, and these are my latest obsessions!
Latest Obsessions 07.18 - bee life blogClassic Neutrals.  Jean shorts have been my go-to weekend outfit, because you really can’t go wrong with a pair of these and a neutral tank or tee. Whether you’re dressing these down for a more causal day, at the ball game or running errands, or dressing this up with a sexy tank or fun top for date night, jean shorts are a perfect staple for casual or cute!

Mixed Prints.  Whether it’s polka dots and stripes, or a floral print with a pin-stripe – I’m loving mixing patterns up to pull off a fun statement. This also gives a bit more variety of options in your closet for switching up your looks if you have multiple outfits throughout the day!

Lots of Dresses.  Because who wants to wear pants when it’s 90+ degrees!? Not me.  So my dresses are being fully cycled through, even needed to dig into a few dressier options for day looks. For my dressier dresses, I’ll usually grab a denim jacket to help dress down for a day at the office.  And some of my more casual dresses I’ll mix with a fun statement necklace or wedges.

Kimonos for Summer.  Kimonos were one of my fall obsessions and they’re carrying on into the summer months. I love wearing one over a plain dress or paired with my classic neutrals, the fun patterns lend endless options! Plus they’re easy to go from picnic to pool with a singular look to navigate through the day over a one-piece and jean shorts.

What are you favorite summer trends? Comment below!

bee (1)


Image Sources linked above. 


3 Tips for Hosting a Summer Dinner Party

With a little over a year with our back patio, we made it a point to have both dining and relaxin space – making it the perfect spot for a classic dinner with family and close friends.  We hosted, the first of many dinners on the patio and it was the perfect combination of all the things that make a dinner party great a classic and easy menu, a stunning table setting and awesome company.

My favorite part about hosting a party or dinner is the planning that goes into it and the opportunity to make a special memory for our guests, while also having a fantastic meal and great company.  It’s about making the night special from all the other dinners we have every other night and giving the people you care about a little extra love.
IMG_1700
I’ve realized that hosting a dinner or party for some may seem super daunting and overwhelming, but focusing on these three things helps keep it simple while also allowing you to enjoy the night as well!

The Menu. We kept the menu simple, healthy and refreshing for a warm summer day.  We opted for chicken and steak kabobs mixed with mushrooms, peppers and onions.  We had a fresh mixed greens salad with cucumbers and cherry tomatoes (cheese on the side for us non-dairy folk) and a fresh fruit salad with blueberries and strawberries.  When it comes down to it, there are just a few staples that just can’t be beat – not to mention we had plenty of kabobs that we were all stuffed!

The Setting. I had fun dressing up our not so glamorous outdoor table with placemats and neutrals. I used a variety of outdoor friend pieces like the plastic salad plates and glasses from Opalhouse while bringing out some nicer Kate Spade serving dishes and fabric napkins.  The neutral base let the table be the center of attention with it’s bright colors and inviting feel with the mix of patterns.  Pro Tip: dress your table and prep as much food as possible before your guest arrive so you’re able to enjoy their company and a cocktail!

The Company.  Although I love large parties, sometimes it’s better to keep things small – so we had my parents and B’s parents up. It was the perfect mix of company and conversation was able to be had with everyone vs. side conversations or too much noise, especially if this is your first major dinner party – keep it small and low key so the impress isn’t stressing you out.

IMG_0615

The best thing about hosting is that you’re able to call the shots! From the menu, to the vibe you can set the tone for the evening – but it’s always important to make sure your guests are taken care of first and feel welcomed!

Cheers!

bee (1)

#EmnBWed – The Ceremony

I hope you’re not sick of my wedding pictures yet?!  If you’ve missed out on these beauties, check out our first sneak peak, the girls getting ready, my handsome groom and our stunning venue. And now, I leave you with the main event – the actual ceremony and the last of wedding photo posts for a bit!

We had a traditional, full service mass for our wedding vows, something that was important to the both of us.  We also put a lot of thought into the readings we chose, and who we asked to be involved in the ceremony. Most of it was a blur but we had a few good laughs with the sweet homily from our priest and then a little moment during our vows that will always be sweet memory.  My main goal was not to cry walking down the aisle, because I’m a Kim K. cryer, but I kept it together and only got a little teary eyed.
I28A9260I28A9271I28A9274I28A9285I28A9294I28A9350IMG_2166_TLOCCIMG_2178
Since it was a tsunami of rain our entire wedding day, our exit from the church had to be adjusted – I had hand cut and made over a hundred ribbon wands and they weren’t going to waste! So we had a quick brainstorm while we were held up in the bridal suite to hand them out to guests ahead of time and asked everyone to wave them as we walked down the aisle – it worked out pretty great, and the best part was B had no idea so he was completely surprised!

What I love the most about these photos is they share the true emotions of happiness and love that we all felt that day, it was an unbelievable feeling that won’t be able to be duplicated.

Planning your big day? Here are some helpful posts; Wedding Registry Guide | Choosing a Florist | Tips for Planning Your Honeymoon | How to Create Your Sweetheart Table 

Photography by: Timothy Logan Photography 

Chocolate Covered Bananas – The Recipe

I shared this recipe back with a few other dairy free desserts, and I finally got around to creating this delicious treat and it was SO EASY! Not only was it easy (took 10-minutes for prep and assembly) but it was affordable with a ballpark total of $10. You can really wow guests or impress your sig-o with this delicious yet healthy treat, plus it looks like it would be super time intensive.  Ok, now on to the good stuff…
Choc Covered Bananas - the recipe - the bee life
What You’ll Need:
– Banana’s (however many you’d like) – you don’t want them too ripe
– Baker’s Dark Chocolate (one pack covered 3-bananas for me)
– Pistachios; I bought pre-pealed for convenience!
– Sea Salt
– Tooth picks, foil and cookie tray
Choc Covered Bananas steps - the bee life
Step-by-Step:
1. Prep! Cover a cookie tray with foil, un-peel and stick the ends of bananas like corn on the cob with the tooth picks, this makes it easier to grab for chocolate covering. (I had used kabob sticks and put them a bit too far into the banana, it wasn’t ideal for serving!) Next, prep your pistachios by crushing them with a rolling pin in a zip lock baggy, you probably only need a handful or two.  Finally, follow the instructions on the chocolate to heat up in the microwave until it’s nice and melted.
2. Once your chocolate is melted, start pouring chocolate with a spoon your bananas on the foil tray, make sure they’re nice & covered!
3. Top off with crushed pistachios and sprinkle with sea salt.
4. Throw in freezer for an hour or so. Make sure you thaw a bit before serving, slice up and enjoy!

This is the perfect summer treat with the right mix of salty and sweet!  It’s easy enough to whip up for those last minute gatherings or just to satisfy a mid-week sweet tooth!

3 Dairy Free Desserts

With my diet truly becoming a lifestyle change and avoiding dairy as much as possible, we’ve finally started venturing into dairy free recipes for the sweets!  Although most desserts, even with dairy, don’t always bother me, I realized if I’m truly going to make this a lifestyle change that it should be all inclusive.  I was first inspired when B made me a dairy-free cookie dough ‘cheesecake’ for a date night he planned last month.
3 Dairy Free Desserts - the bee life
Dairy-Free Cookie Dough ‘Cheesecake’ – This recipe might seem a little intimidating just based off the ingredients list, but I assure you that it was rather straight forward and easy to put together once you have everything! Not to mention, this is completely delicious and I would even recommend just making up the cookie dough part  for a treat. And, if you haven’t used cashews to substitute for cheese, you are missing out, it’s incredible how you can’t tell the difference yet still maintains the consistency.

Low Carb Chocolate Coconut Cake – As i’ve gotten older, I’ve grown to love coconut especially with chocolate! This cake is a twist on an Almond Twist (one of my favorites), and although a smaller ingredients list, this won’t skimp on taste.  It also reminds me of my grandma’s German Chocolate cake that she used to make, and now I can put my own twist on it while still having a bit nostalgia for my grandma.

Pistachio Chocolate Banana Sushi – Um, YUM! We haven’t made this one yet, but it looks so easy with only three ingredients! Plus with the use of dark chocolate and fresh bananas it’s probably one of the healthier decisions you could make to satisfy your sweet tooth!

With bathing suit season upon us, we can still satisfy our sweet tooth without compromising on health/nutrition and sticking to our lifestyle choices!  Share your favorite treats in the comments below!

#EmnBWed – The Venue

If you are an avid bee reader, you may recall we had a whirlwind of wedding planning from traveling out to Jackson Hole to plan our intimate wedding of 30… to halting planning completely… to changing all our plans after falling head over heels for our venue.  As soon as we saw our venue which (by the way) was under construction with puddles of water, open walls and no fixtures we were heart-eyed emojing with goosebumps.

The venue was a bank from the 1920’s – 1923 to be exact, that was restored to be an event venue.  The original bank vault is in near mint condition with it’s nearly foot thick original door, and the bankers office was the perfect space for photos ahead of time with original wood ceilings and a stunning fireplace. So without further ado, please enjoy the finished product with lights, flowers, lots and lots of marble and pure perfection.
IMG_2700
IMG_2331_TLOCCBWScreen Shot 2018-02-15 at 7.37.25 PMIMG_2626I28A9591IMG_2768
One of the benefits of this venue was that it was so beautiful to begin with that we really didn’t have to do much with the florals, or other decor, although we had some stunning centerpieces that definitely made a statement.  Pro-tip: Look for a venue with natural beauty, you’ll save with the extras in the long run.  Although to further show off the beauty and details of this venue, we rented six, sixty-inch mirror table tops that reflected the gorgeous original ceilings, allowing our guests to enjoy the original beauty at all times.  The venue also had original bankers tables that we were able to use as bars in the main room, this pulled everything together and really tied in the history of the venue.

We were so in love with how it all turned out, how beautiful everything looked and how it all came to life for the most perfect day!

Image Source: Timothy Logan Photography 

Mom’s Tuna Noodle Casserole – The Recipe

For any fellow Lenter’s out there – tis the season of meatless Friday’s and fasting.  And it’s the season of Mom’s delicious homemade comfort food dishes, so I wanted to share one of our favorites, her Tuna Noodle Casserole! Also great for any full-time vegetarians out there to have a nice easy casserole prepped for a winter weekend.
Tuna Noodle - Recipe - the bee lifee
What You’ll Need:
– 1-package of medium egg noodles, Cooked
– 1-can of tuna, white albacore in water
– 1-can of cream of celery
– 1/2 cup shredded cheddar cheese (or more!)
– Third of a bag of frozen peas
– Mayo – 2-large spoon fulls
– 3-tablespoons of melted butter
– 1-cup seasoned bread crumbs

Step-by-Step:
1. Follow the instructions on the package of noodles to cook.  While the noodles are cooking cook a third of the frozen peas in the microwave, follow instructions on bag.  Preheat your oven to 350-degrees
2. Strain the water from the tuna and mix the tuna, cream of celery, cheddar cheese and mayo into a large bowl.
3. Add the cooked peas and cooked noodles (drained from hot water) to your tuna mixture, mix together well and then evenly spread mixture into cookie dish *ADD SIZE.
4. Melt your butter and combine with bread crumbs with a fork – distribute evenly across the top of your casserole, add as much or as little as you may want. Bake in the oven for 15-20 minutes, until the topping is browned.
5. Serve up with some garlic bread and enjoy!

This is such an easy, quick meal to pull together on a Friday night and will last you through the weekend with leftovers!

Homechef – French Onion Chicken

As I mentioned in my Latest Obsessions – we’ve been loving our Homechef weekly delivered meals.  I admittedly haven’t made all of the recipes we’ve received, because B is awesome! But one meal I have made was the French Onion Chicken.  I followed all the instructions, set off the smoke detector, but it still came out delicious, not to mention it was super easy following the step-by-step directions!
Homechef - French Onion Chicken
The French Onion Chicken has a reasonable prep and cook time of 25-35 minutes, and was easy to accomplish on a week night after a full day of work.  One of the main reasons we love Homechef so much is the additional ingredients provided that bring the flavor level up a notch. This was accomplished with the caramelizing of the onions using thyme and sherry wine in the process, such a game changer!  These added flavor ingredients, are also portioned perfectly so there is no waste or left over thyme/greens to sit in the fridge.  How many times have we bought a whole container of basil or cilantro when we only need a quarter of the pack?!

Get the full recipe here: Homechef – French Onion Chicken

Every time we bite into a new Homechef meal, we groan a little and rave just how delicious it is! We haven’t had a bad meal yet, and love the convenience of having meals delivered straight to our door, allowing us to plan ahead for the week!  Do you use a home delivery meal service? Leave a comment below and share what you absolutely love about it!!