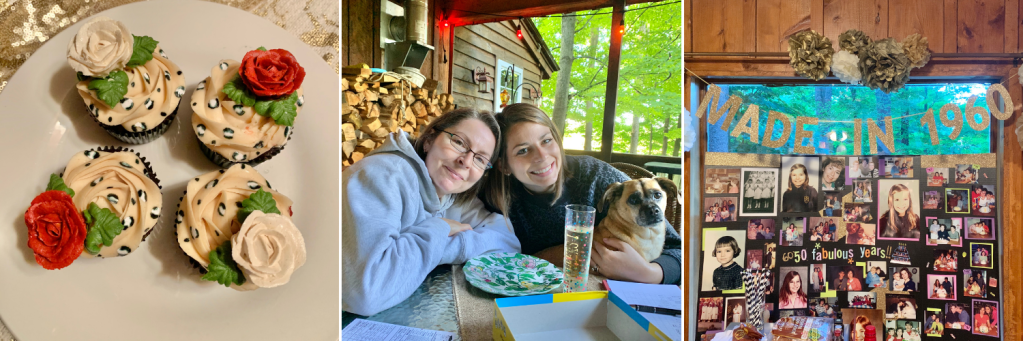
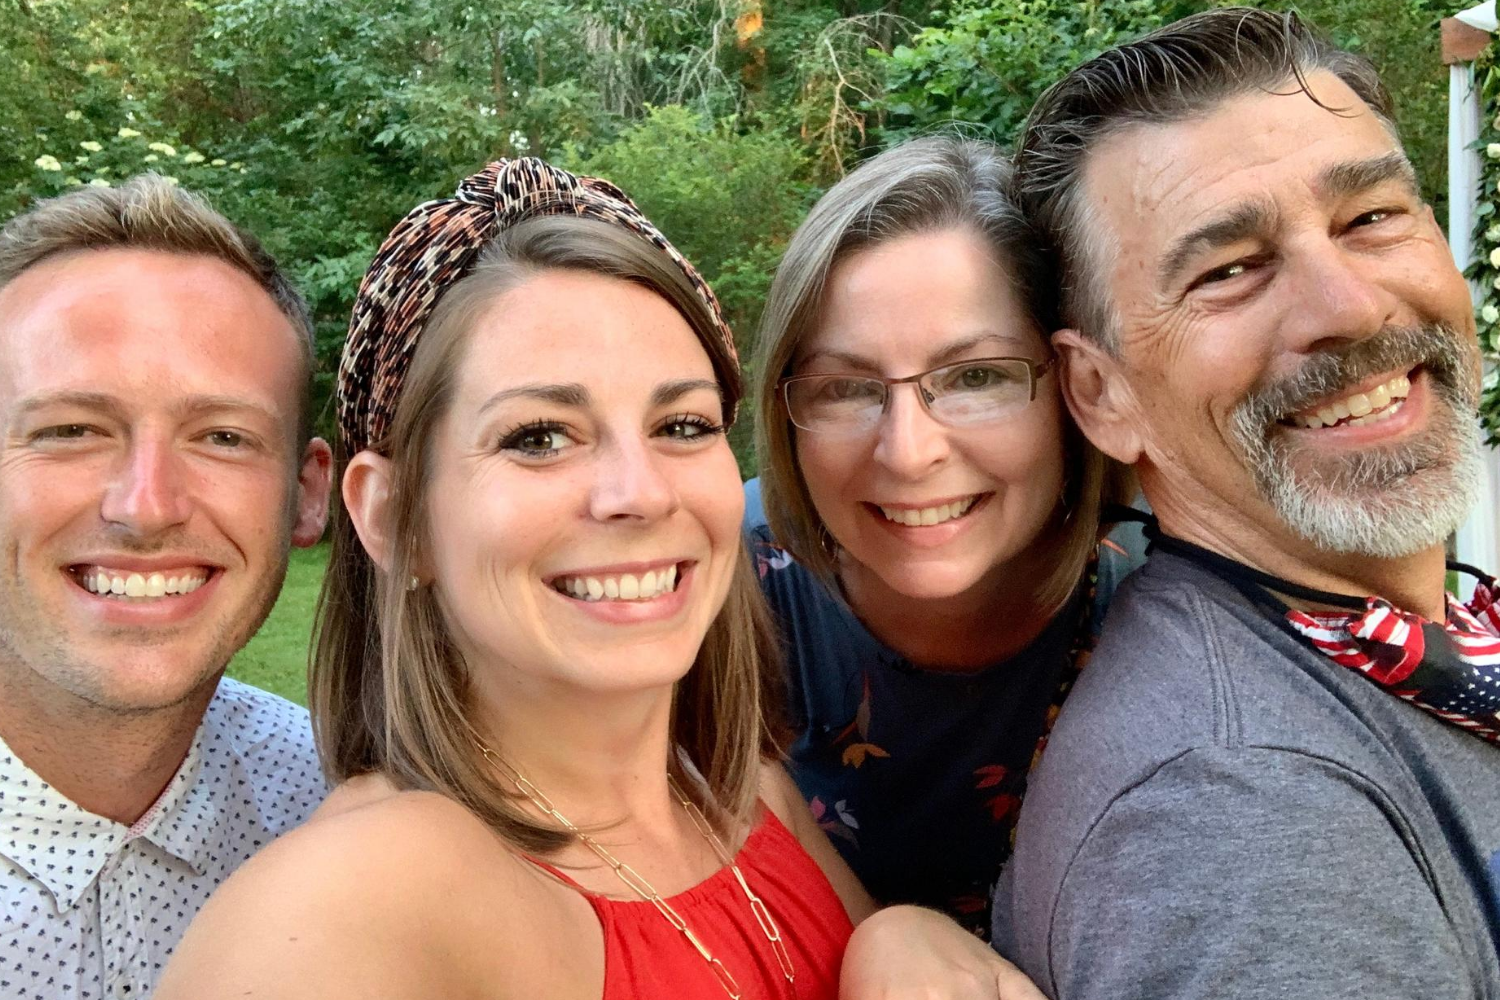
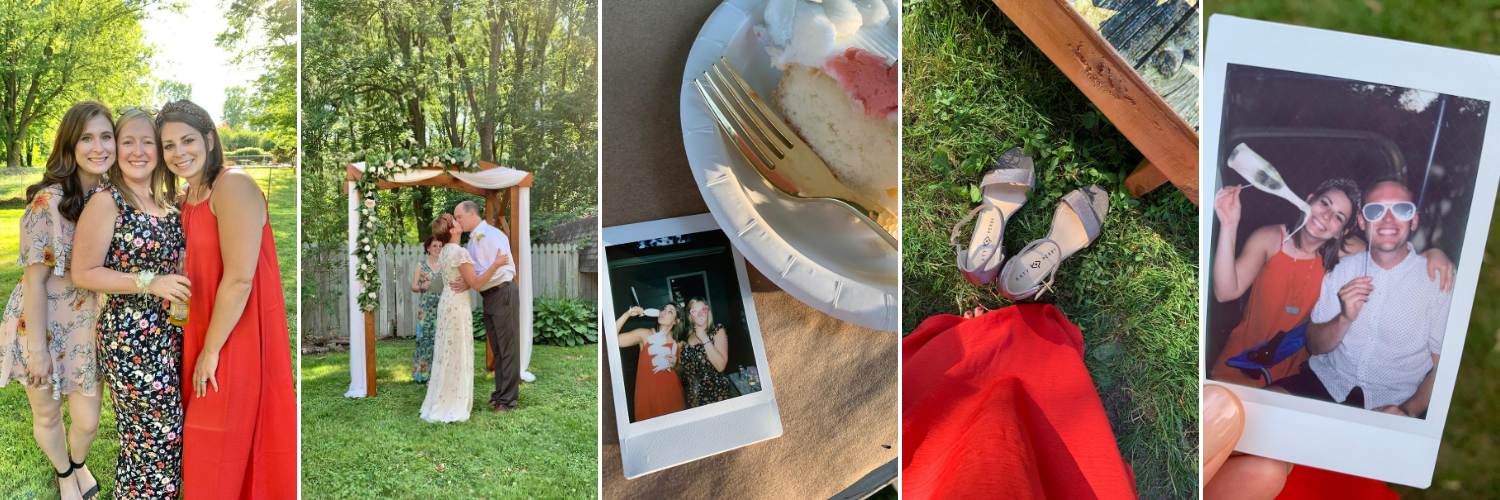
Today is my mom’s 60th birthday! We were lucky enough to celebrate it earlier in the month with a long weekend away at an airbnb cabin. It was a backup to a cancelled week long trip that was supposed to be with the bigger extended family aka all my mom’s siblings plus a few cousins. So since it was a make-up to something to be much bigger, I wanted to really make sure my mom had a special weekend – celebrating her!

To make this weekend special for my mom’s big 60th birthday, there were a few things I focused on to help bring the birthday party to the cabin in the woods. One of those things was decorations! Luckily, this is a cabin we’ve stayed at before, so I had a pretty good feel for the space and the decorations I wanted to get to decorate the space. The second thing was bringing the people to the party – virtually of course! And lastly was the sweet treats and having a special cake to help make a statement for 60.
Virtual Birthday Wishes. With the world of COVID, things are definitely different — and since this much larger family trip wasn’t happening, I wanted to surprise my mom and bring her well wishes from her family and friends! DISCLAIMER: If anyone has mastered this craft, please comment below with help — but I’m not sure if there is any easy way to reach out to over 40 people asking for them to share a recorded video wish. For some people I reached out via email, Facebook messenger, text messages and Instagram DMs. I gathered videos, pictures and well wishes and even sourced a variety of pictures and memories of mom’s life and put them into an iMovie — it ended up being about a half hour long and was so fun making and even better surprising and watching my mom watch it.
The Decorations. As I mentioned, I knew the space but I also wanted to rein myself in, because I can easily go overboard with everything. So I think I did a pretty good job at keeping it simple! I picked the little theme of ’60 & Fabulous’ and kept on the color theme of gold and white. My big statement was getting oversized gold 6-0 balloons, a party pack that included a large Happy Birthday banner and other fun pieces that could be used throughout the cabin. In order to blow up the balloons at the cabin, I brought a mini helium tank from Michael’s — it was perfect for filling up the balloons. In addition to the birthday decorations, I also made sure to bring a few pieces from home to give it a homey and polished feel like table runners, candle holders, a cake stand, fresh flowers, matching plates and placemats.
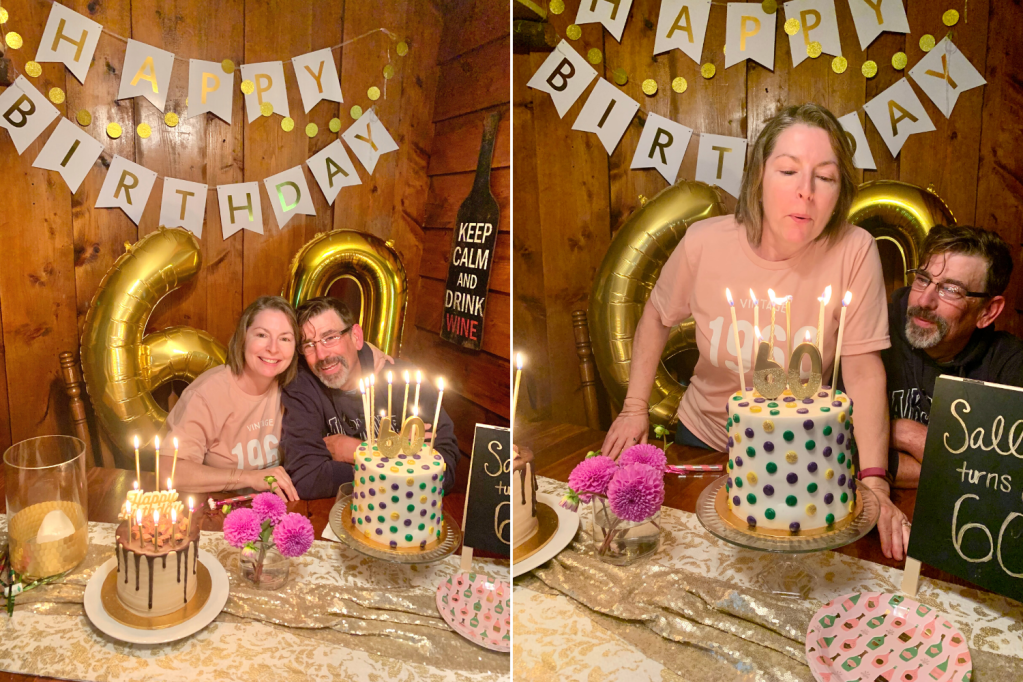

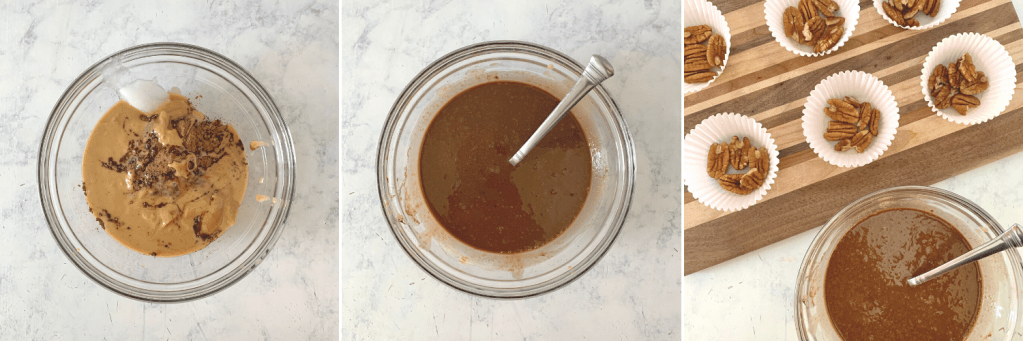
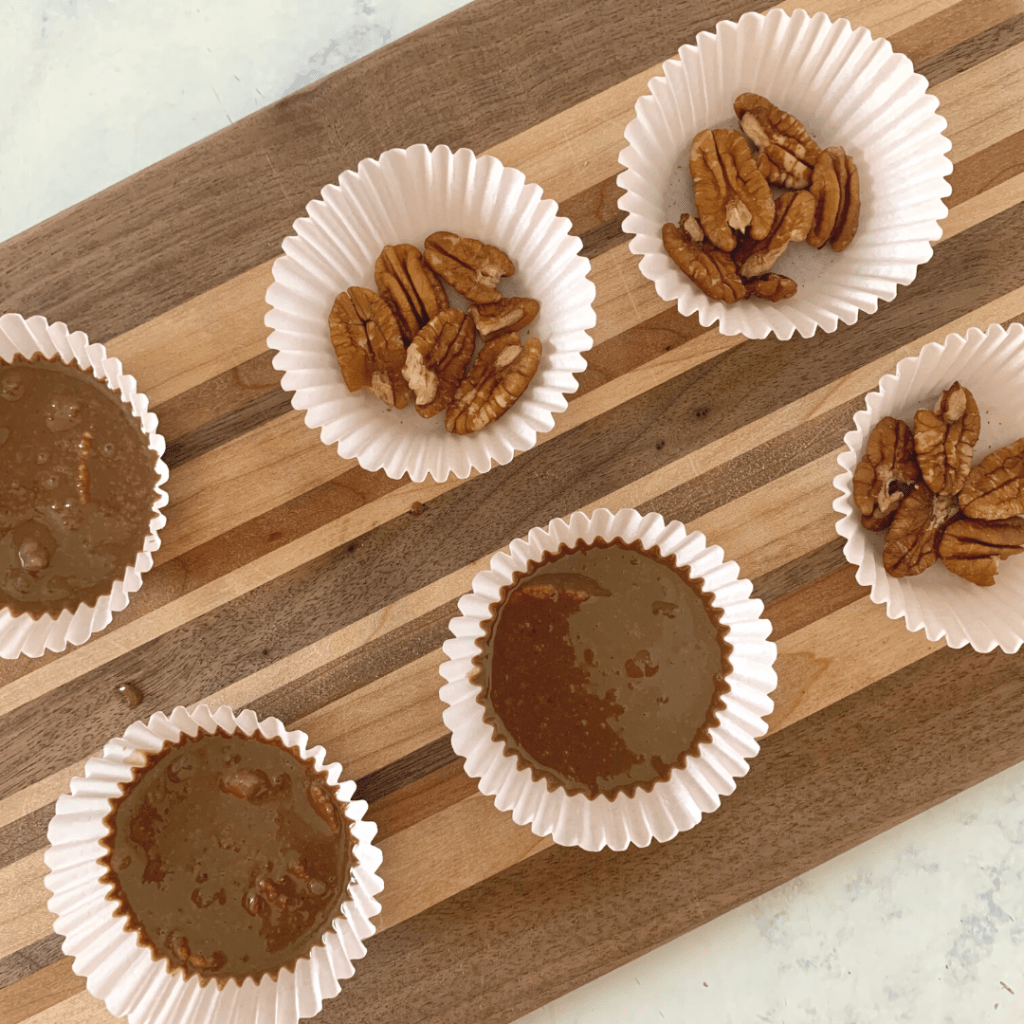
The Sweets! Another super easy way to help create a statement and make your birthday queen feel special is ordering a fancy cake! Of course, I went with our go-to special occasion local cake place; Kelsey Elizabeth Cakes (KEC) — we had our wedding cake done there and ever since, those cakes have held a special place in our hearts and is our go-to. I went with a 6″ Retro Dot buttercream cake, we got the Vanilla Blackberry flavor, and I was also able to pick out the colors, so I picked mom’s favorites! I also ordered a mini Reese’s party cake, because it’s delicious and my dad’s birthday is also in September so we gave him a little treat too! My dad also coordinated getting chocolate peanut butter cupcakes from a local baker near them, Morgy Cakes — he organized everything from the pick-up, to the flavor, to the design — it was so sweet and they were delicious. We made sure to have fun gold glittery 6-0 candles and tall skinny white and gold candles for mom to make an early birthday wish!
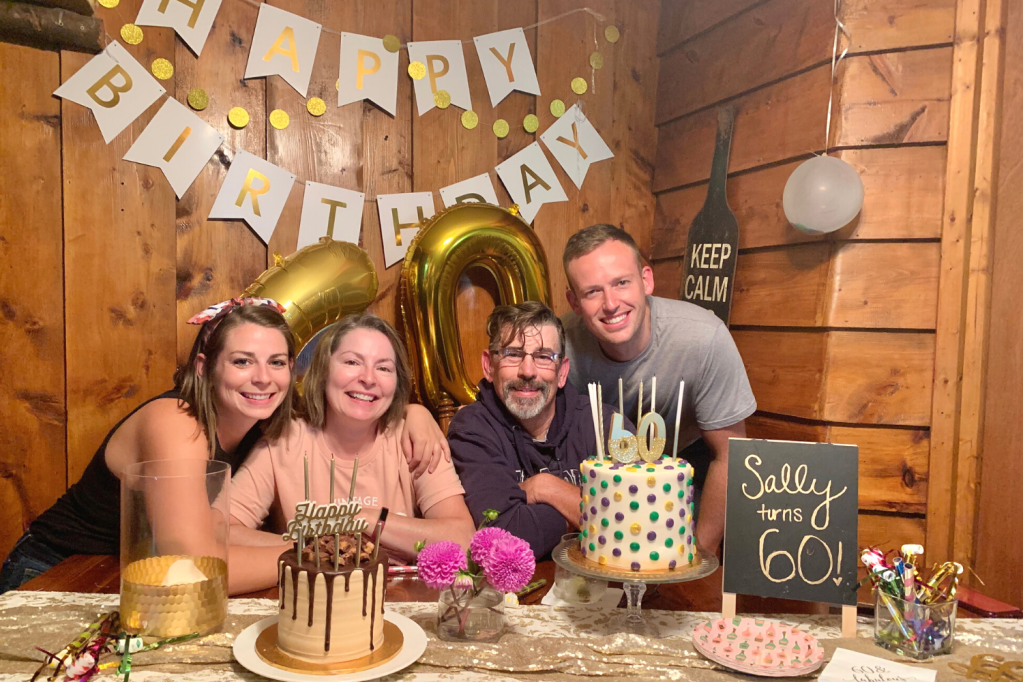
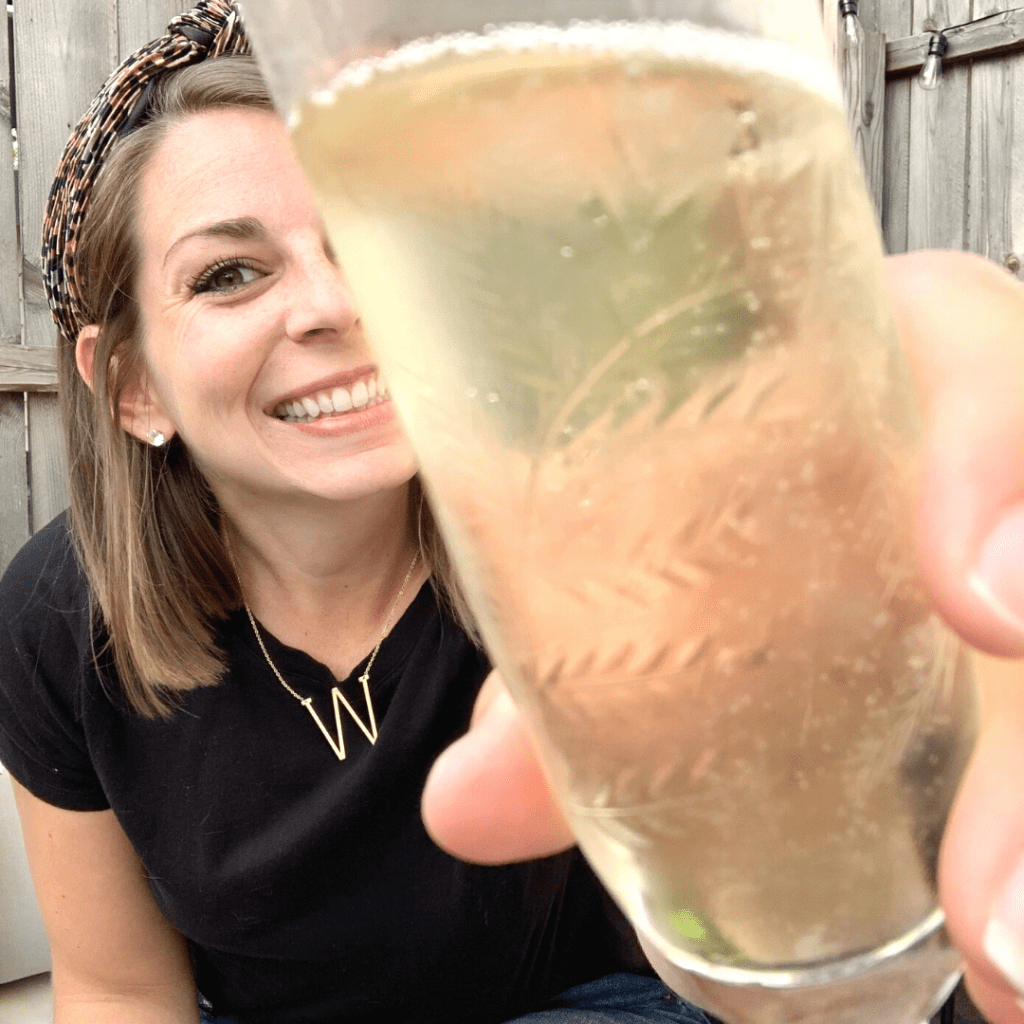
Since we were there for almost three nights, we had coordinated our meals between our two households, and had no shortage of food! We also made sure to plan a special dinner for Mom’s official birthday dinner which included steaks and a delicious sweet potato grilled dish (will share recipe!) — we also made a few epic charcuterie boards that served as our dinner at least one of the nights as we listened to music, chatted, played games and drank the nights away. My brother, SIL and niece also made it in for the trip, which I know was extra special for my mom — especially having all of us under one roof, which hasn’t been like that since Thanksgiving!
It was a super fun and exhausting weekend — and I know my mom loved every moment of it and now she gets to have a nice and relaxing day for her actual birthday. Happy Birthday, Mom!


 Goal #1 is to meet
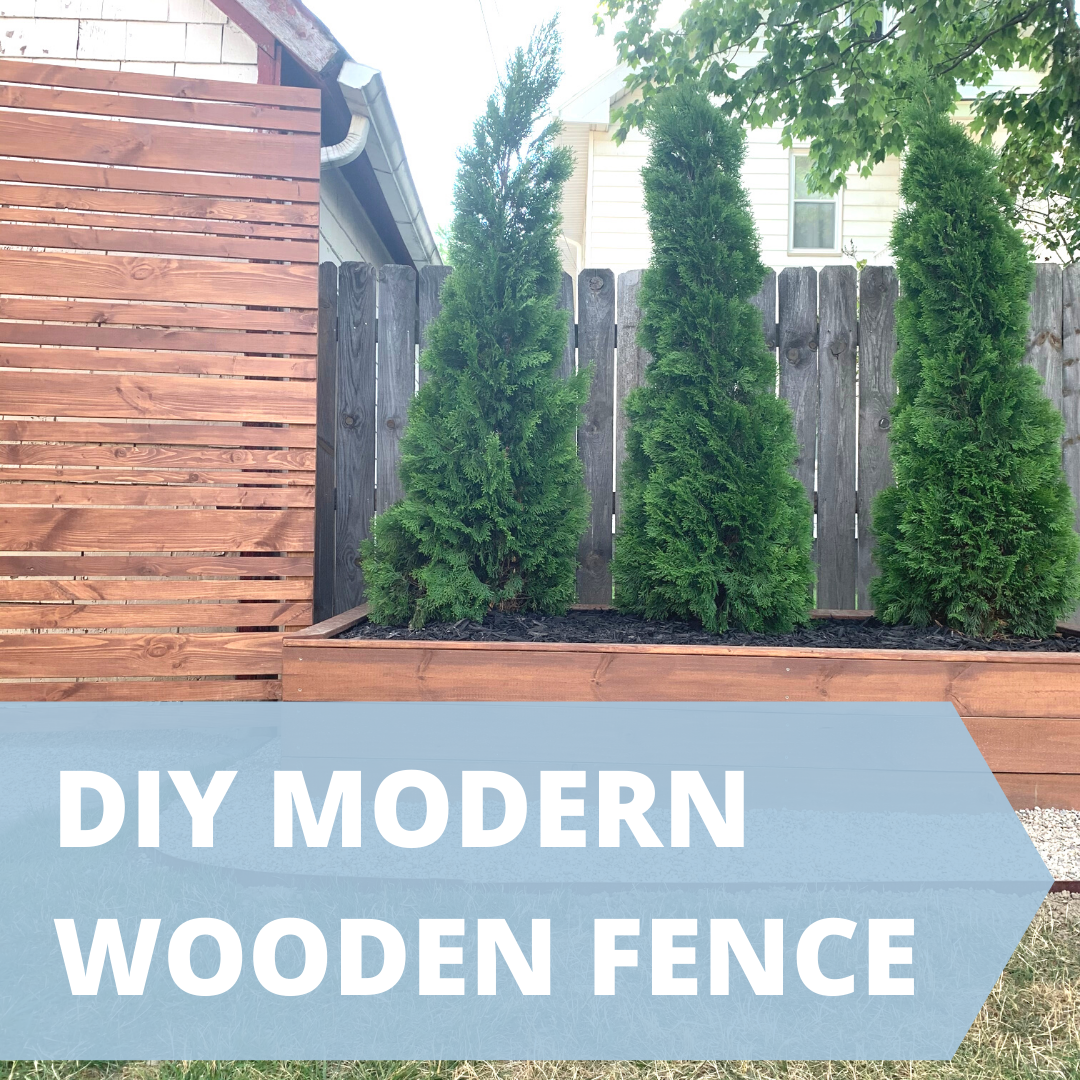 The pitch was a success and the project was a go! The advantage of this project and any DIY project is being able to create a completely custom fence that fits your space and dimensions. We ended up throwing in two other fences to place around our ‘property,’ one in front of our garbage cans along the side of our driveway, and then another on the North side of the house in front of our air conditioner. The thing to remember with these fences is they weren’t going to be complete privacy, but help off-set and distract from the ugly things.
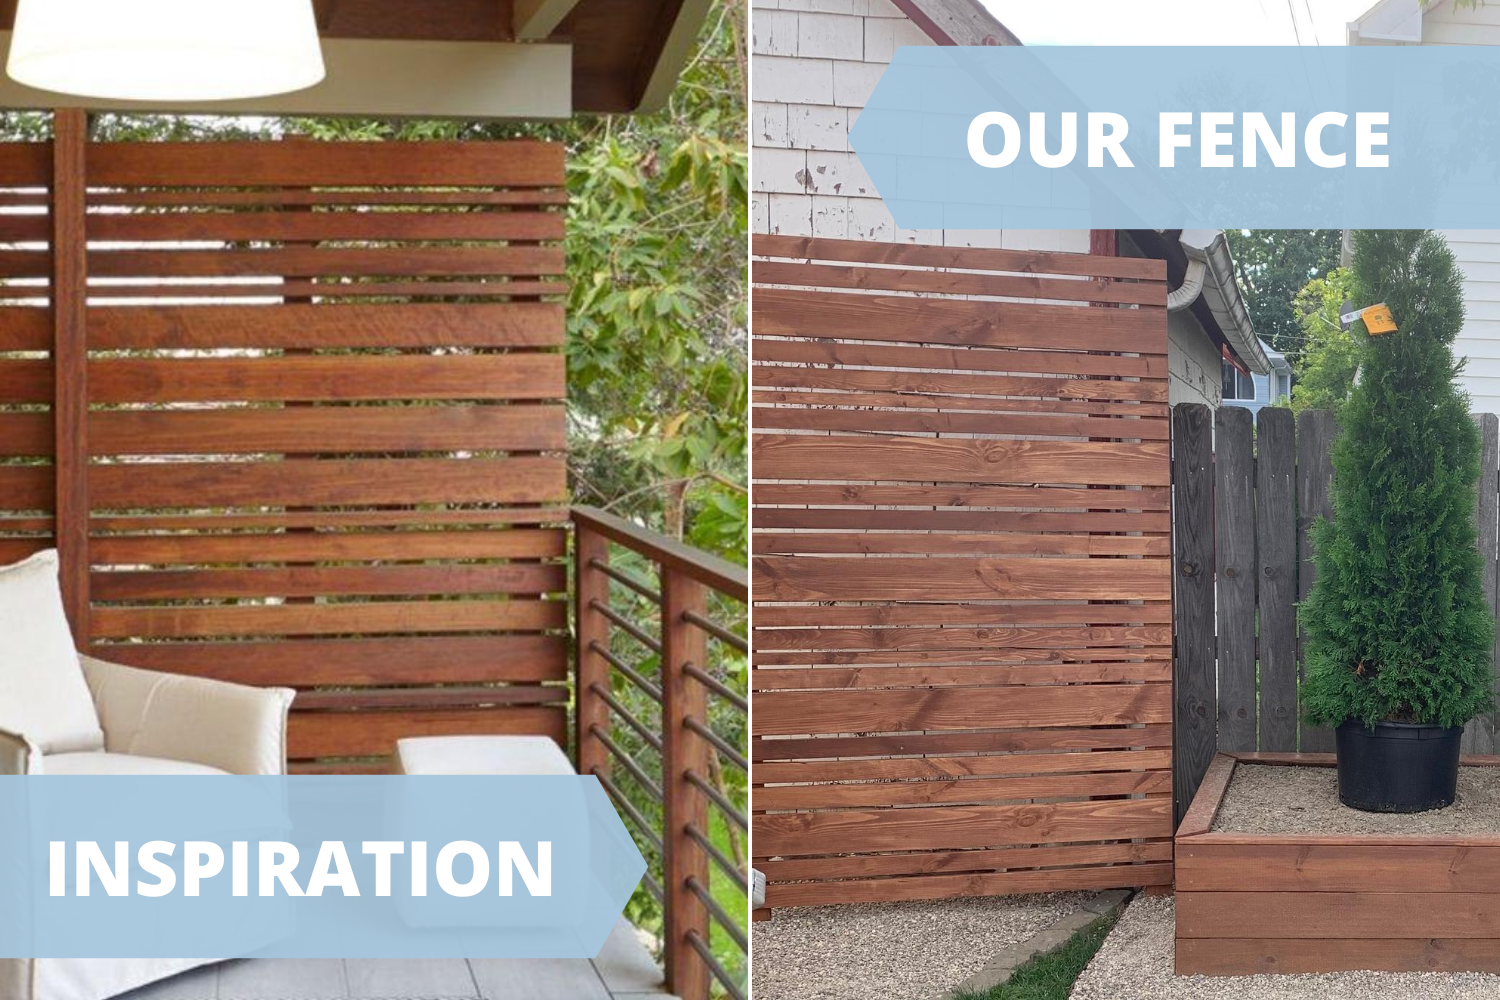

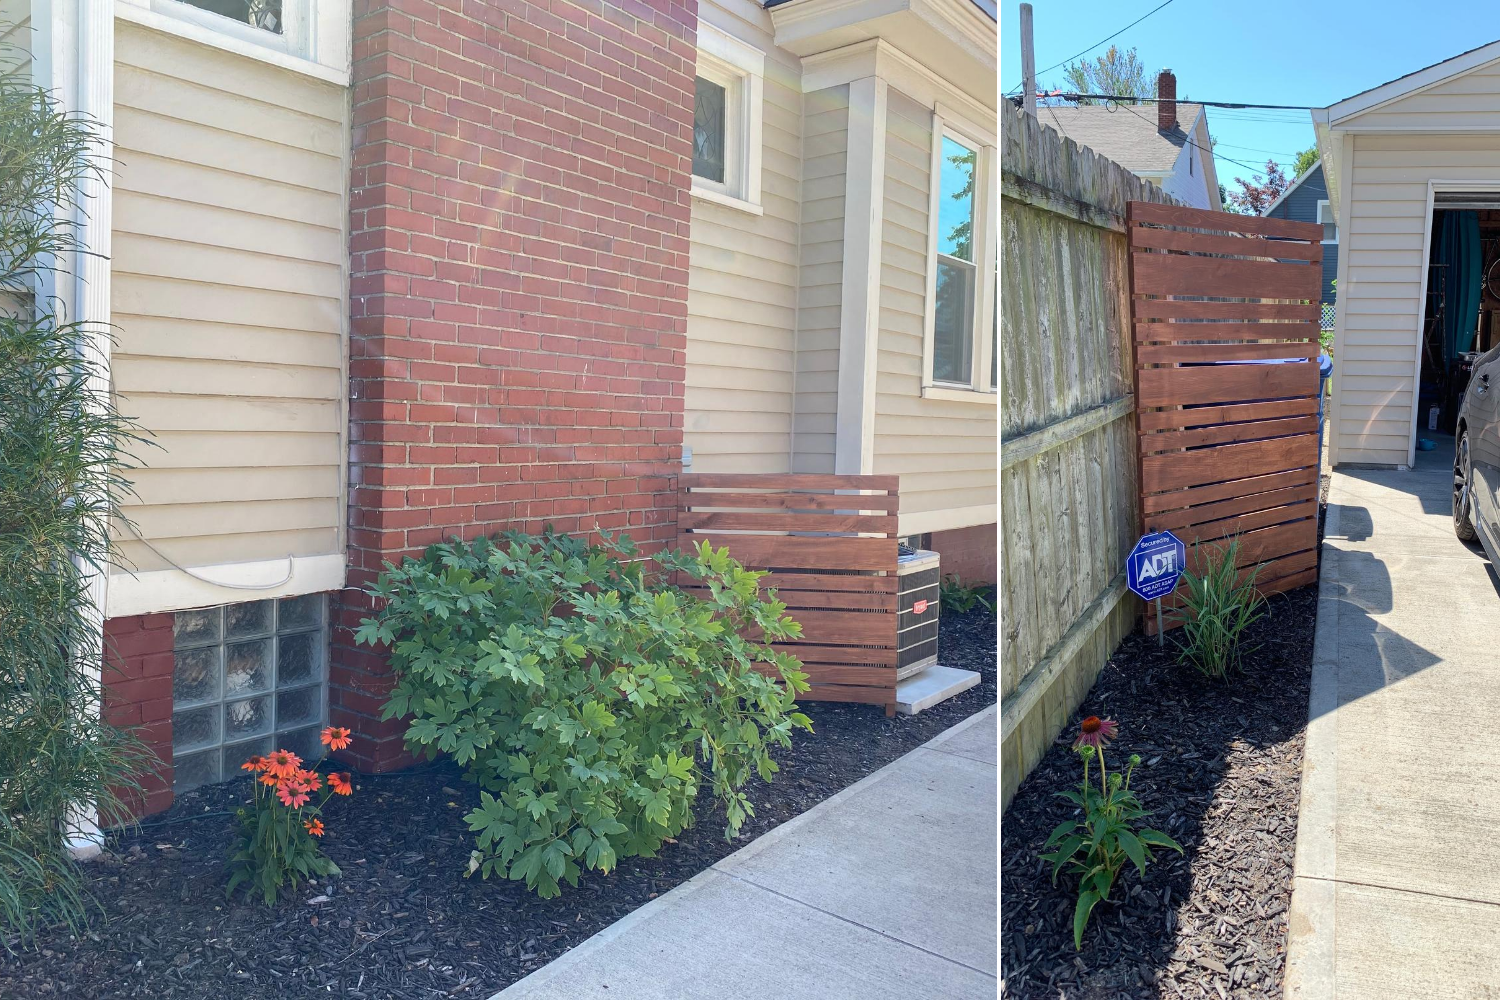
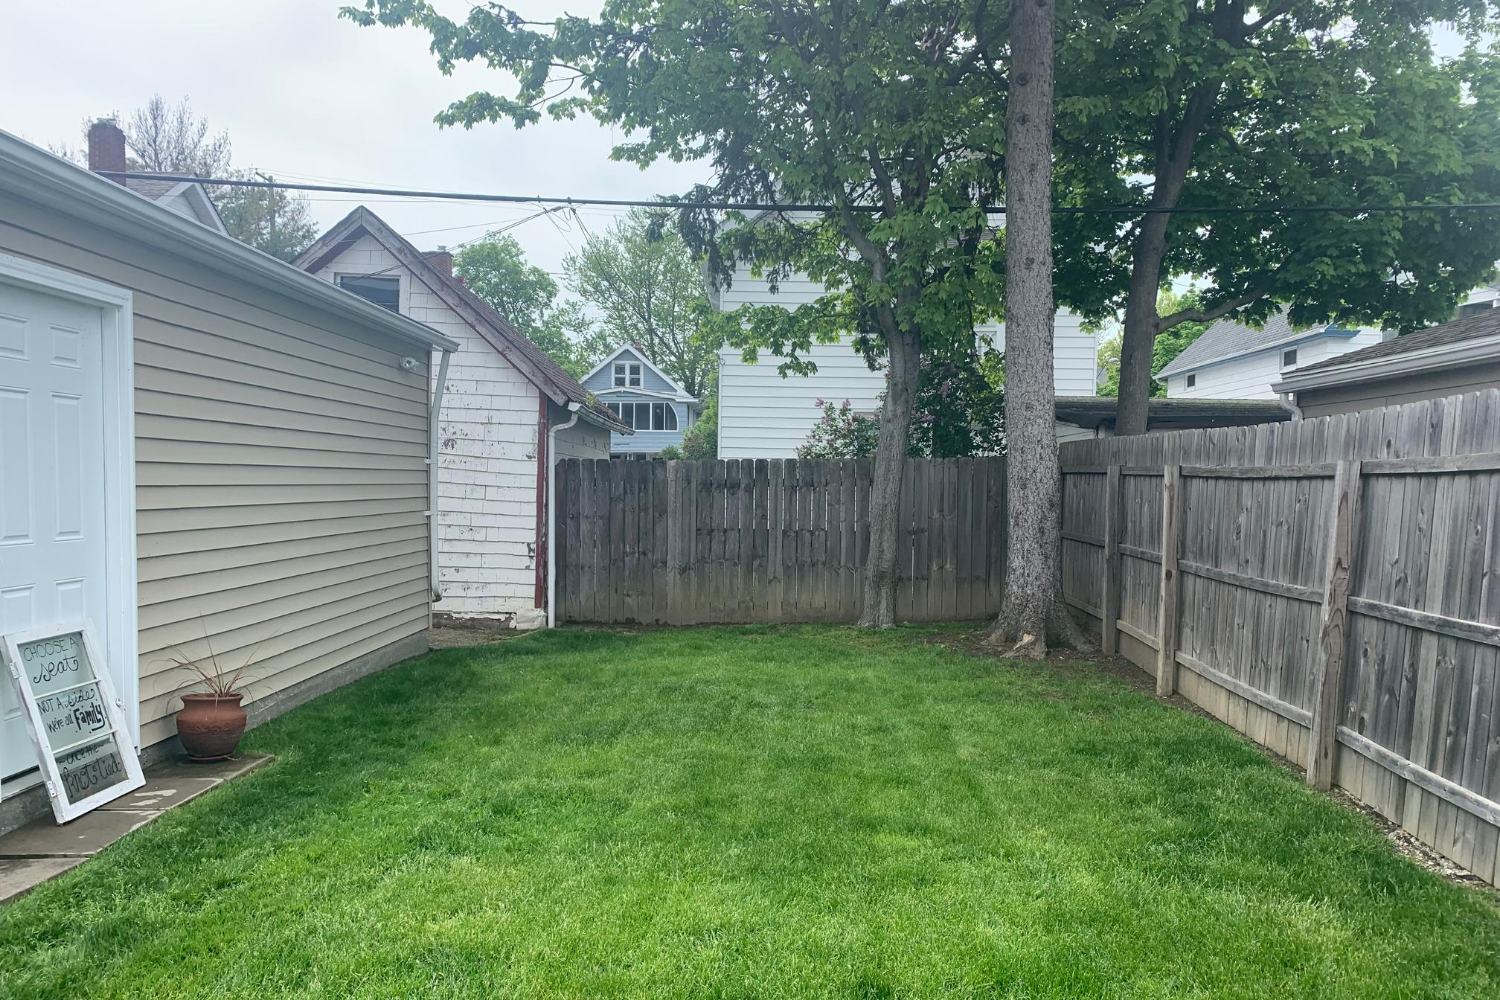 We had two different ideas on how we could do this. Mine was making planter boxes and B’s was building up the ground and using rocks to build a sort of wall. I quickly sold B on the planter box idea, for a few reasons — (1) we could customize the dimensions and look however we wanted to fit our space and (2) the stones I would want to put in the backyard would be expensive, as I’m not the biggest fan of the more generic ones you can find in stock at home improvement stores. Thus the planning begun and the measurements started. We ended up adding in a second planter box to the right of the main area to help B out with another dead grassy area that he hates!
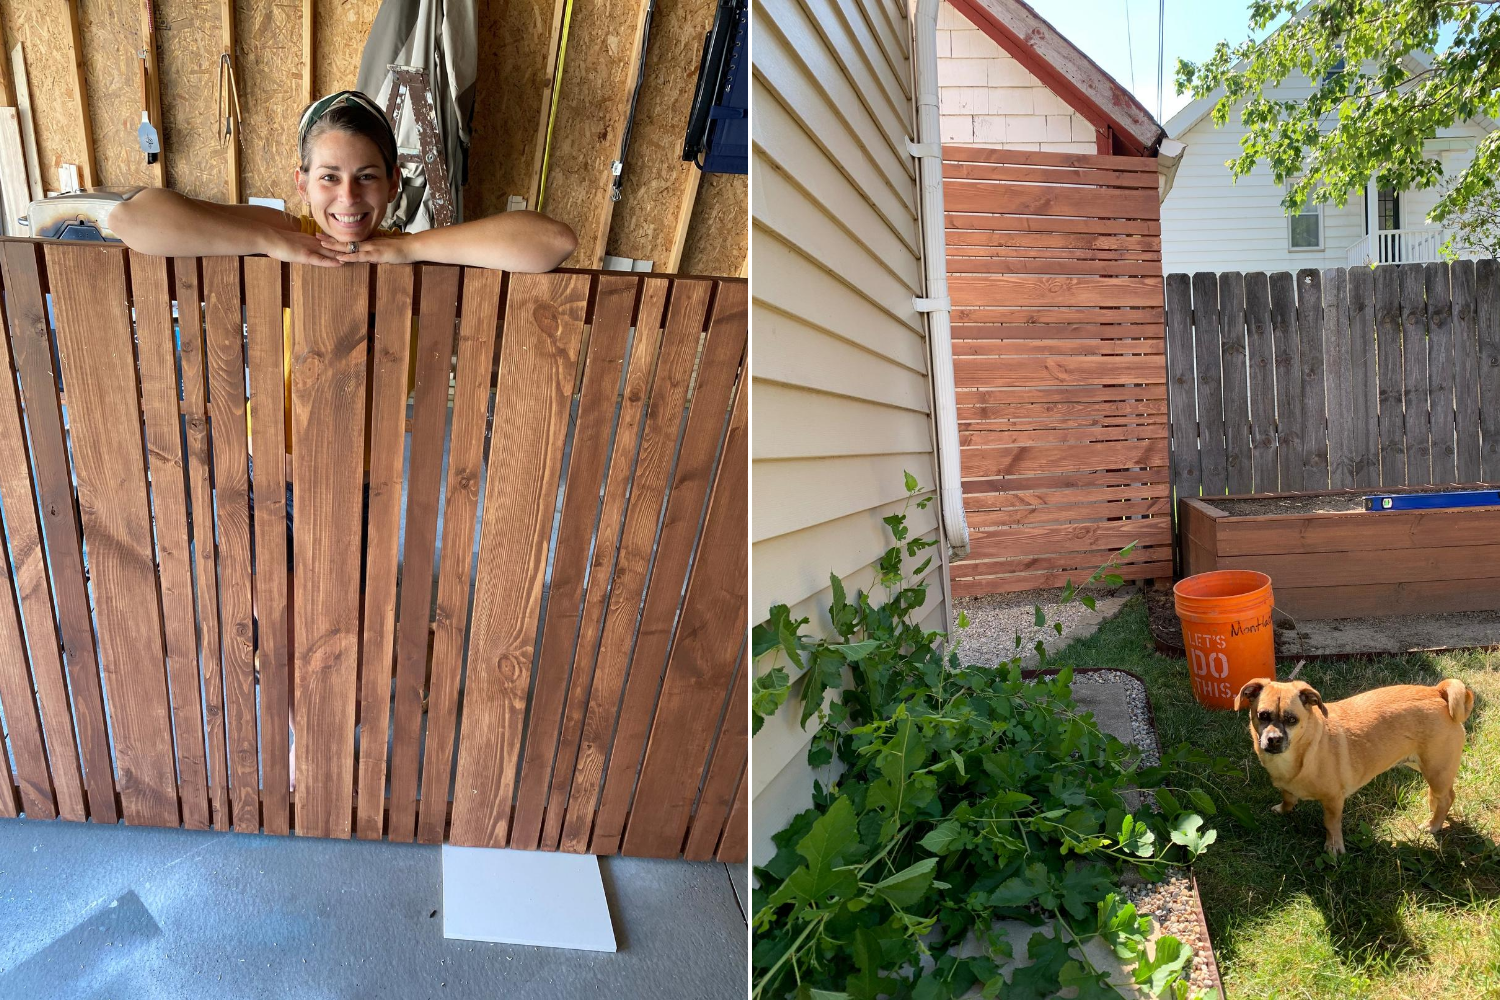
 The larger planter box we made was 8ft by 4ft and the smaller planter box was 4ft x 3ft, both 18 inches tall. We used 2×4’s for the posts and then used pressure treated wood for the exterior sides and stained them for extra weathered protection. We cut all of the wood and I stained it while B worked on getting the holes dug for the support beams.
 Once we got the boxes in place, we felt super accomplished and add top pieces to help finish them off! From there we ended up lining the insides with a
 Once we finished the edging off, it really brought this space to life and separated it from the rest of the yard — without taking away too much from our green space (which was a constant concern for me!). We got three yards of dirt delivered pretty quickly – for the record, we ordered way to much and could’ve gotten away with two and a half yards or so. We also got this delivered on one of those red hot July days, B busted his butt and filled the planters (not recommended). When we actually got to planting, we had to remove a lot of dirt so that was why we ordered too much! For the plants, we knew we wanted to get arborvitaes for the large planter box to add a bit more privacy, so we did our research and visited the nursery to pick out trees! We ended up buying a bit more expensive ones that were already 4+ft tall. We also kept going back and forth between getting two or three — we ended up choosing three knowing that we will need to trim and maintain them a bit more!
 For the smaller planter box we got a hydrangea – which I think I’m going to switch out for a Limelight version, like we have in
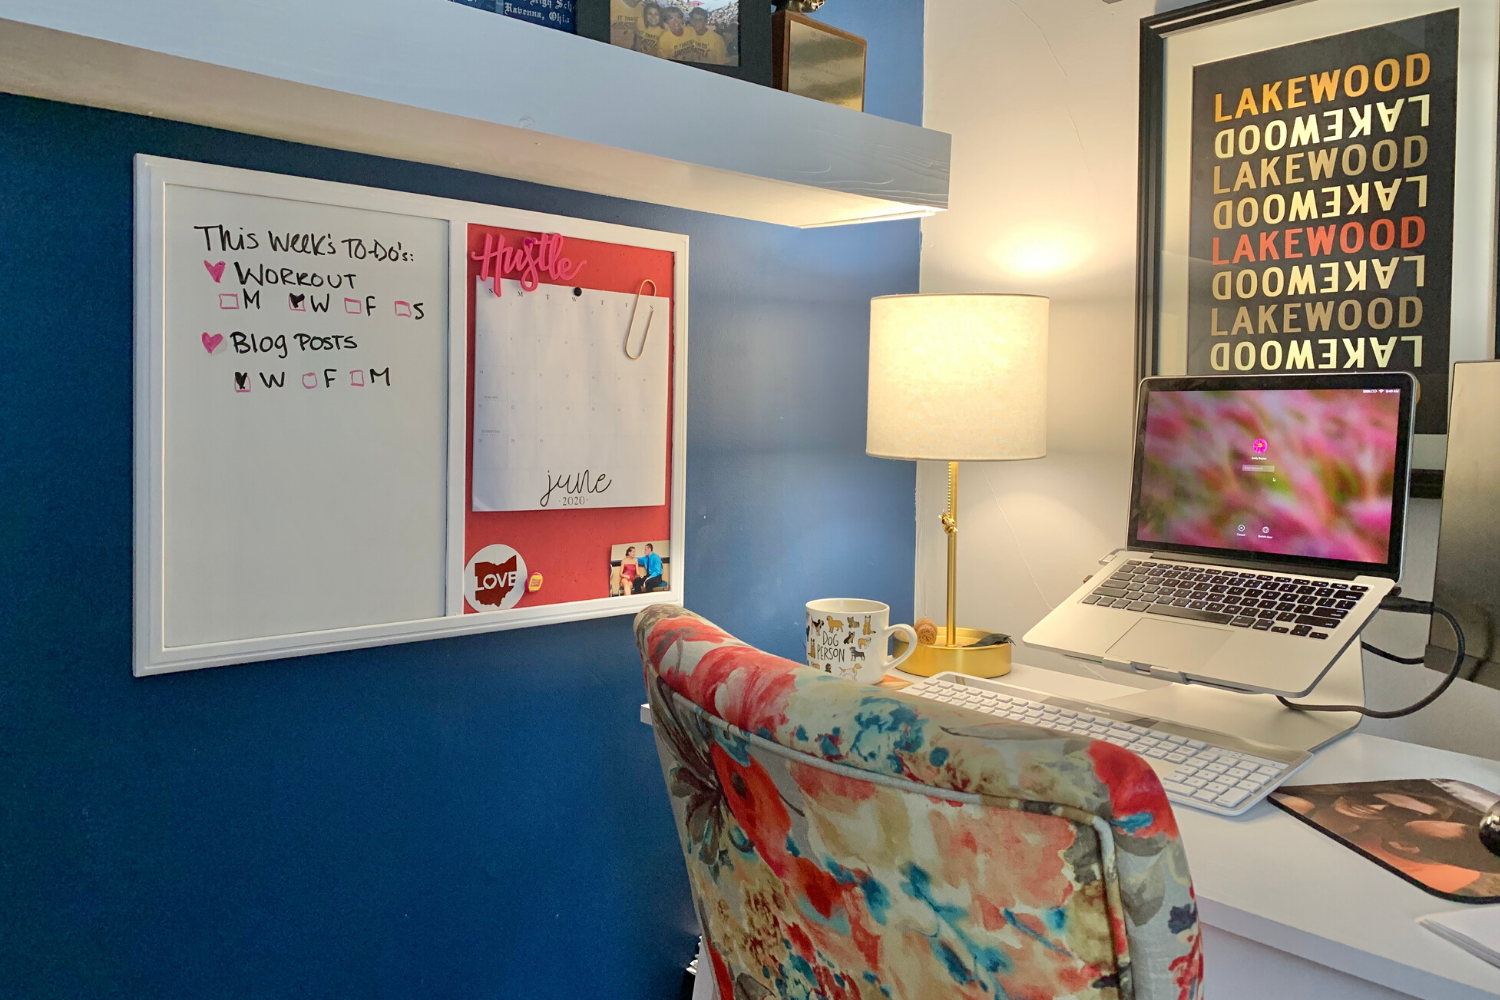
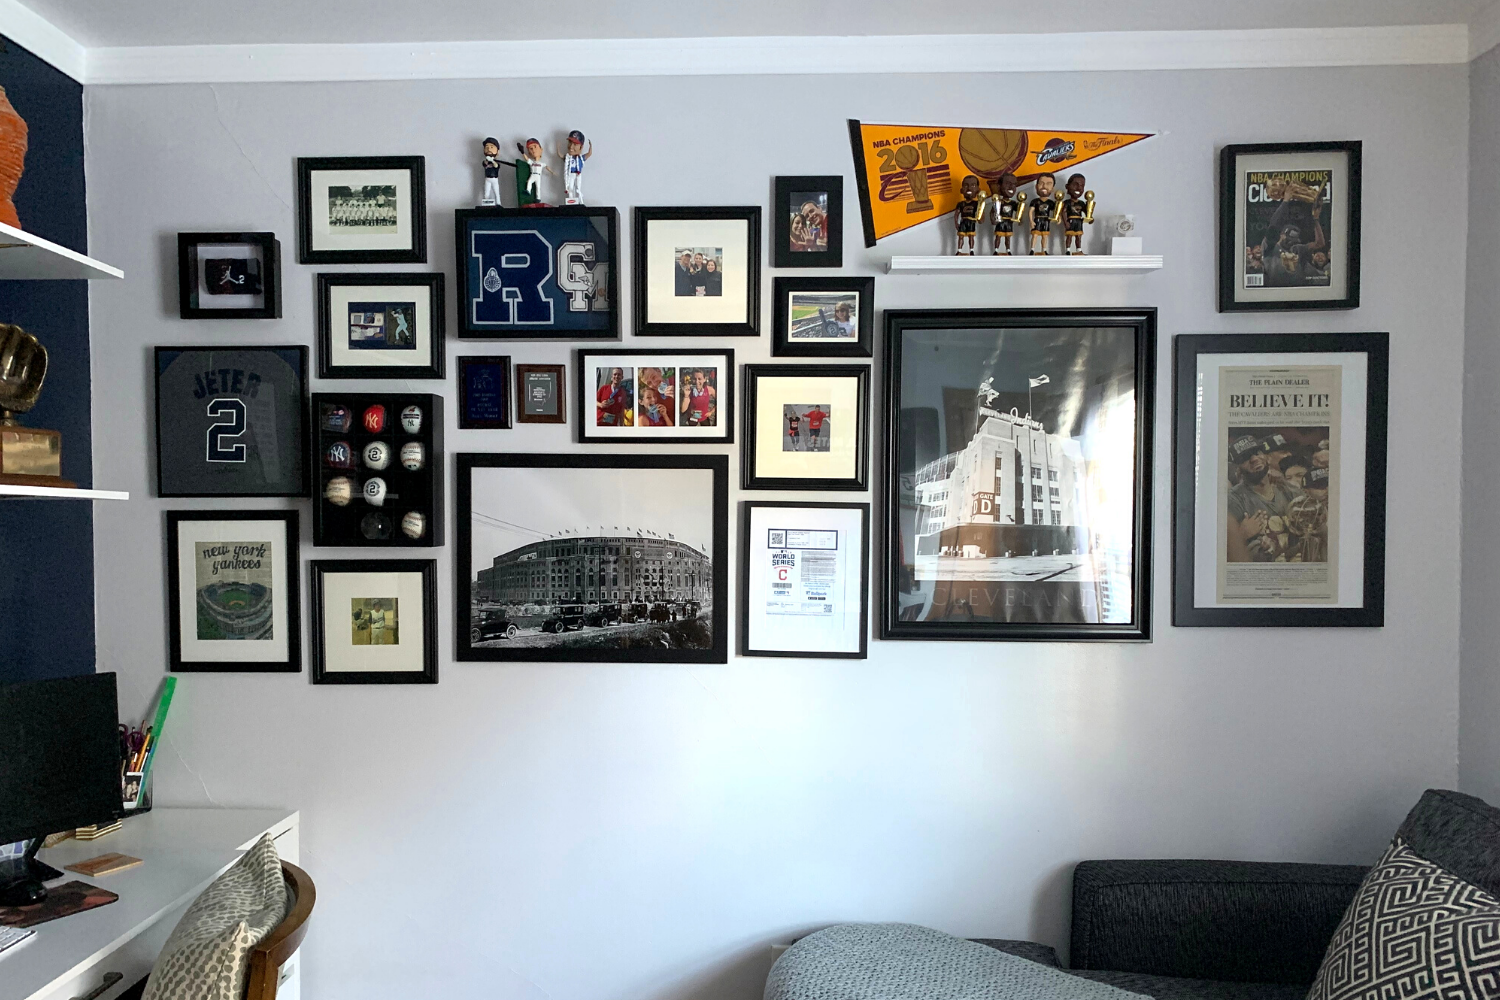
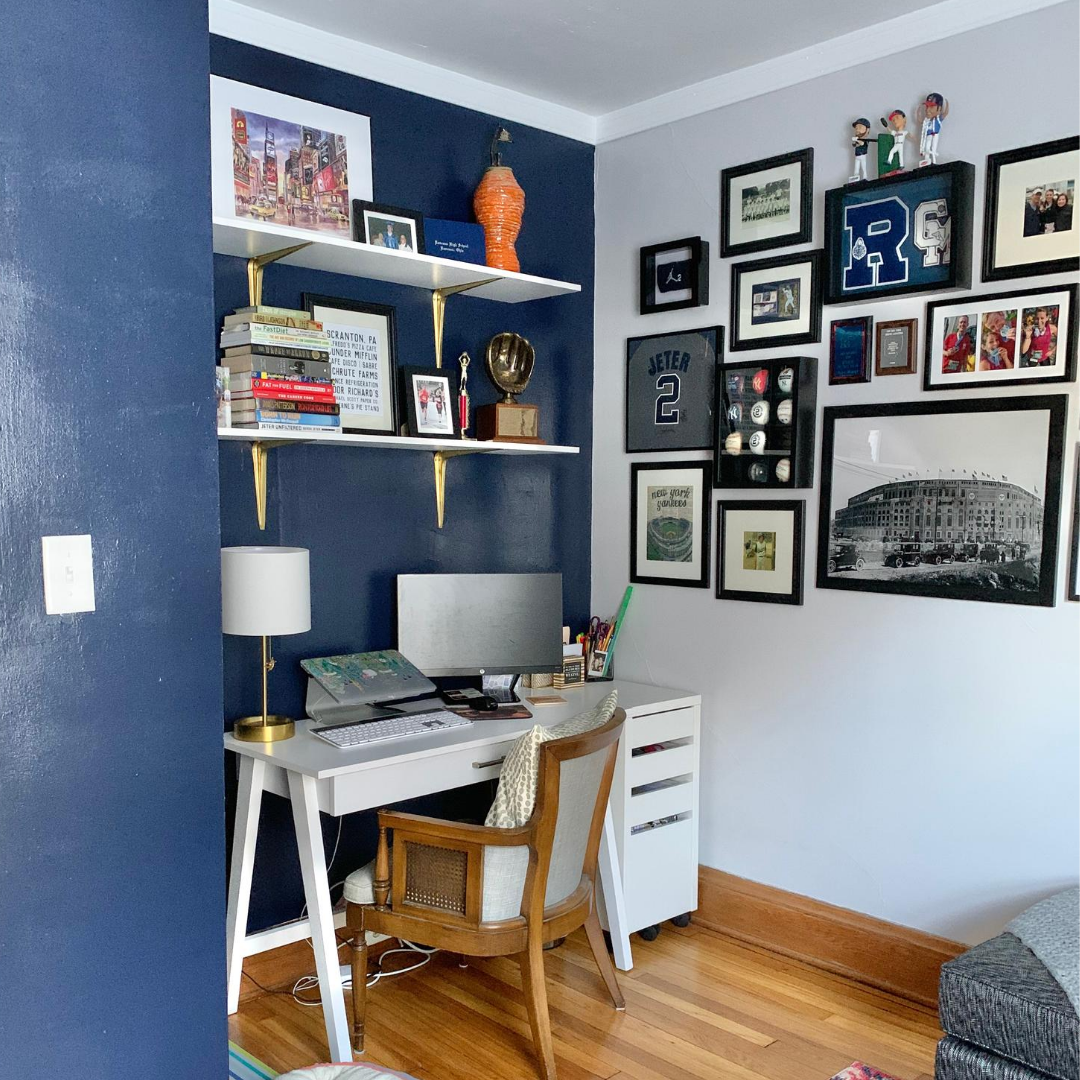 For this budget friendly refresh I focused on three things; (1) fresh paint (2) new white shelves and (3) large gallery wall with our sports memorabilia.
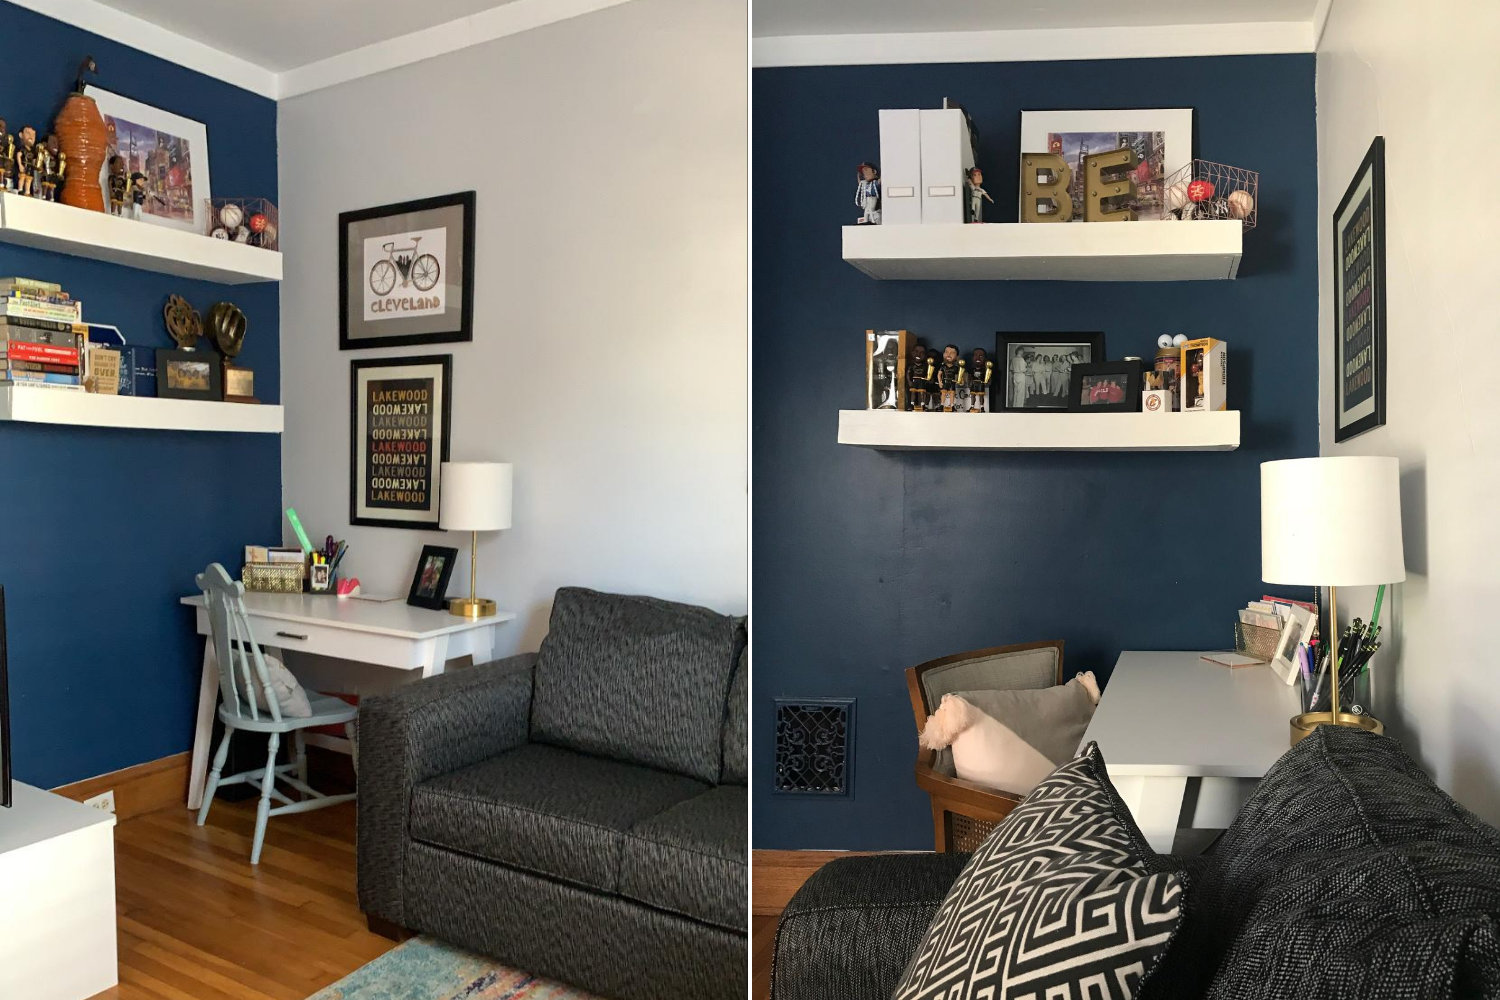
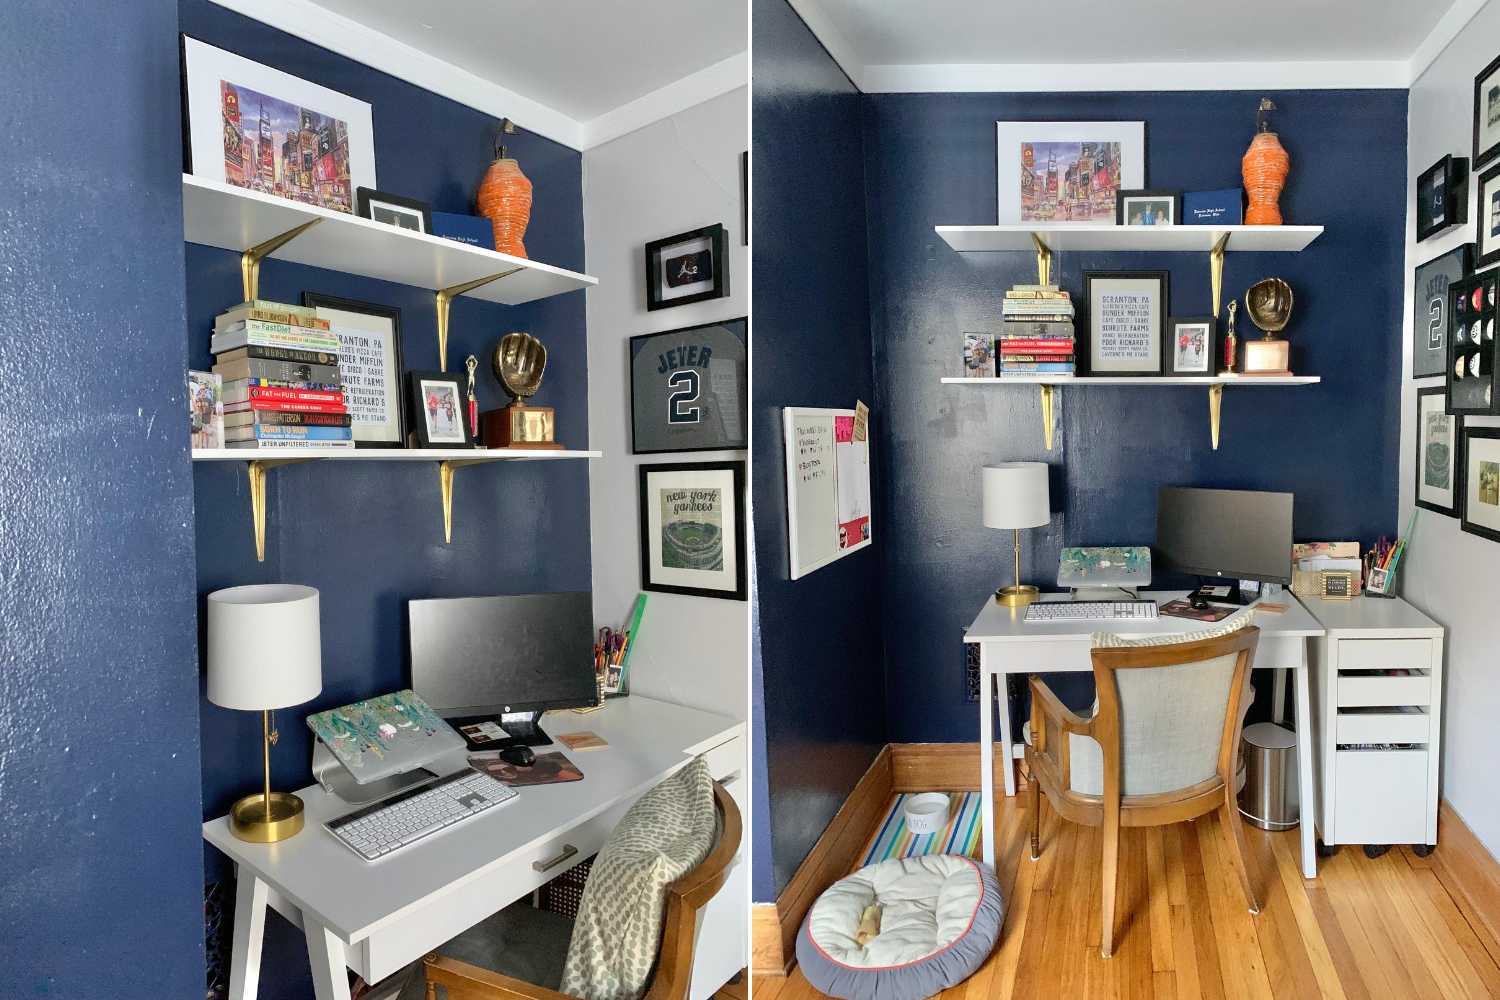 Before we got started painting — we ended up taking our white floating shelves down. This project was one of B and I’s first DIYs we did, and it definitely wasn’t perfect — so we deconstructed and I planned for a new cleaner and streamlined solution to replace them. With a few coats of paint, the blue was looking refreshed and a bit darker. I went for a simple white shelf look with gold brackets. Since I was unable to find gold brackets in stock and for a decent price — I spray painted some white ones that were more affordable! I bought these
")
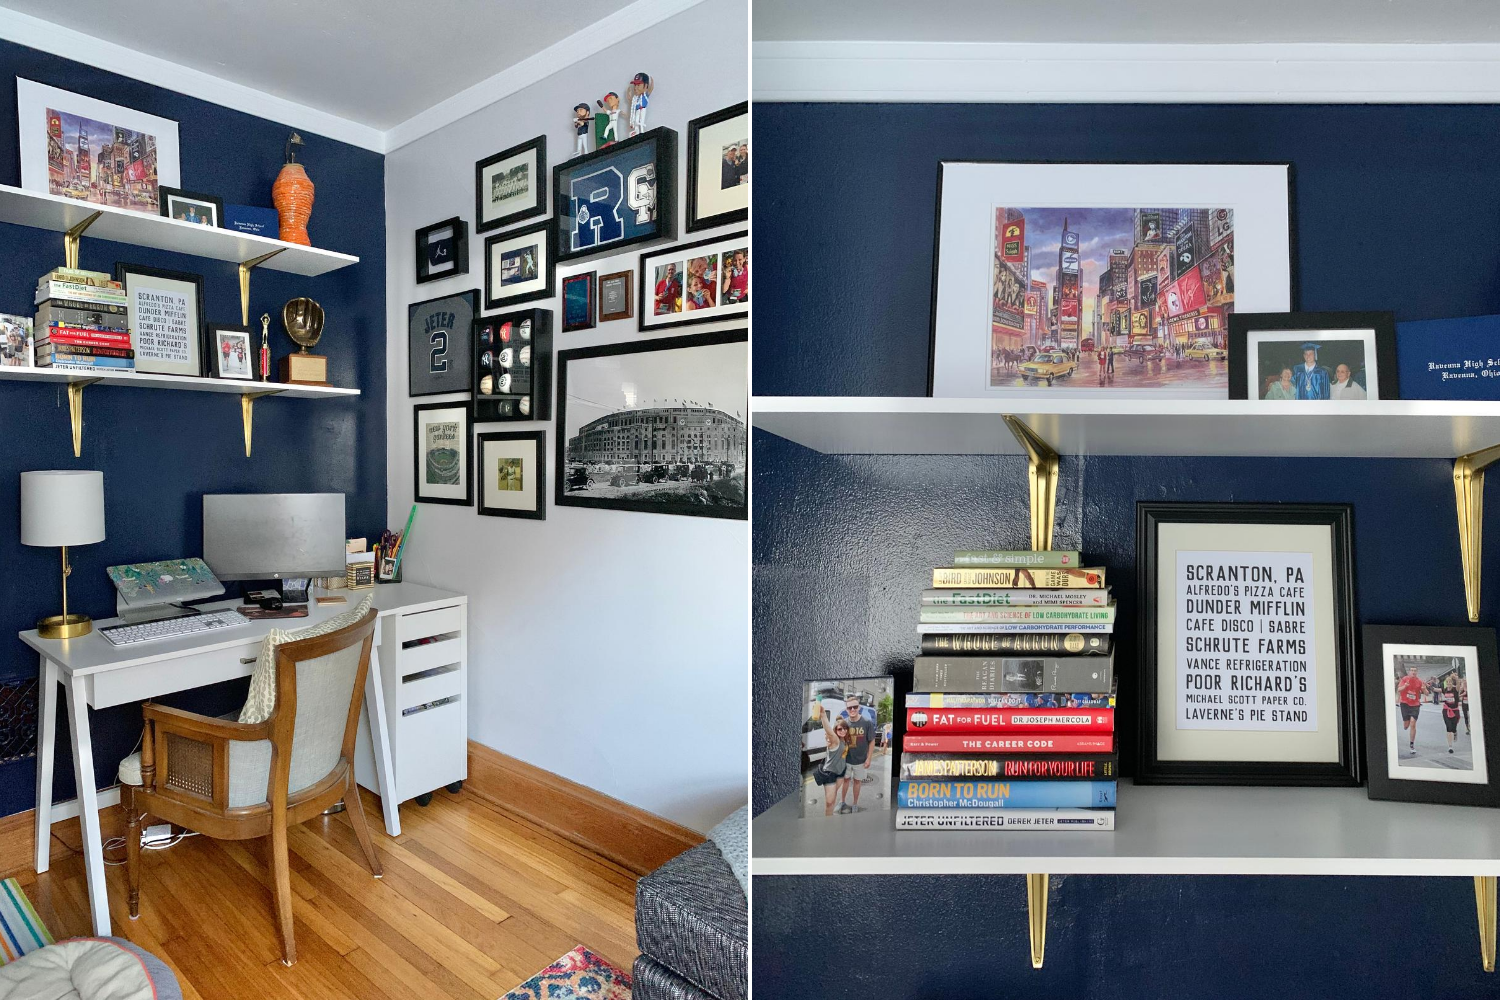
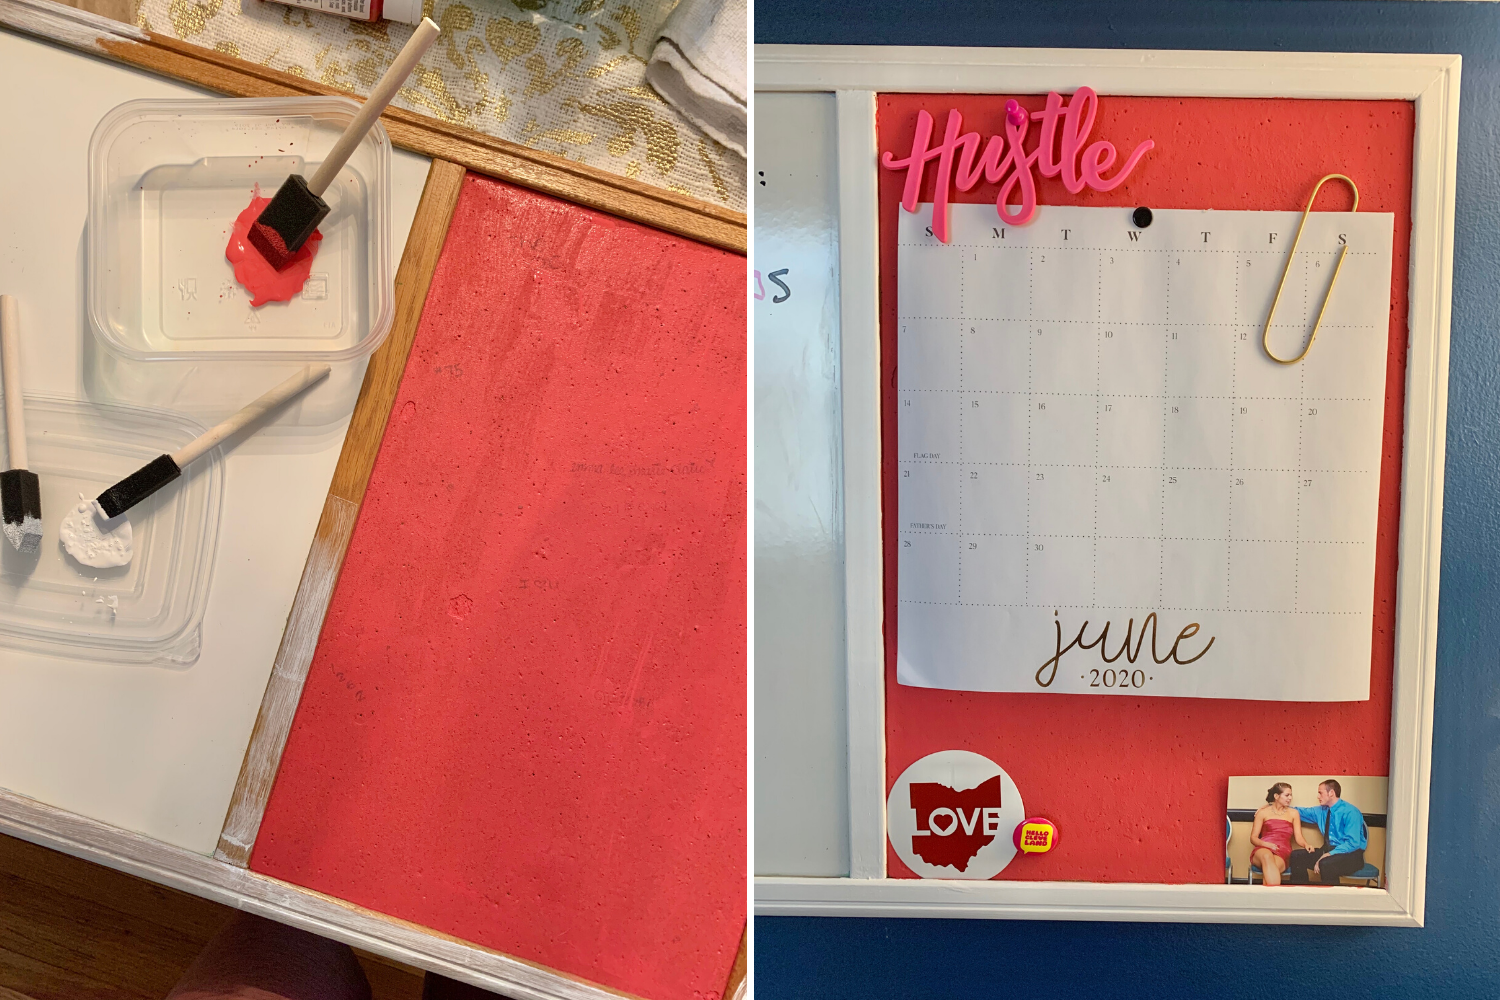
 The best part was I was able to cover up my high school doodles that have lived on for over a decade *cringes a little* and give the dated wood grain a fresh and affordable update with the craft and paint supplies we already had. It just required a few coats of paint and a little patiences.
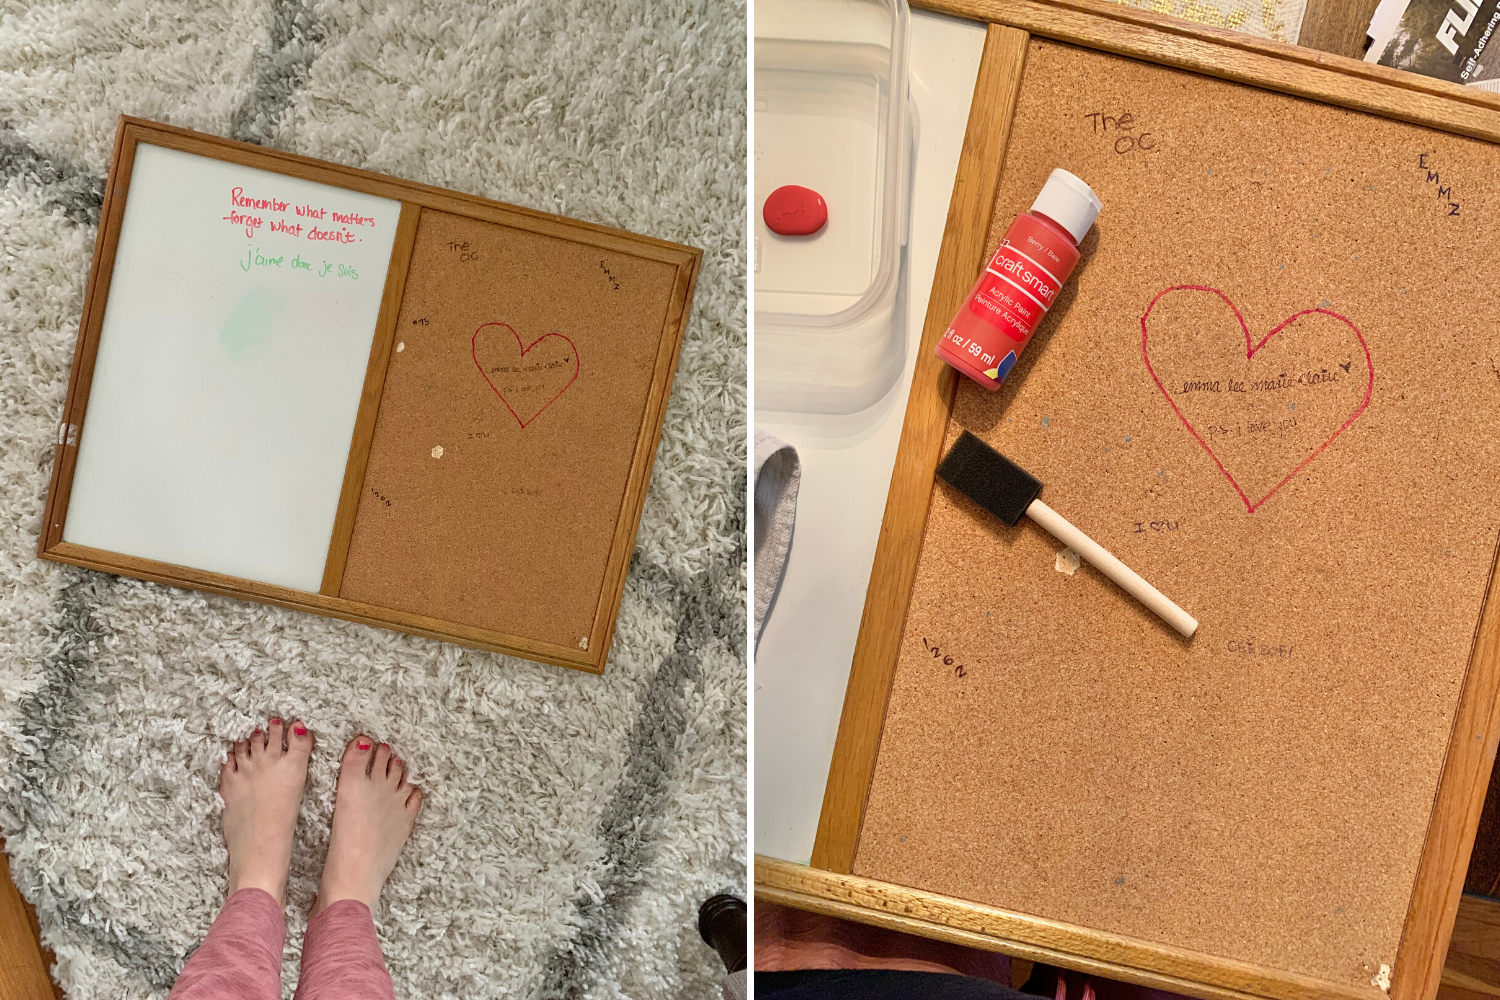 Step-by-Step: