It wouldn’t be the holiday season without another Anthropologie dupe! I did a dupe this year on the Frosted Bottle Brush Tree Candle. This honestly was super easy, with endless options to customize and create your own. Originally these candles are priced anywhere from $68 – $16, these candles I duped were about $14 each or less.

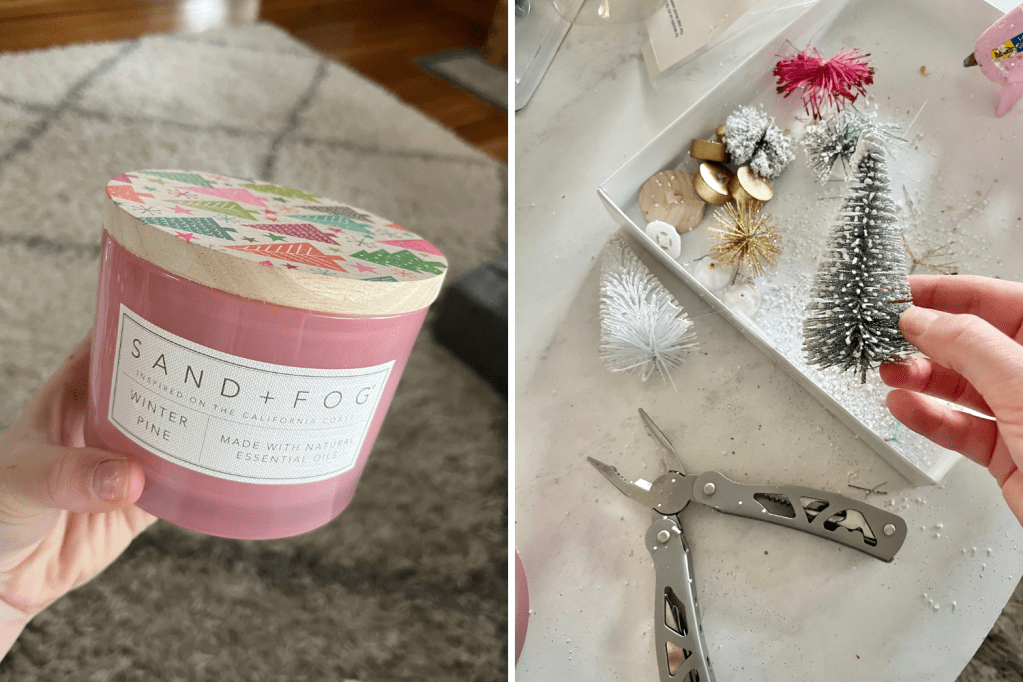
The candles I found were at Home Good’s and Marshall’s by a brand called Sand + Fog, they were $7.99 each but came with painted lids with holiday prints. I also made sure to find holiday scents since I’m gifting them for Christmas gifts! Luckily, I had a decent amount of mini bottle brush trees from previous years, so I only had to buy a few new to create this craft.
DIY Shopping List:
– Candle of your size or choice, ideally with a wooden lid
– Bottle brush trees: 6.5″ Assorted Set OR 6″ Set from Target OR 4″ Set from Target
– Hot glue
– Paint or spray paint as needed
Step-by-Step:
1. If your candle lids have a print on them, paint them white or color of your choice. You may need a few layers depending on the design. If you have a plain wooden top, skip to the next step!
2. Remove the base on your bottle brush trees, and trim off the excess wire with pliers. You’ll want the bottom of your tree as flat as possible.
3. If your bottle brush trees are all the same height, you can take pliers and cut a section off the bottom in order to have different heights.
4. Before gluing in place, play around with the heights and amount of trees you fit on the lid — I fit 3-4 trees depending on the size.
5. Once you have your placement figured out, generously apply hot glue to the center base of your trees and put into place – if your trees are taller, you may need to hold the tree in place.
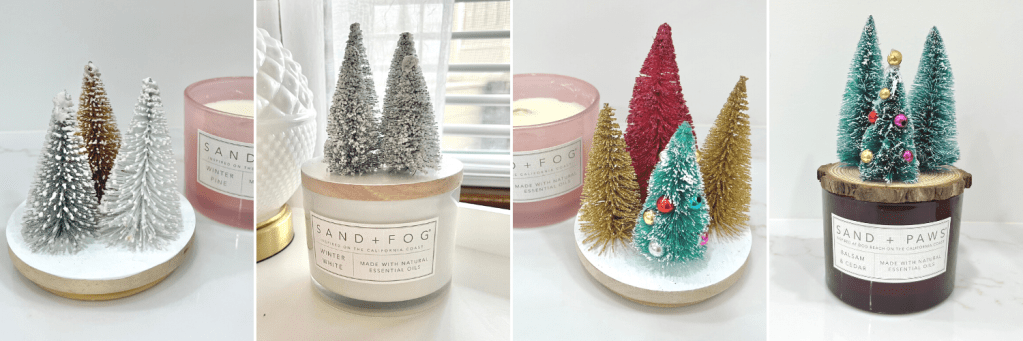
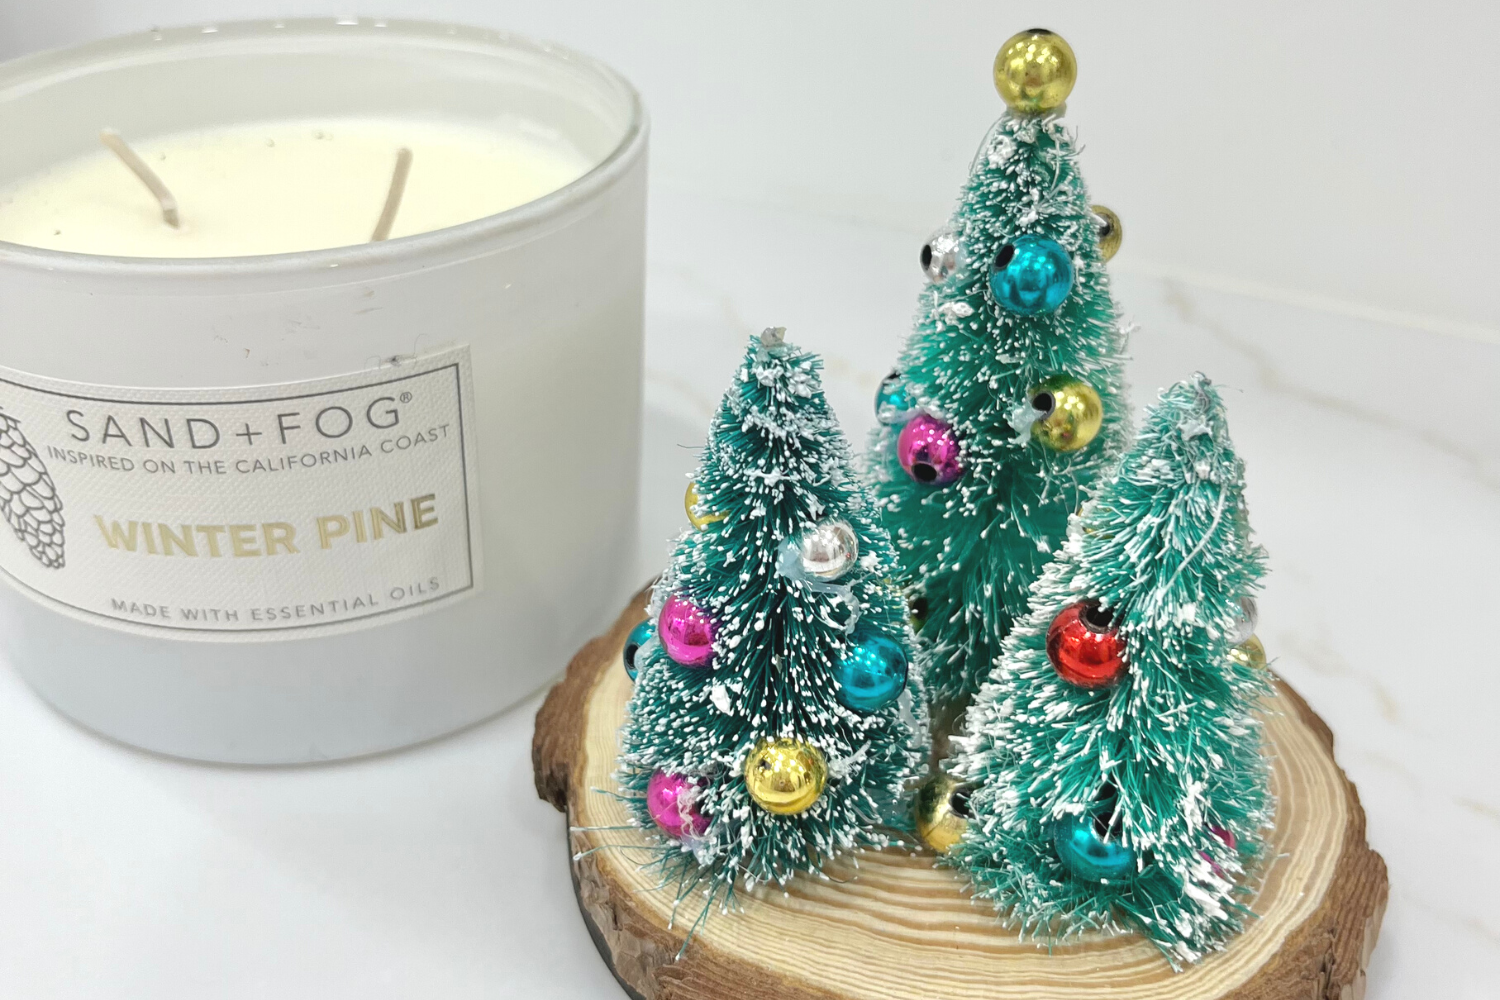
So Many Brush Bottle Trees, So Little Time. As I mentioned, this can be tailored to your design and style and truly make it your own. I love a little more retro flair with my Christmas decor, so I found these cute retro bulbs and gold trees to mix into a few of my candle tops. On some of the plain green trees, I even added more white paint to make them look like snow-covered — you can also play around with spray painting the trees to whatever color you want. Finally, I do think adding in various heights can help add depth to the candle top, unless all the trees are different like the gold, silver, and white trio at the very top (which is one of my favorite ones!)
What do you think? My anthro dupe is definitely a different vibe than the inspiration, but replicating the originals would’ve been pretty easy to do by sourcing different bottle brush trees. It would be really fun to grab an extra-large candle to create a little bottle brush forest on top!
Check out my other high-end holiday dupes:
❄️ Pottery Barn Snow Globe Place Setting
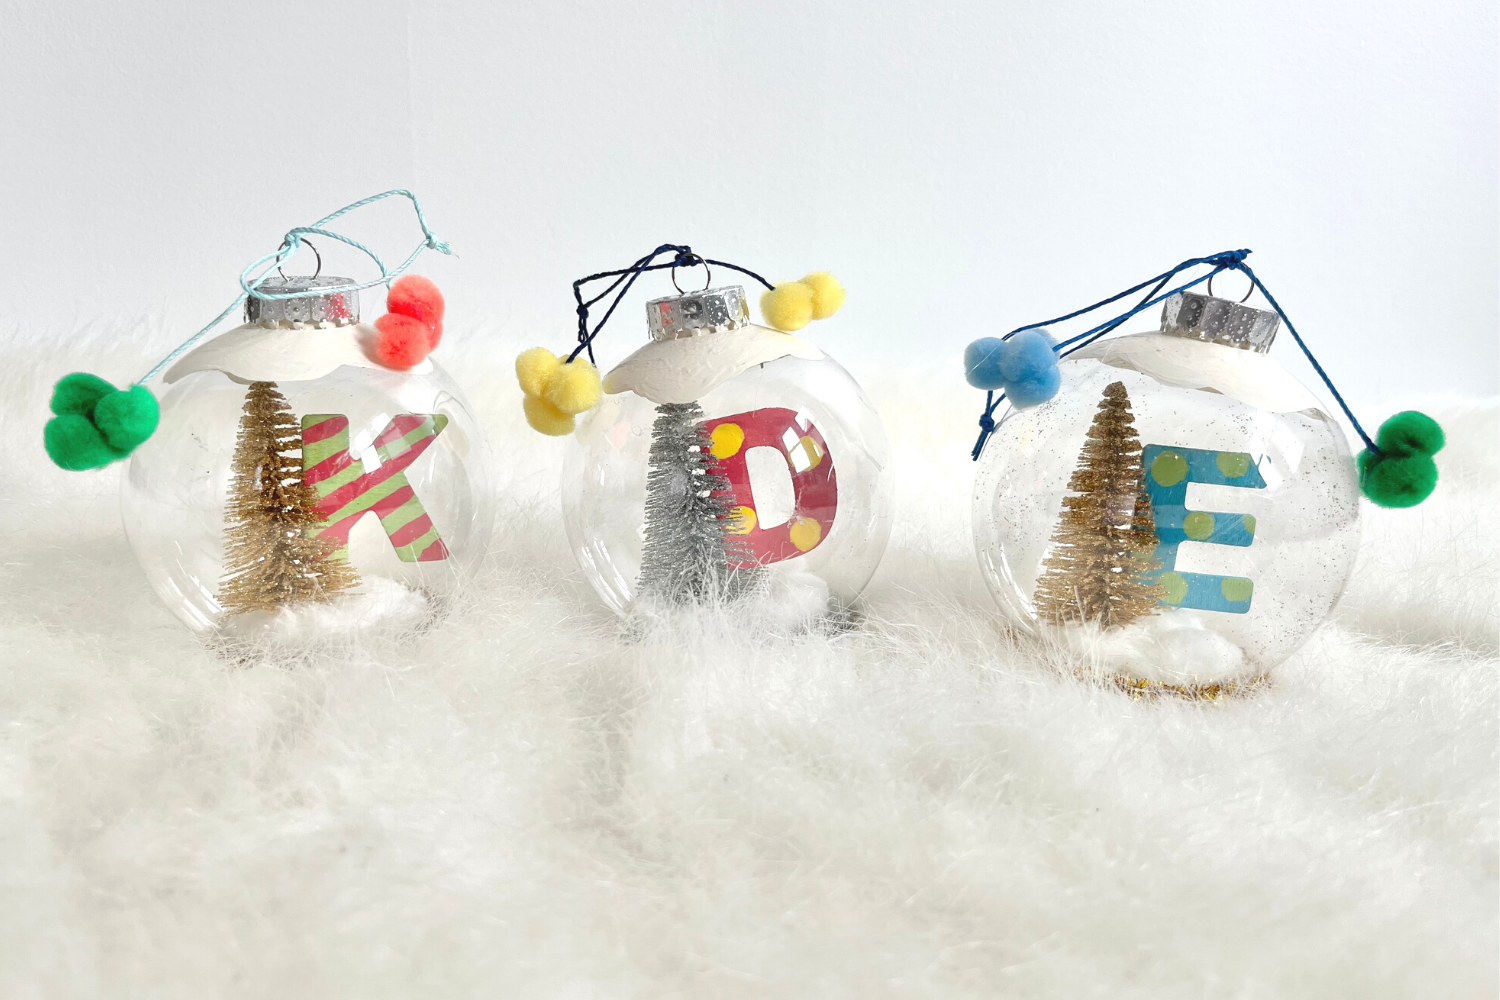
🎄 Anthropologie Monogram Ornament
🔔 Christmas Village DIY
🎅 Nutcracker Napkin Rings