
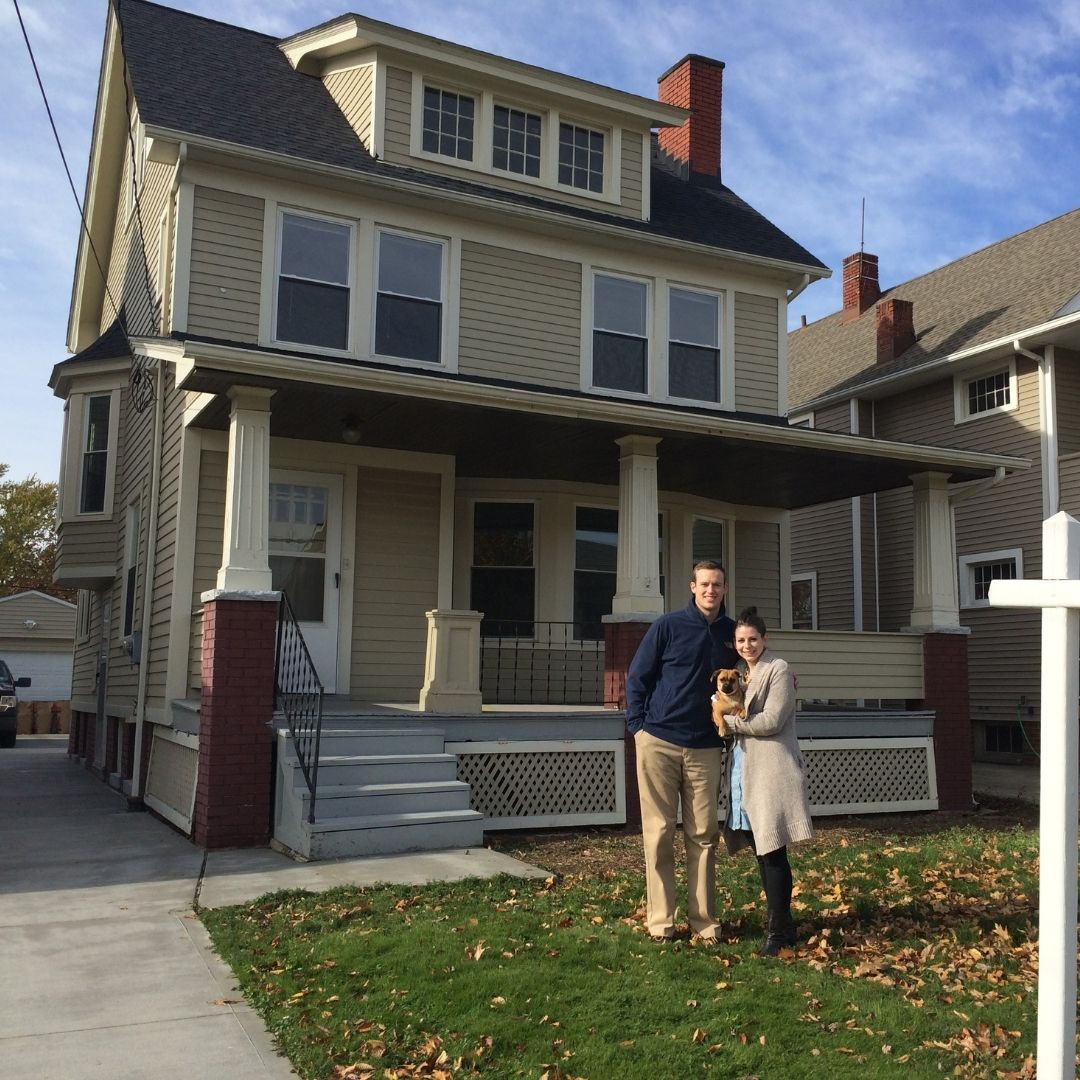
We’re celebrating six years as homeowners! Homeowners may be one of the ultimate adulting moves (besides having kids), as it comes with a mixed bag of unknowns that can be really great and really horrible. This year’s house anniversary tour is going to be highlighting the updates we’ve made this year both fun and not so fun, as we definitely tackled a few while we’ve been quarantined at home!
But, before then — I wanted to share a few of our not so great house moments, since homeownership isn’t always rainbows and unicorns. Before we even moved into our house, our refrigerator busted — that was an automatic couple hundred dollars right off that bat that we weren’t planning on! One of the first really cold winters, we came home to frozen pipes in our kitchen! Since then we’ve learned to run the water over night on those super cold days. Did I mention we live in a 100+ year old home?
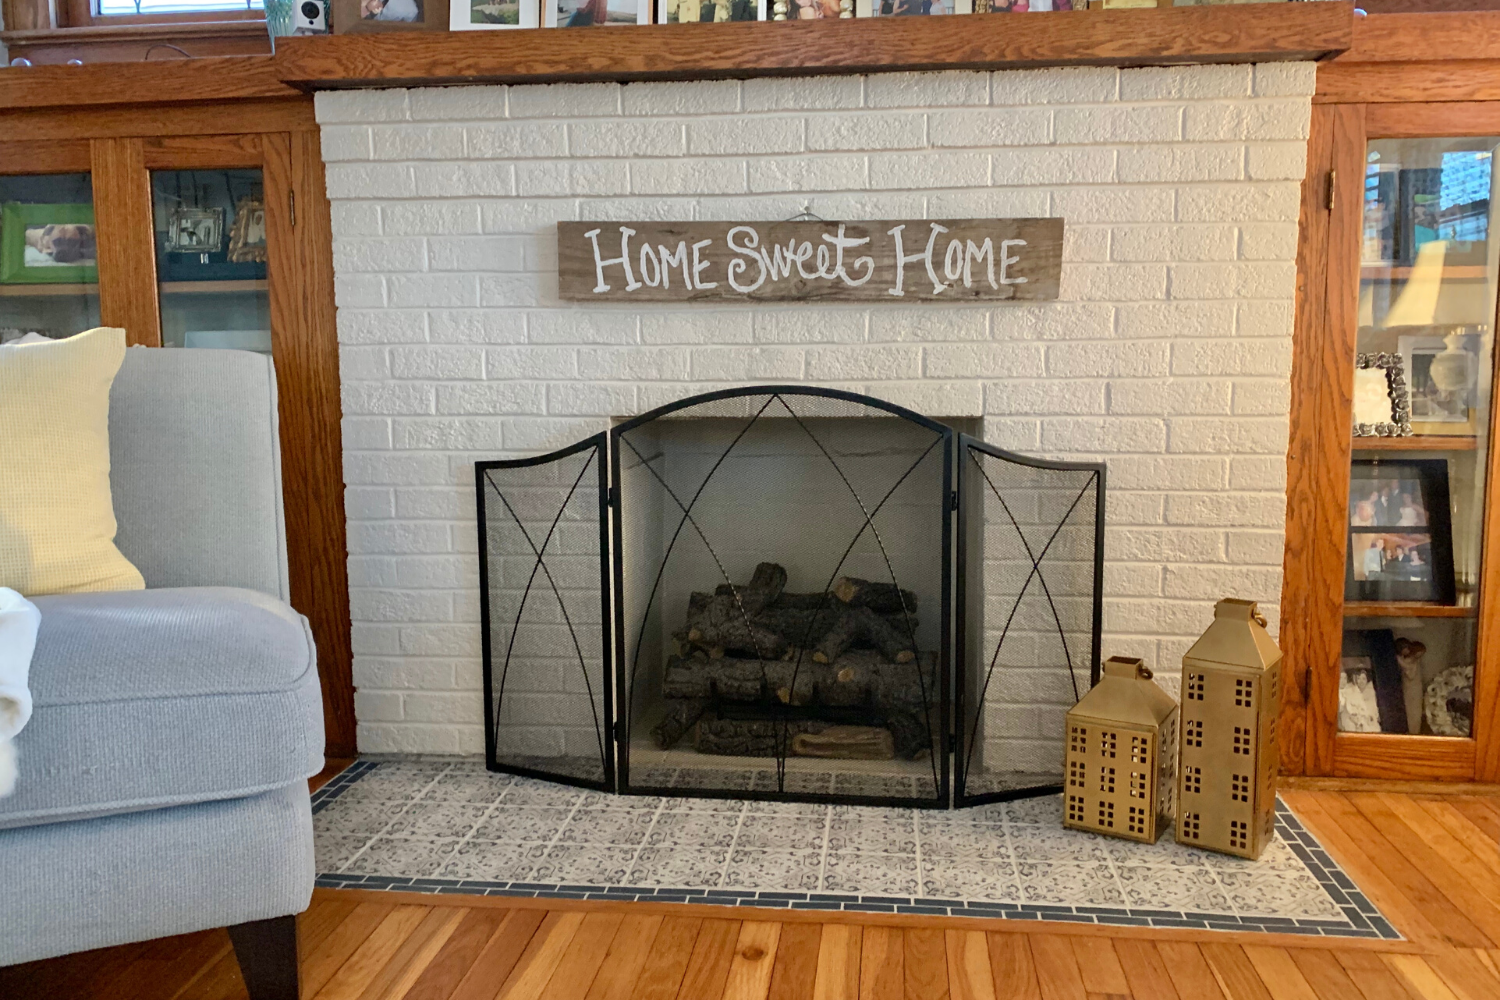
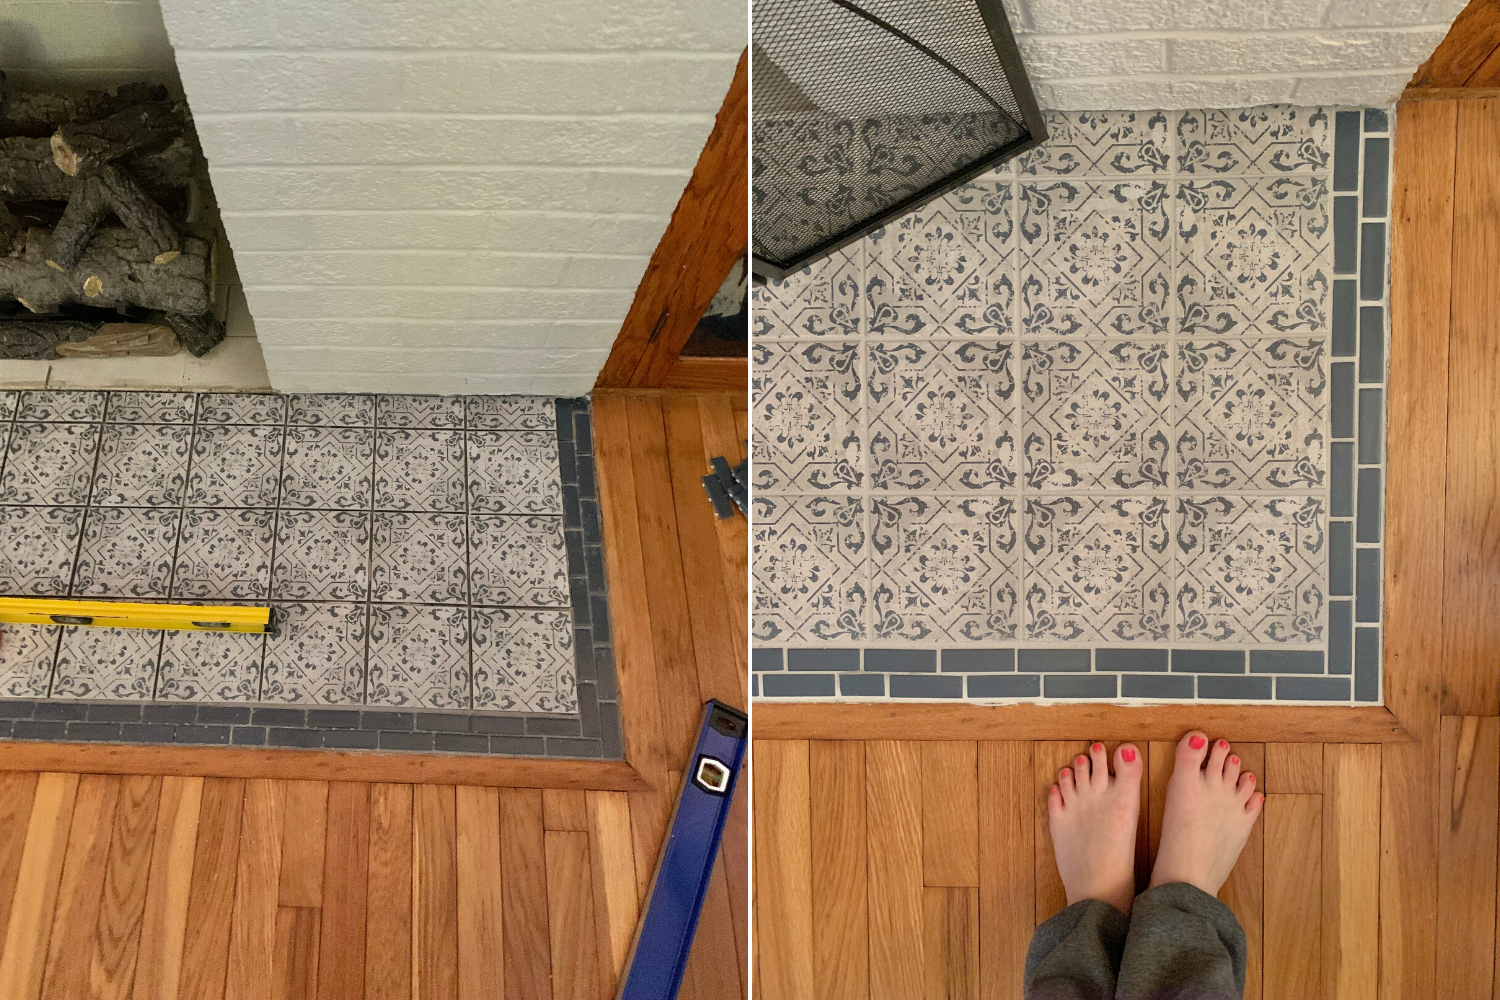
Fireplace Hearth Makeover. This was a vanity project that we did pretty early on in quarantine, that was a quick weekend win, once we figured out what tile we wanted! We finally got rid of the original red tile and gave it a lighter update, see the fun before and after here.
New Furnace. This was a not so fun one, but something that B really wanted. The last two winter’s we’ve had to make significant finance repairs to our 25-year old furnace, and B had enough with it! He was able to take advantage of getting a more efficient unit for a decent price with the same company who installed our AC the summer of 2018.
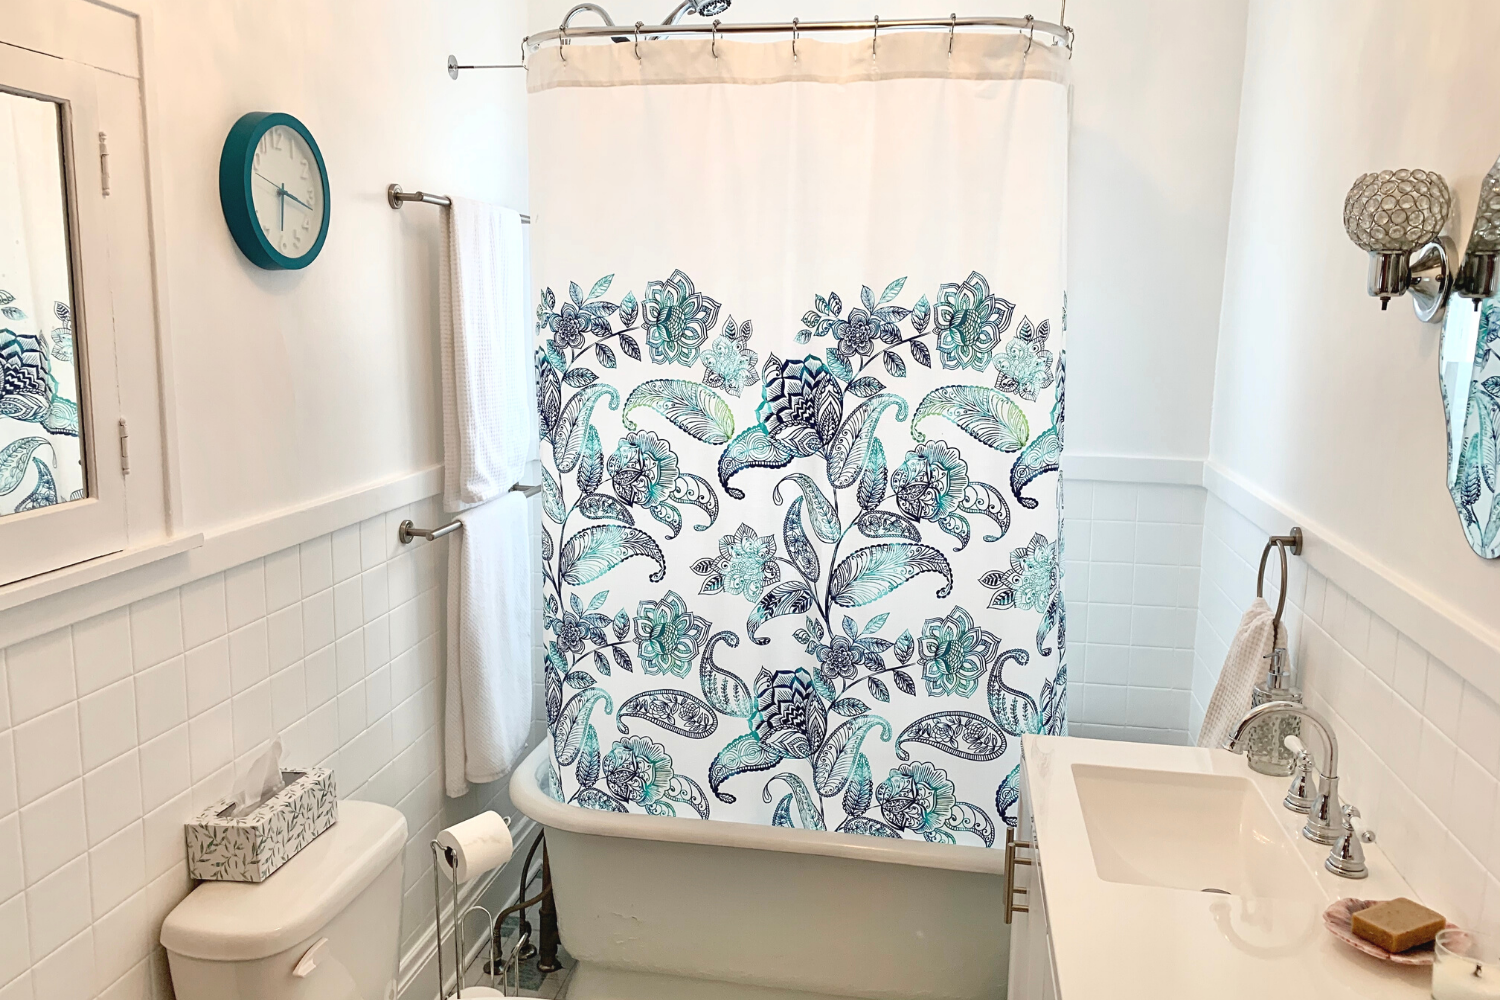
Main Bathroom Budget Update. I loved this project — it was intended to be a temporary update on a space that we will most likely eventually gut and completely redo, so we wanted to make sure this was on a lower budget, while also taking care of a few of our pain points, which were a small, generic counter and sink and the yellowy tiles all over the room. My favorite transformation was painting the tile white, it completely transformed the space! Check out the full makeover here.

Sunroom Flat Roof. This was our least fun project, both from finding a company to do the work to the final price tag. But alas, it was definitely a necessity as we had a pretty decent and consistent leak from our flat roof into our sunroom. Long story short, apparently residential flat roofs are an anomaly and there is a variety of verbiage to describe how to fix these which is super confusing as a homeowner. Thank goodness for good friends with dad’s who are roofers 🎉. All in, we had about 6 different companies quote the project, and consumed about a month of our lives for approximately $2,450. But hey, no more leaks!
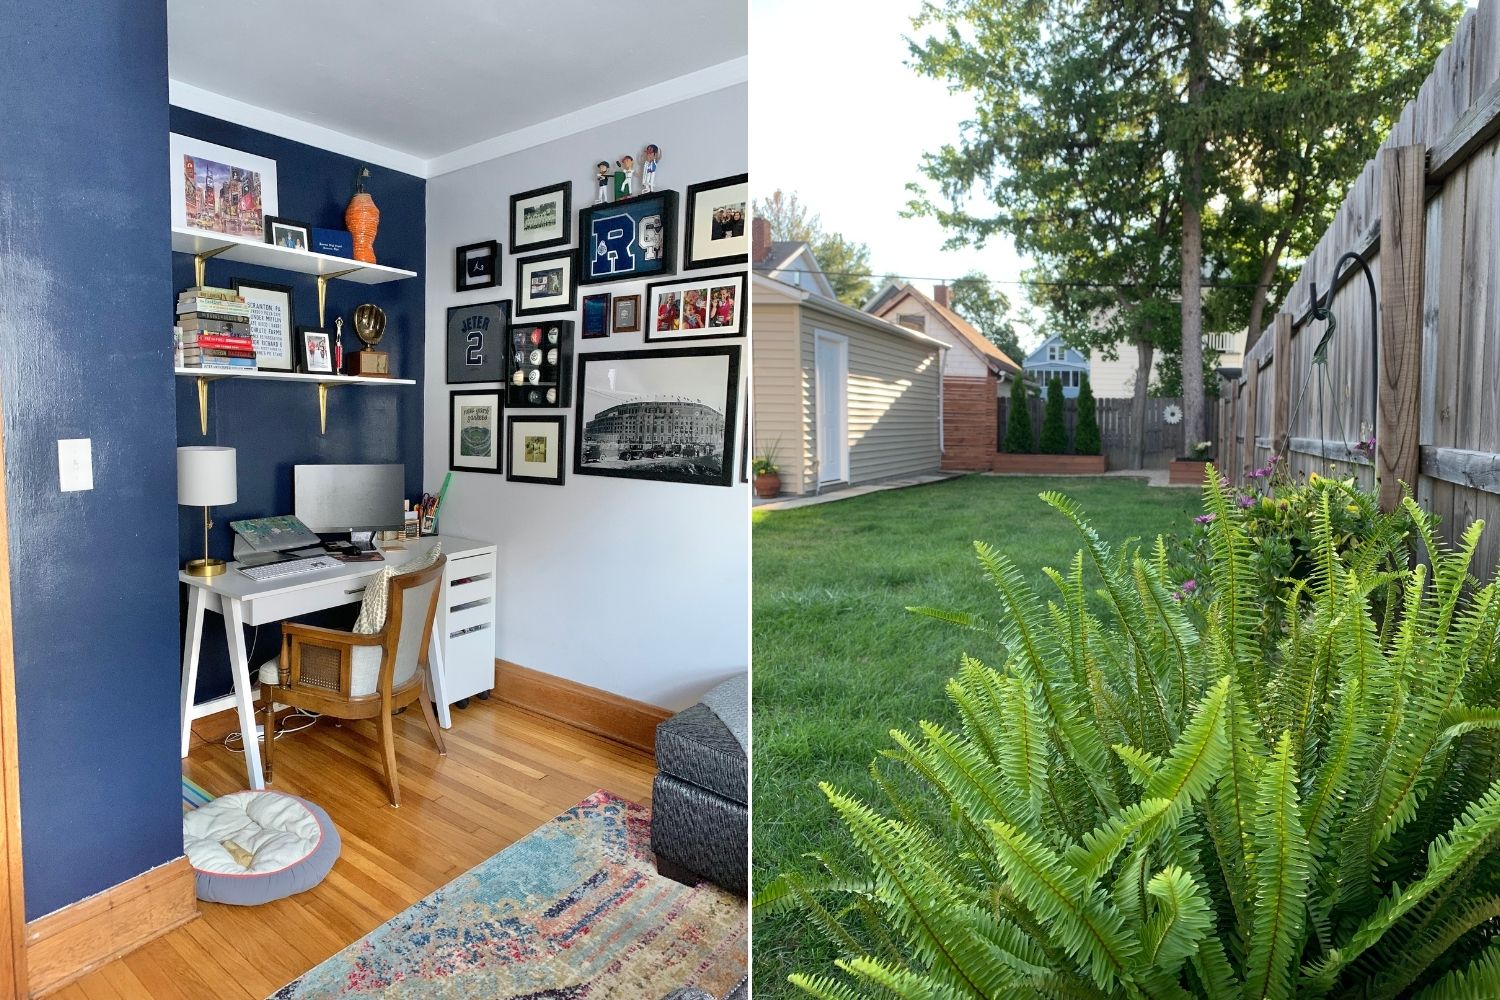
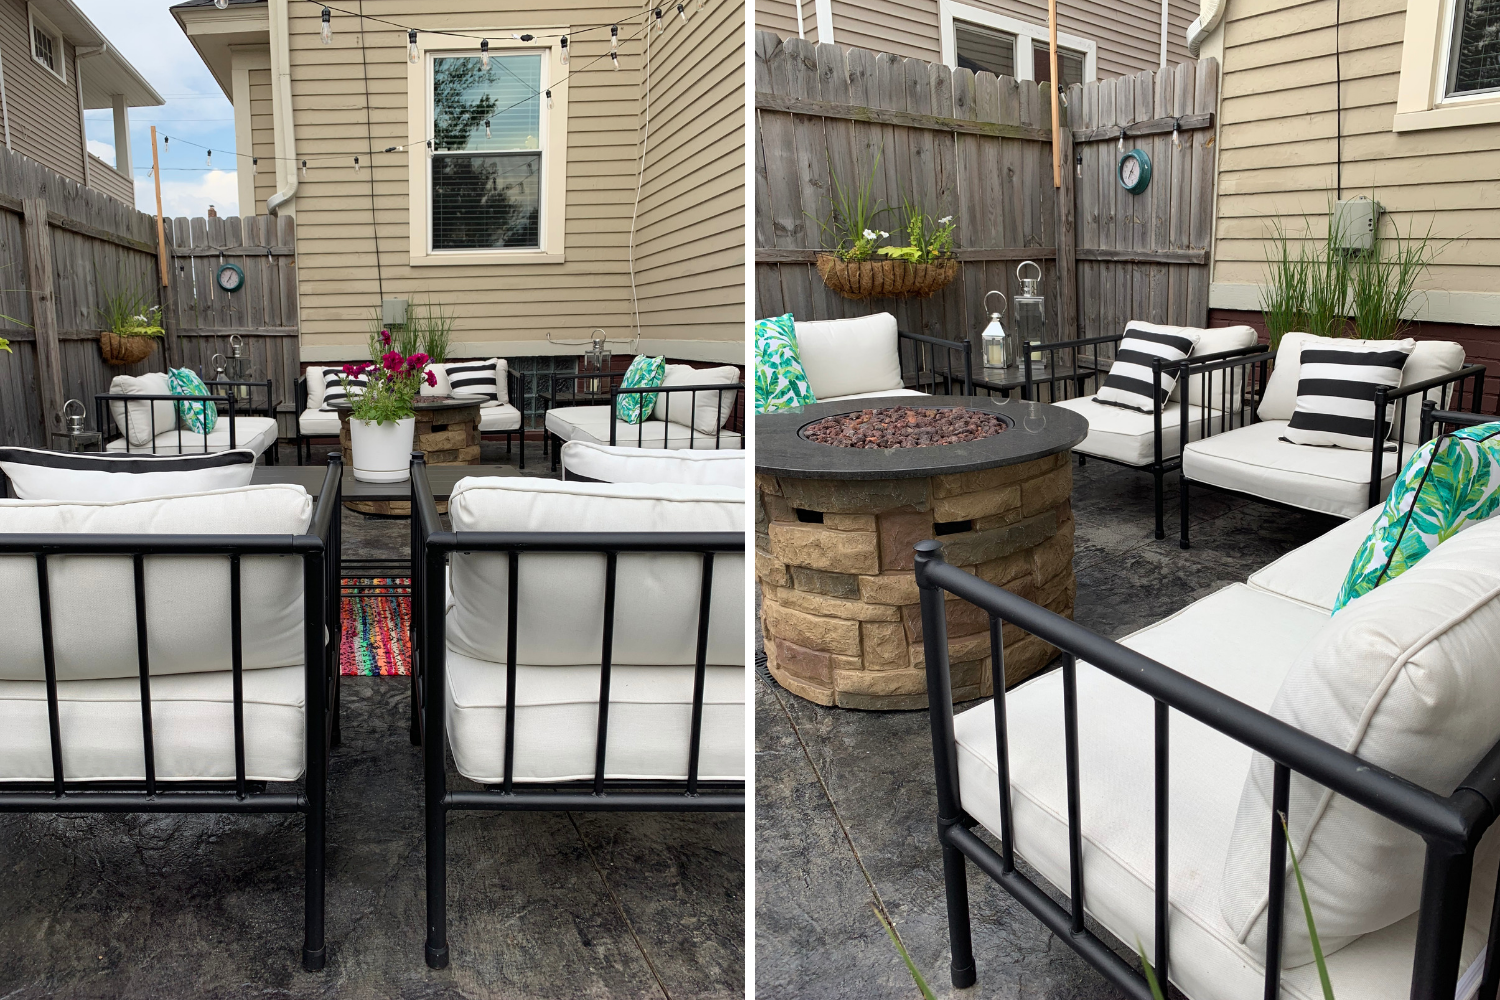
Backyard Makeover. Oh, I loved this project. It was definitely under estimated of how much of an impact this would actually make — I didn’t realize how much of a sad backyard we had until this project was complete! We added in some custom beds, edging and modern fences to help hide a few ugly things we don’t have control over. I love looking at our backyard now, it’s so pretty! Click to see the full makeover here.
Office Update. Since working from home has become permanent, my at home office definitely needed a little refresh to be a bit more functional for actually being a home office! This project was low budget, and quick which has made the space feel a bit more complete, even though it’s not pink. See my office update, here!
We’ve had six wonderful years at our house, and it’s always so fun to see how far we’ve come and improvements we’ve made along the way. It’s been a staple of fun memories, parties, milestones, late nights and early mornings, it’s been our home sweet home.

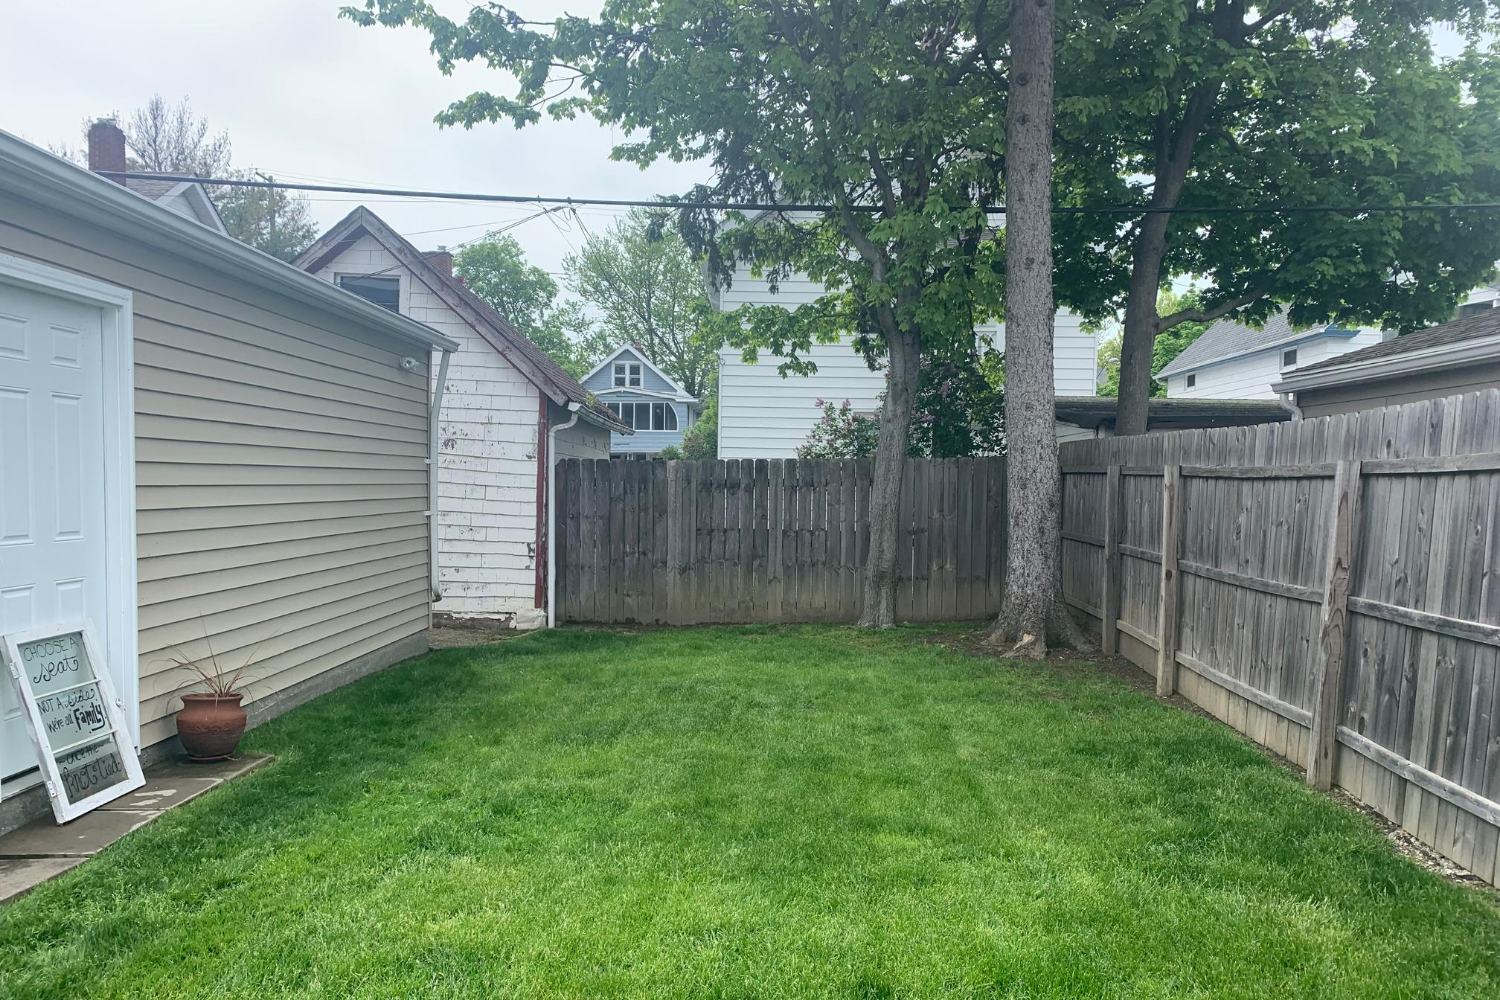 We had two different ideas on how we could do this. Mine was making planter boxes and B’s was building up the ground and using rocks to build a sort of wall. I quickly sold B on the planter box idea, for a few reasons — (1) we could customize the dimensions and look however we wanted to fit our space and (2) the stones I would want to put in the backyard would be expensive, as I’m not the biggest fan of the more generic ones you can find in stock at home improvement stores. Thus the planning begun and the measurements started. We ended up adding in a second planter box to the right of the main area to help B out with another dead grassy area that he hates!
 The larger planter box we made was 8ft by 4ft and the smaller planter box was 4ft x 3ft, both 18 inches tall. We used 2×4’s for the posts and then used pressure treated wood for the exterior sides and stained them for extra weathered protection. We cut all of the wood and I stained it while B worked on getting the holes dug for the support beams.
 Once we got the boxes in place, we felt super accomplished and add top pieces to help finish them off! From there we ended up lining the insides with a
 Once we finished the edging off, it really brought this space to life and separated it from the rest of the yard — without taking away too much from our green space (which was a constant concern for me!). We got three yards of dirt delivered pretty quickly – for the record, we ordered way to much and could’ve gotten away with two and a half yards or so. We also got this delivered on one of those red hot July days, B busted his butt and filled the planters (not recommended). When we actually got to planting, we had to remove a lot of dirt so that was why we ordered too much! For the plants, we knew we wanted to get arborvitaes for the large planter box to add a bit more privacy, so we did our research and visited the nursery to pick out trees! We ended up buying a bit more expensive ones that were already 4+ft tall. We also kept going back and forth between getting two or three — we ended up choosing three knowing that we will need to trim and maintain them a bit more!
 For the smaller planter box we got a hydrangea – which I think I’m going to switch out for a Limelight version, like we have in

 Shop our pieces:
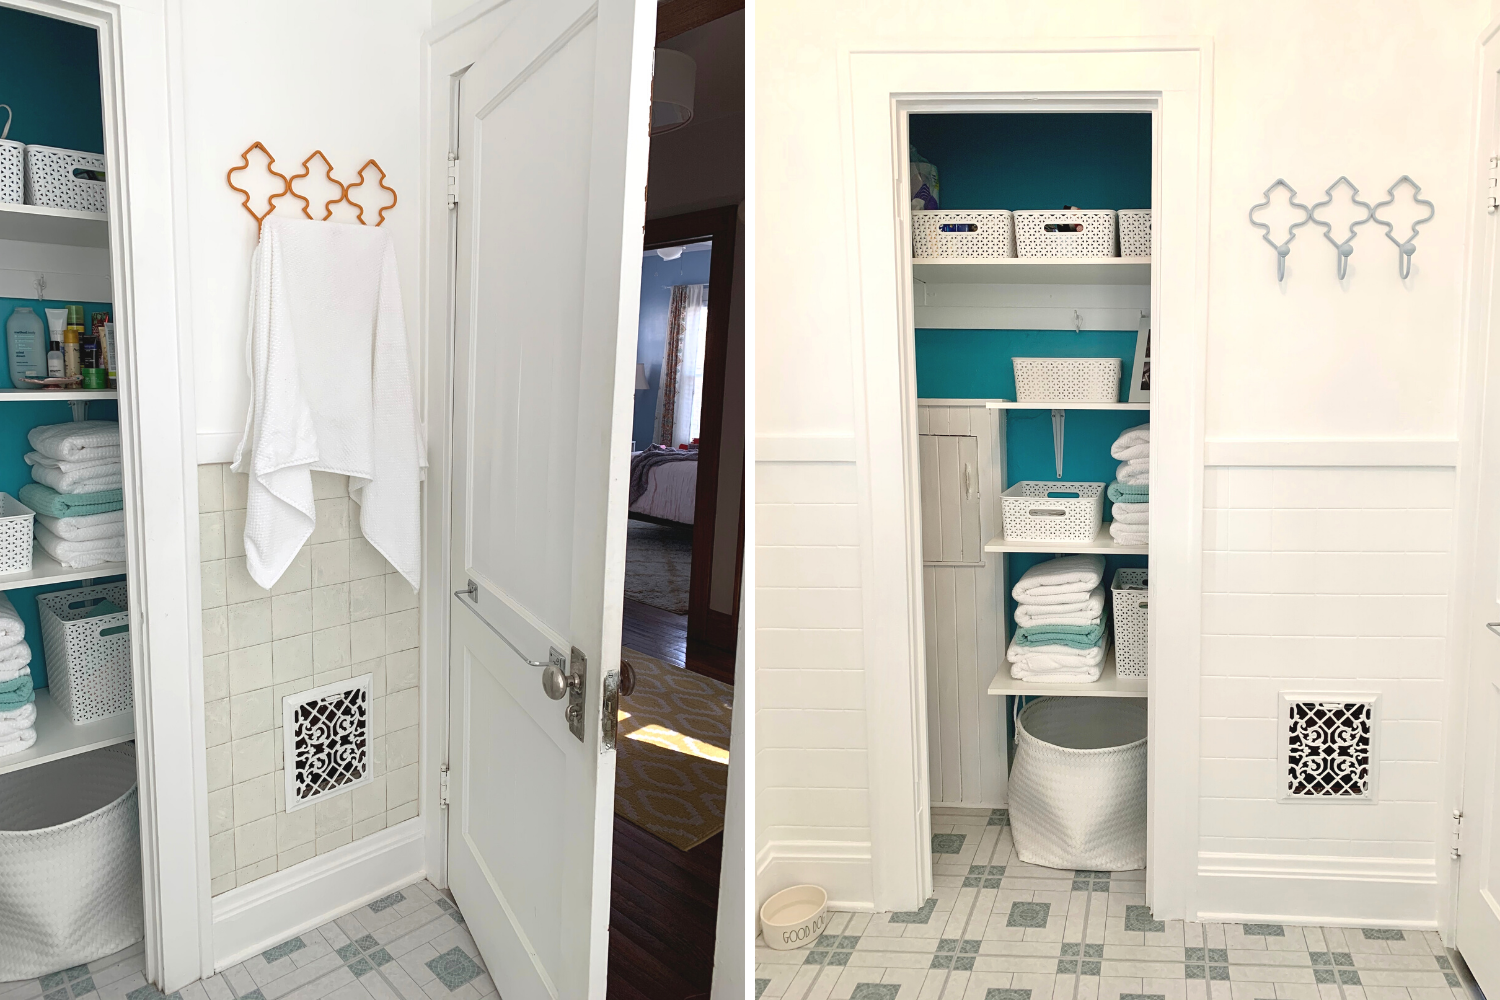

 Honestly the toughest part and reason this has been on the to-do list for so long was just deciding on and figuring out the right tile. So I finally got smart and figured out my newest project hack, especially when it comes to projects like this! What is my little secret you may ask? I bought a few tile samples from Lowe’s to put them into my space to help envision the whole look.
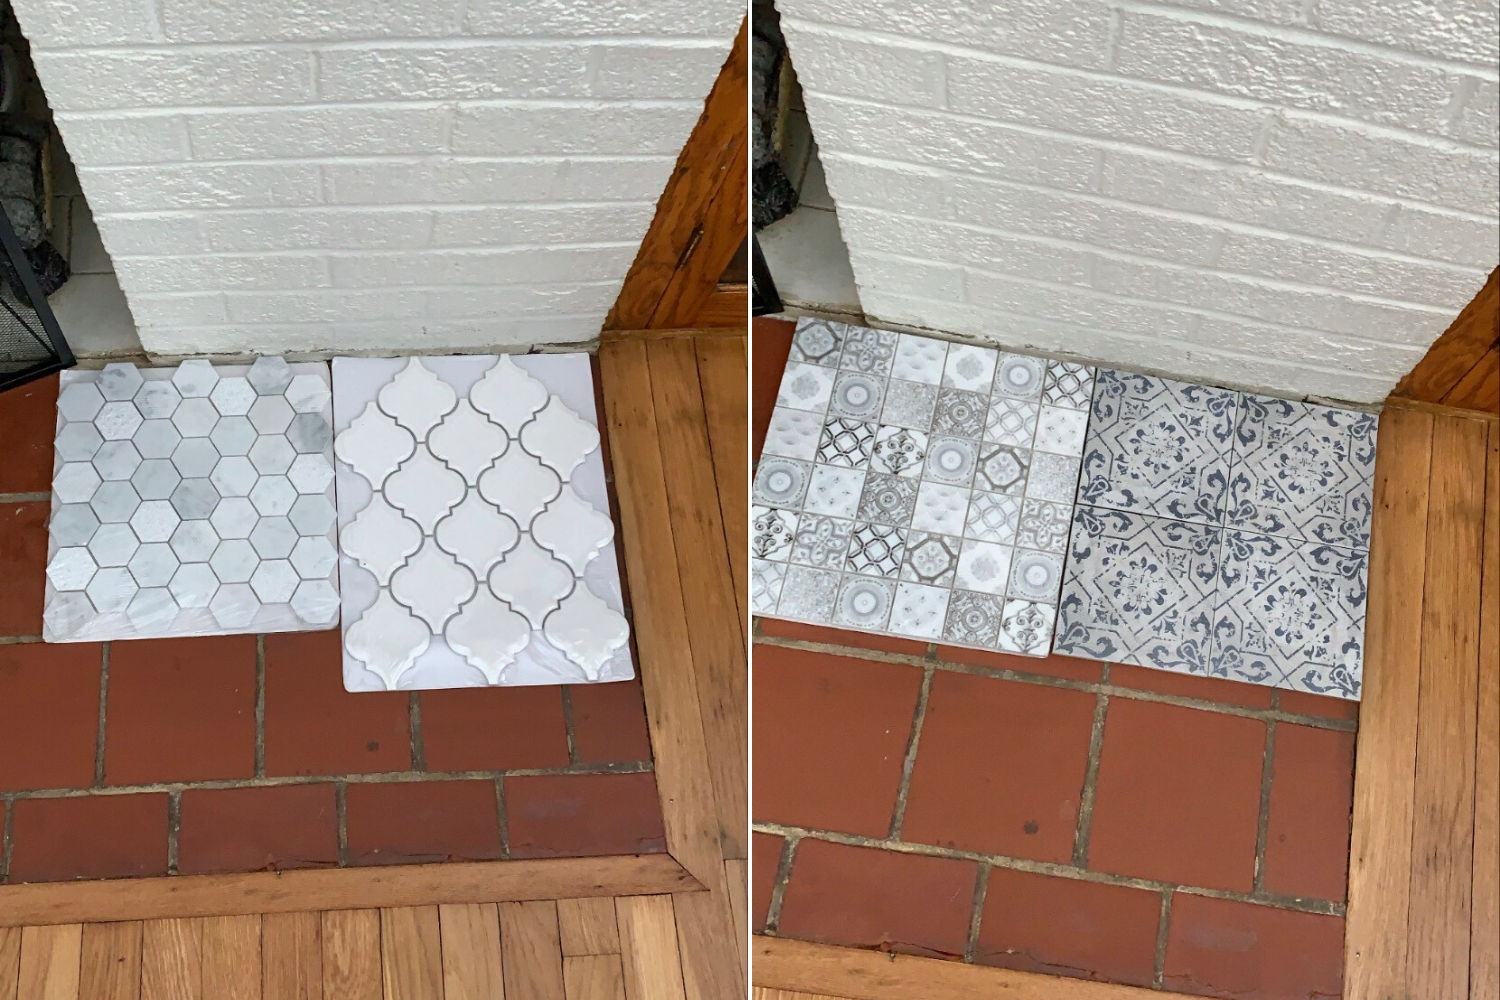
")
")
")
")

")


")
")

 - the bee life")

")
")
")

")
")
")
")

")
")
")
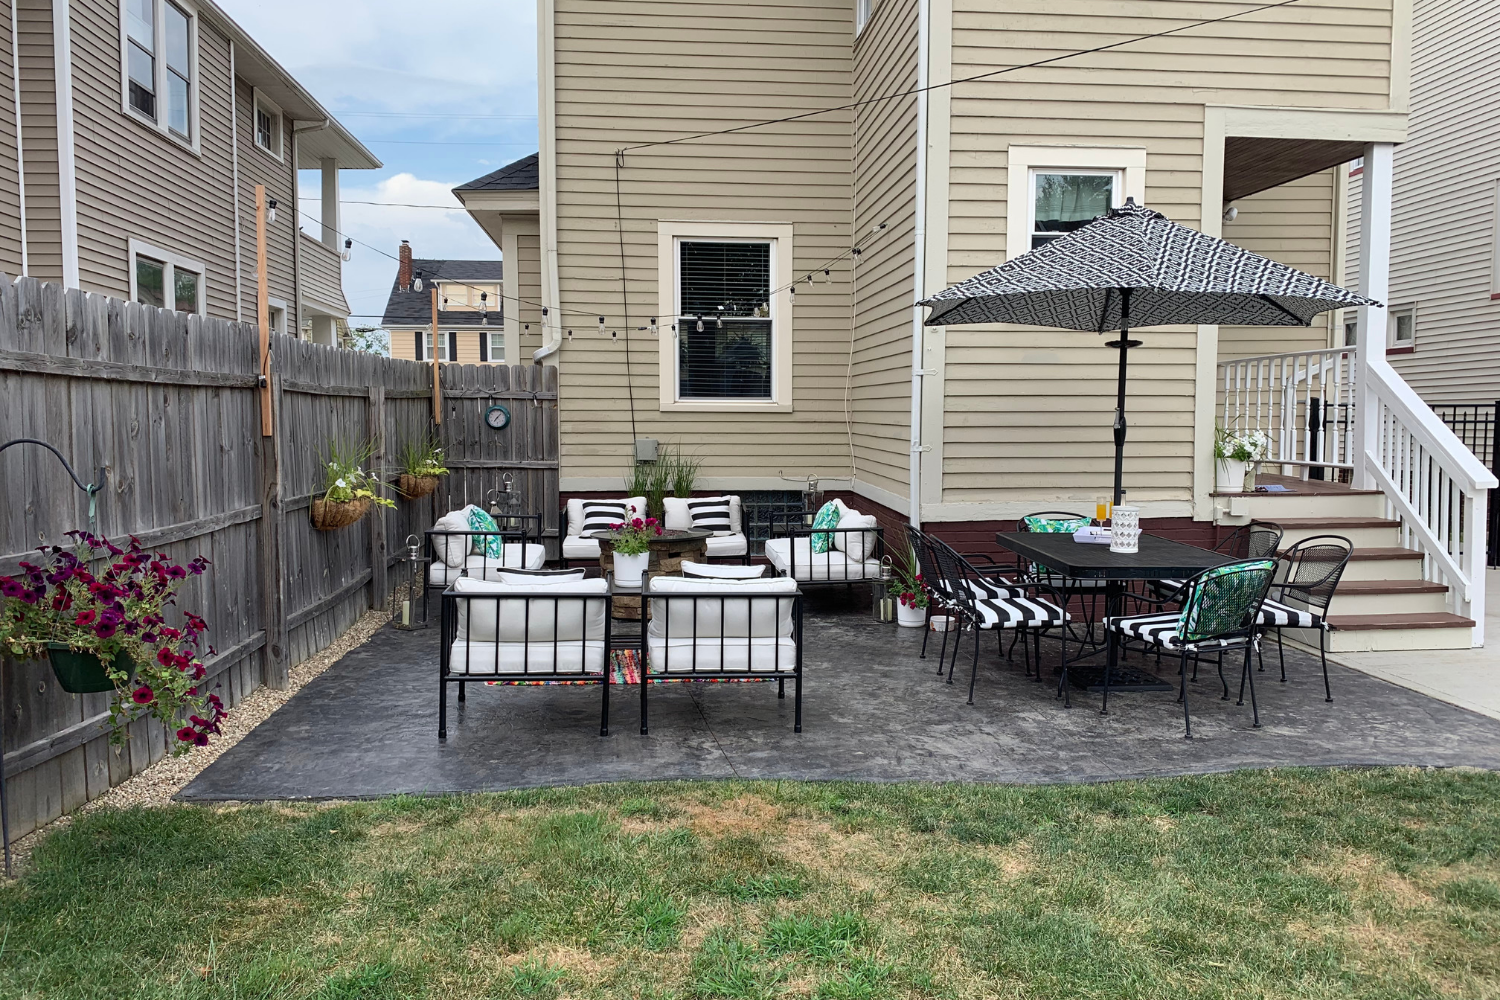 We were able to completely transform a somewhat awkward nook and blank space in our backyard to a functional outdoor living space with living and dining space. It gives us the right amount of privacy, while still being open to the rest of the backyard. Eventually we want to close off the small back porch to be all kitchen and would put a sliding door in where the window is in that back nook area – yes always planning for the next project.
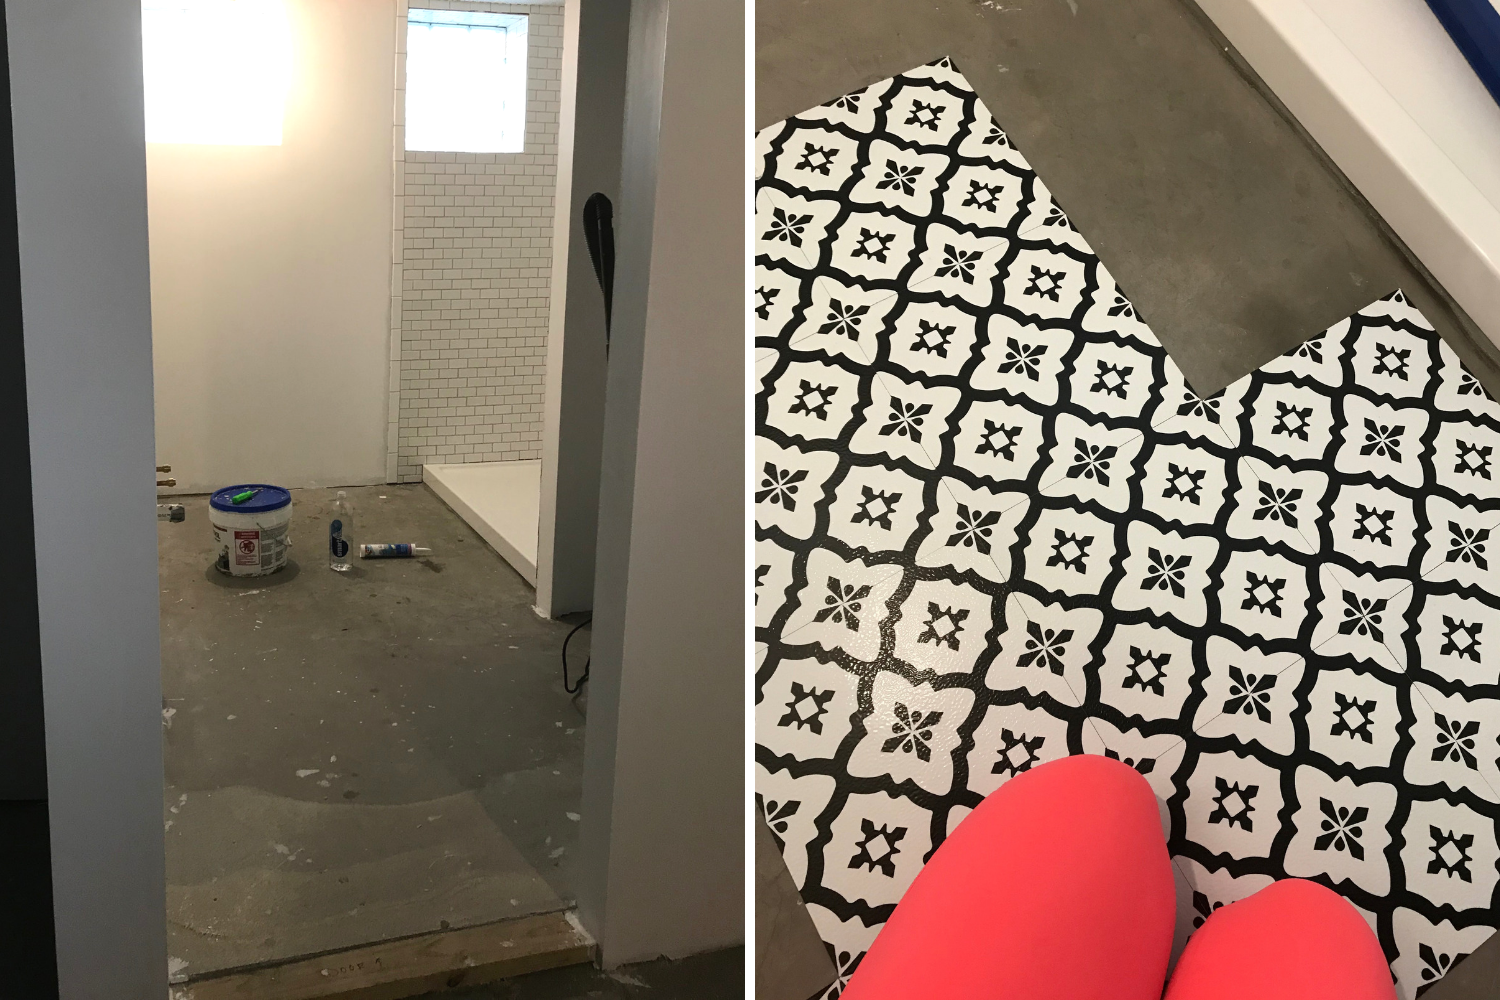
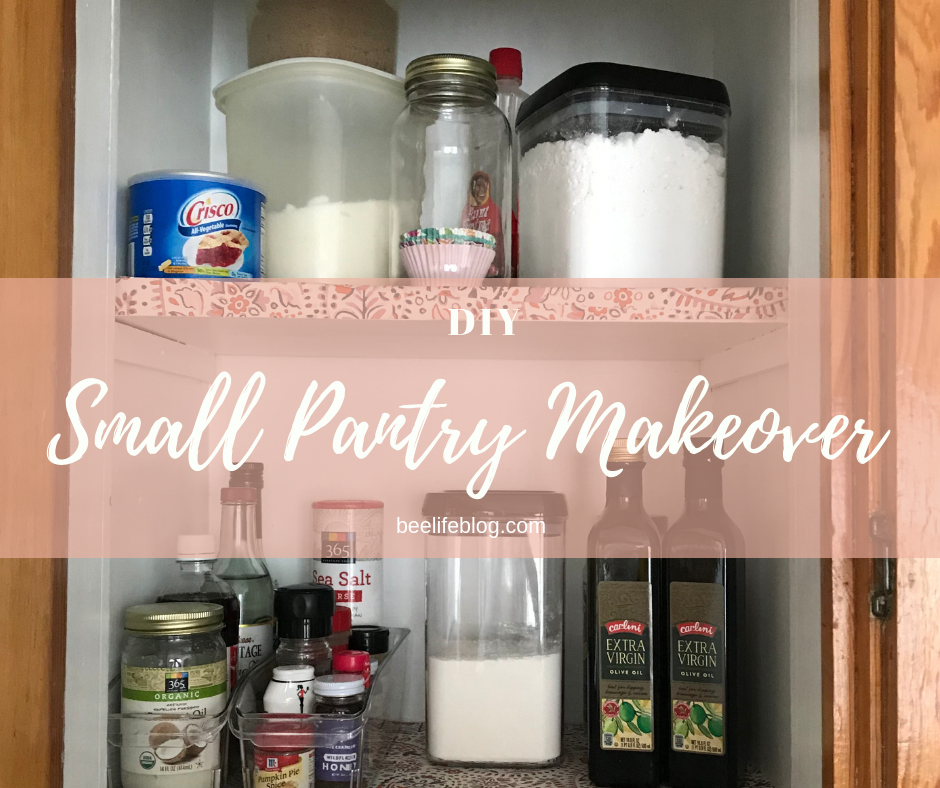
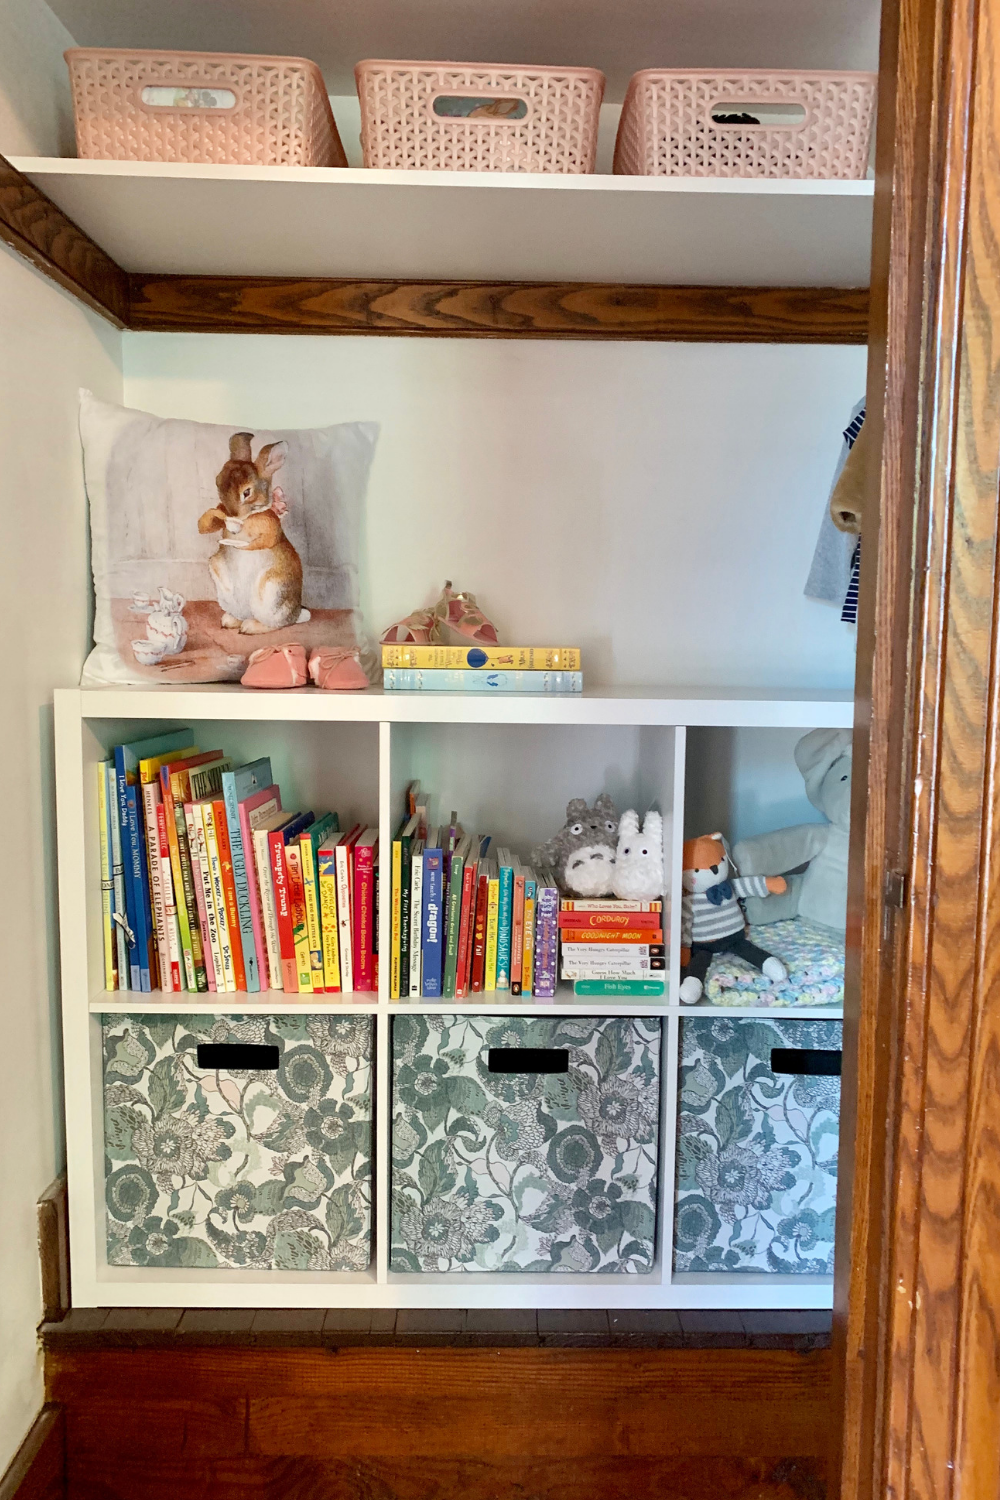
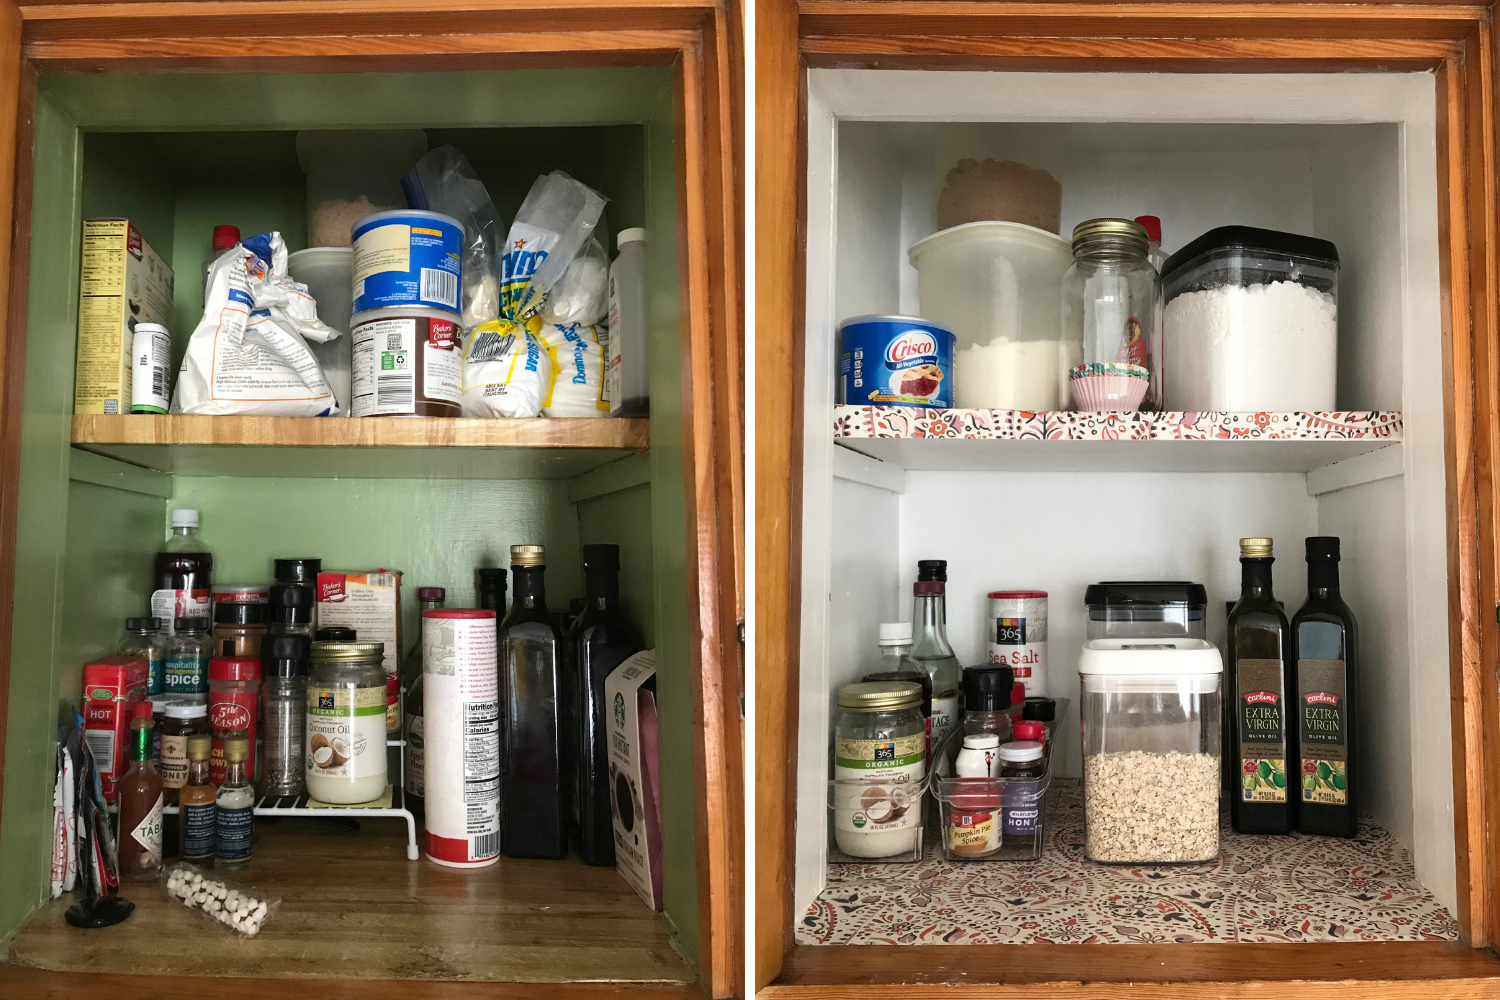
 For our pantry makeover – I ended up painting the entire inside, this is one of the few spaces that lingering green from the previous owners – and although I’m a fan of some color, I love what white paint does to a space, especially a small one! Since this space is not the greatest constructed – I didn’t want to mess around too much so I stuck with aesthetics and just updated the existing layout & pieces. Here is the evolution off the de-greening.
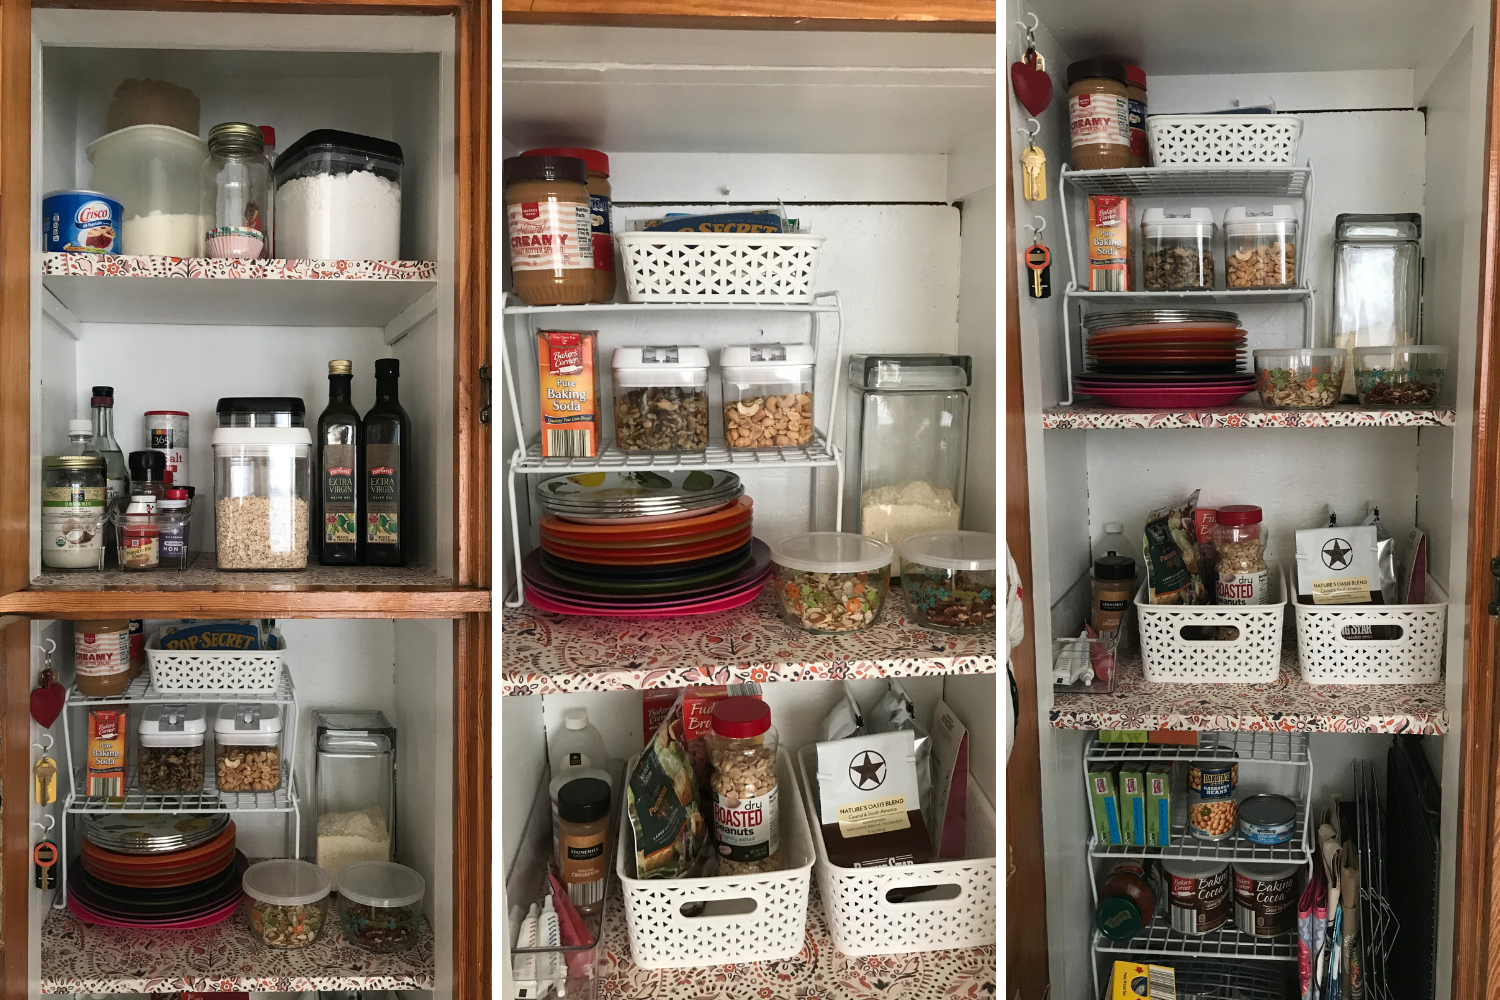
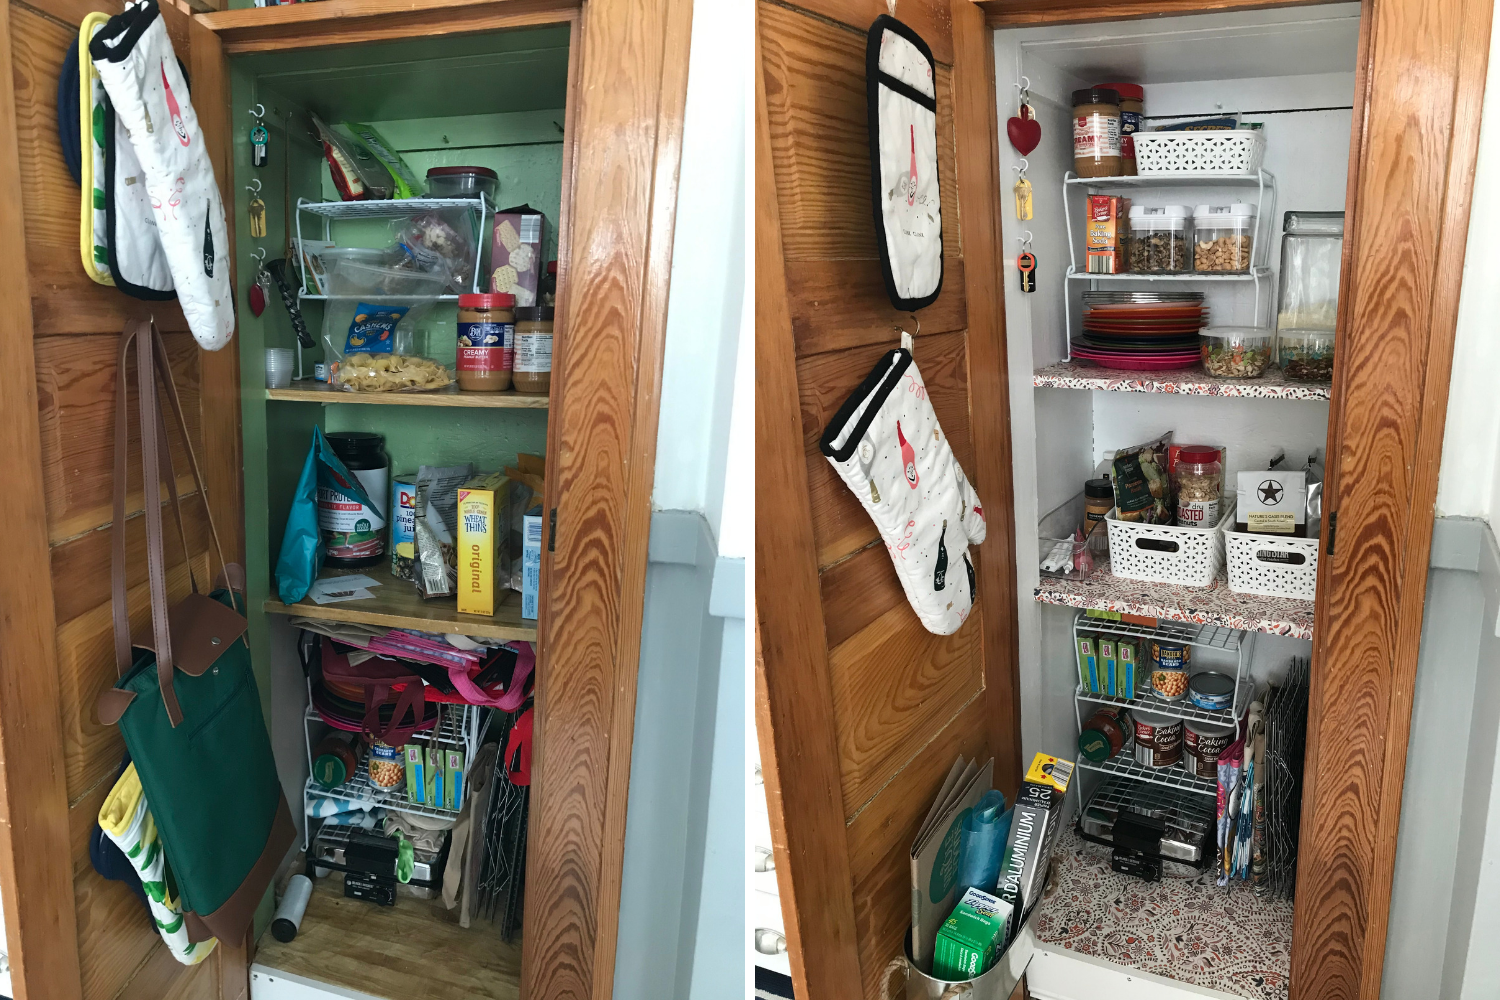 The other benefit of cleaning up the pantry was I ended up organizing and consolidating some things like our tin-foil, plastic wrap and sandwich bags into a hanger on the pantry door which basically freed up an entire drawer in our kitchen! So the organizing, consolidating and purging spread out beyond the pantry which actually gave us room for things. With using up leftover paint we had, and buying some organizers and the leftover wallpaper I spent about $60 for a small thing of paint and 10-different organizers. I’m unsure about adding labels, so I may still add a few more fun and functional finishing touches.