Embarrassingly enough, this upcycle has been 11 months in the making — eeek! Part of it was sheer shelf doubt and being intimidated about using and installing rattan for the first time. On top of that, I did not find too many other DIYs for installing rattan in the way I was going to use it, another stumper, so there was a lot of thinking and planning. Did I mention, I was intimated about installing rattan? Luckily, I finally got over that because, ultimately, I love how this piece came out!
This upcycle was pretty low budget, as I utilized 90% of materials I already owned from previous projects (like my Sideboard Glow Up) — but I’ve linked everything below if you’re a first timer a furniture flip.
Makeover Supplies:
– Rattan (17″ x 3.3′)
– Wood Filler
– Hand Sander
– Liquid Nails
– Wallpaper
– Magnolia Chalk Paint & Wax Sealer
– Round Felt Furniture Pads
My Total Cost: $46 (liquid nails + rattan)

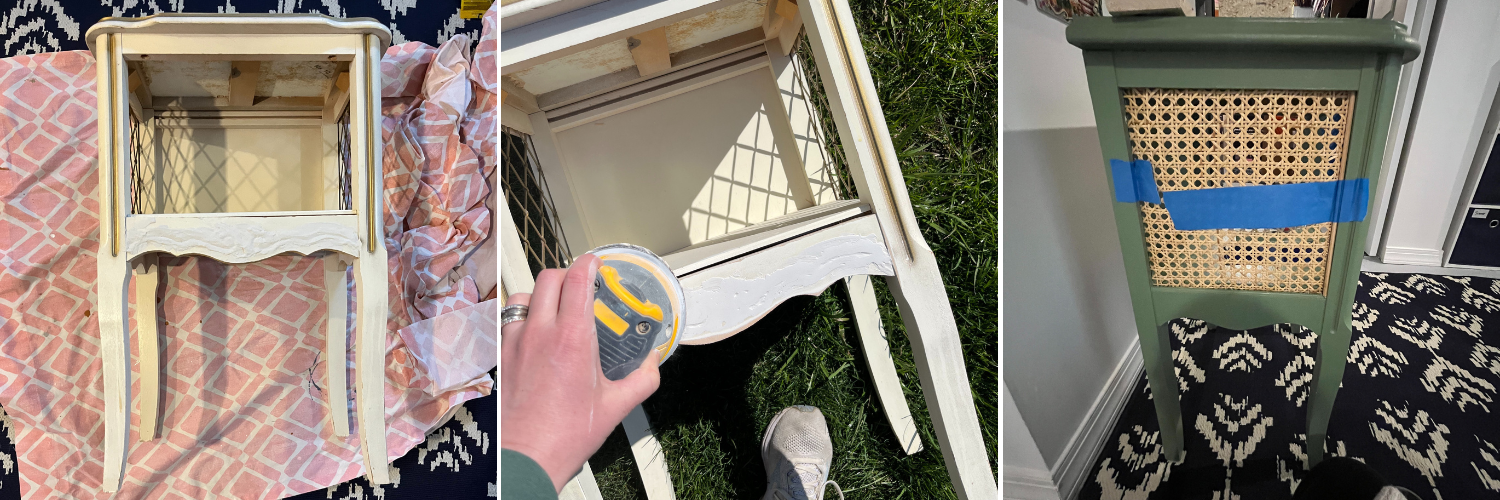
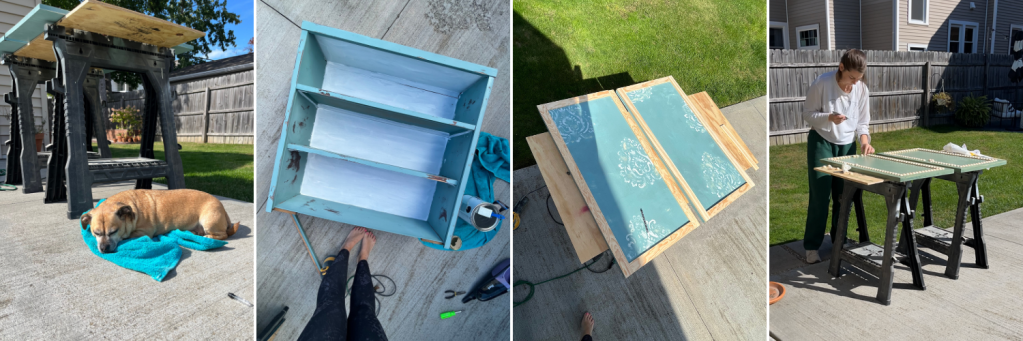
For an 11-month project, this was fairly simple as it was just a paint job and switching out the side panels. One added touch to get rid of some of the gaudy was filling in the detail on the bottom front with wood filler which instantly elevated the piece. I had left over chalk paint and had already worked through the kinks of using Chalk Paint, so I knew what to expect when it came to painting with it — although I still did not LOVE working with chalk paint, I at least knew what to expect. The wax seal definitely helps protect any surfaces that are going to be high-traffic.
Let’s talk about the rattan. Removing the original metal was pretty easy, I just cut it out with wire cutters. The rattan I purchased does recommend soaking prior to use, so I did soak the roll before cutting and installing into the sides of my table. Disclaimer, I don’t think this was the easiest furniture piece to install rattan on and my method definitely wasn’t perfect, but it worked. This table had a framed alcove for the rattan to fit into, so my goal was to utilize some liquid nails to glue into the framed alcove. This was messy and not ideal. I ended up utilizing some dowels with painters tape to keep the rattan in place while everything dried — that definitely helped! Again, this wasn’t perfect, but I didn’t have another way to keep in place, nailing wouldn’t have worked, so I also made sure to try to get as much of the rattan stuffed into the framed alcove as possible for added support.
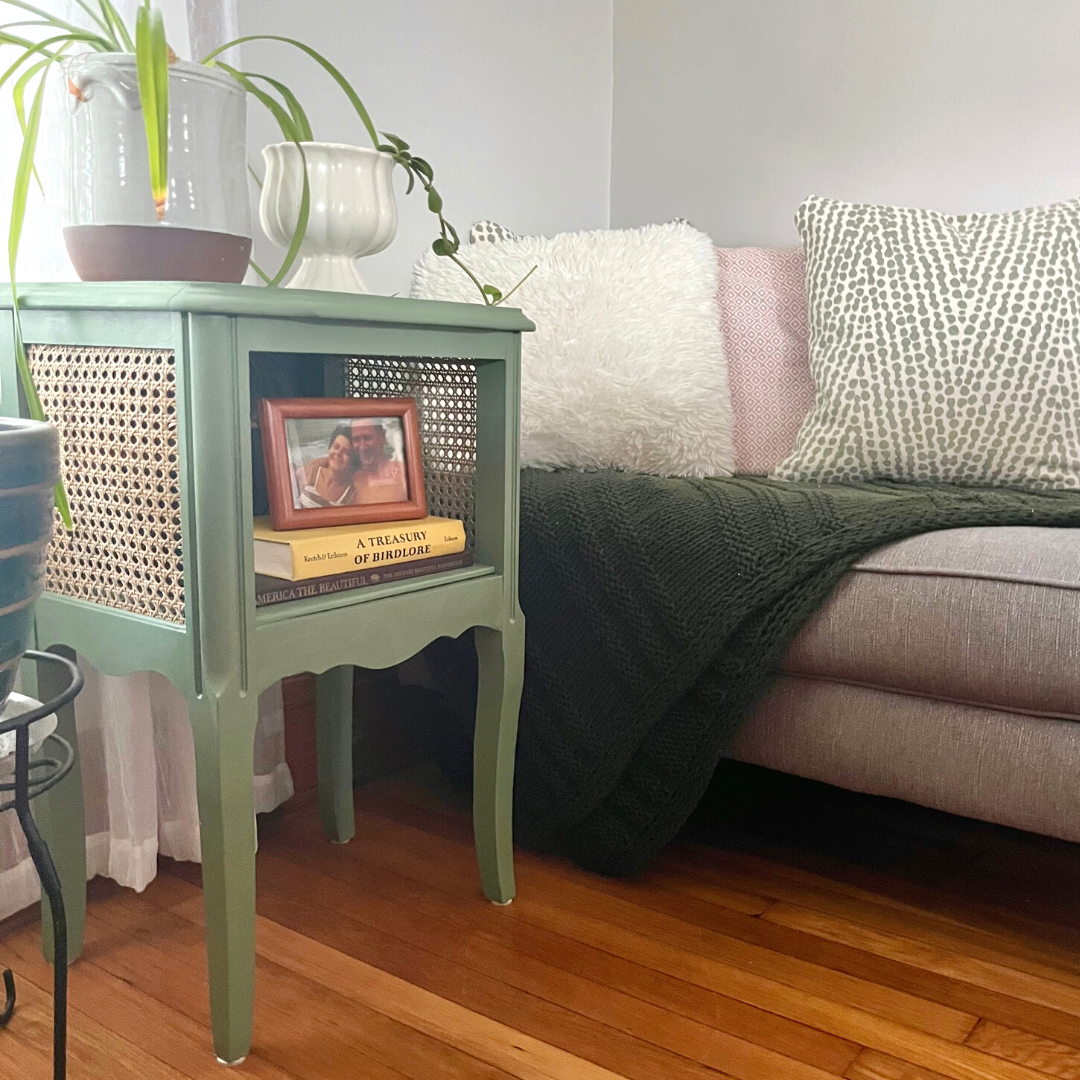
The final finishing touch was adding in the wallpaper — I had some scraps from the Sideboard makeover that I had planned to use, but then my mother-in-law gave me some wallpaper scraps, which fit this piece so well, so it was a no-brainer to utilize those! I added this to the inside back and then a few pieces on the inside top, just for an added touch. 🤩

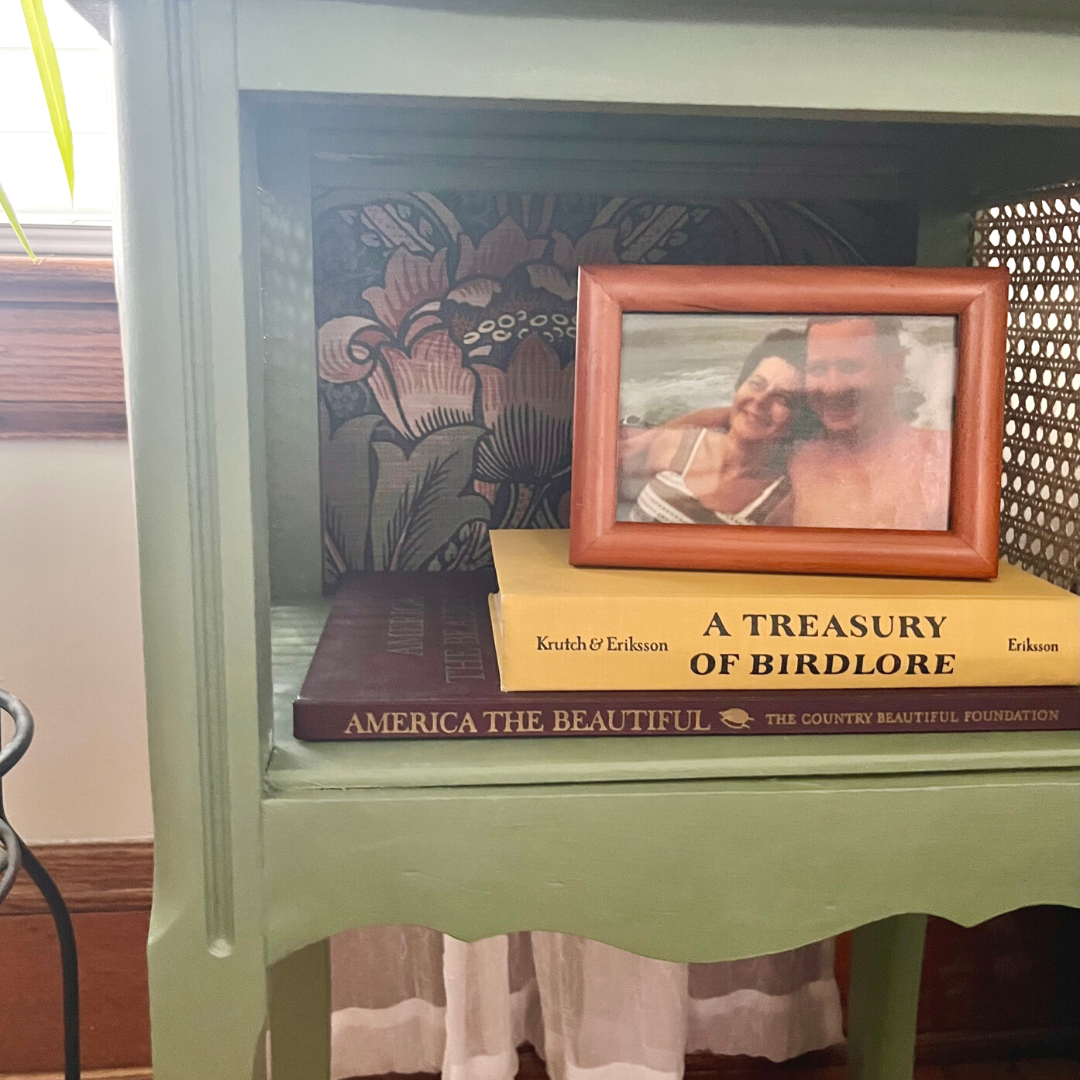
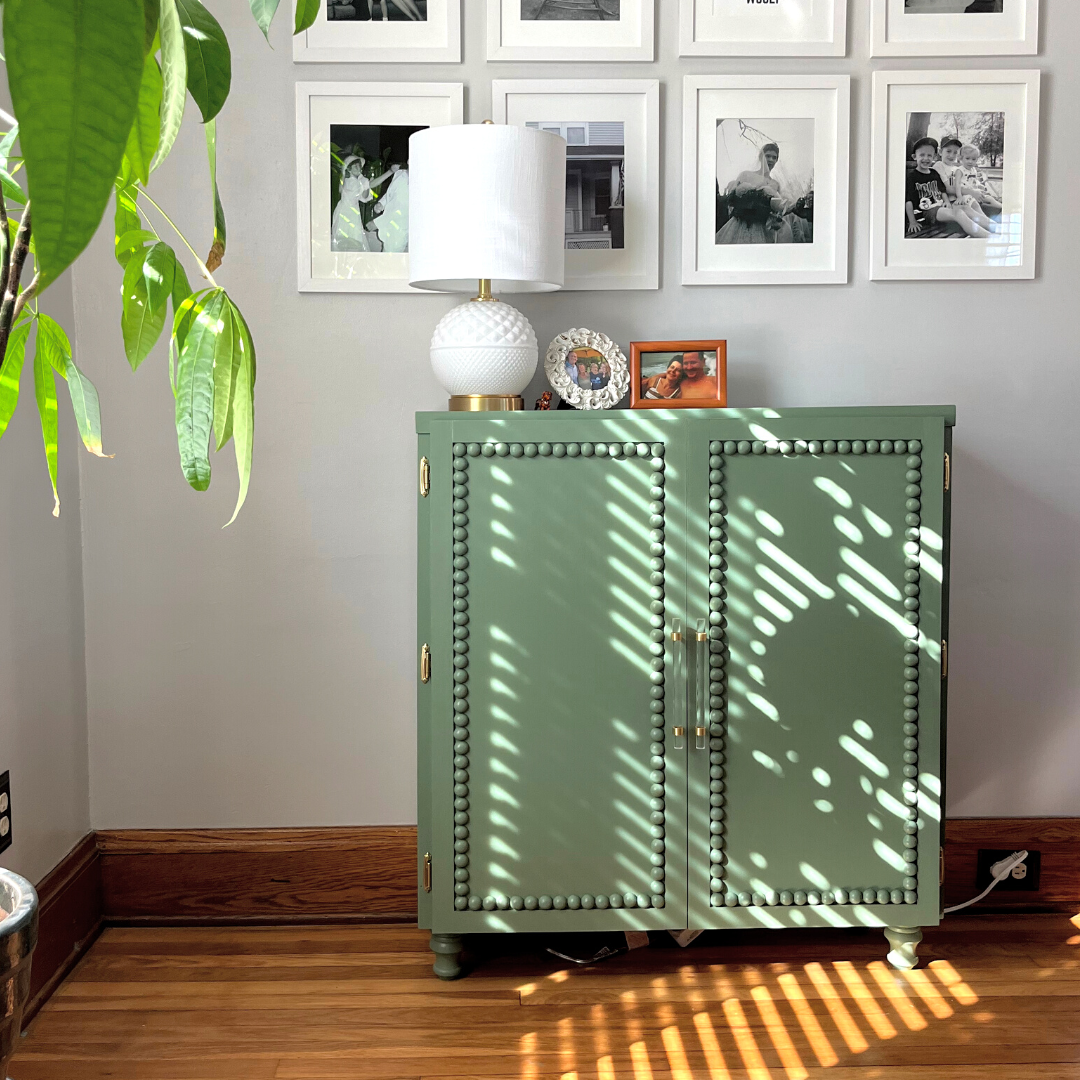
This is the perfect little plant stand/side table with space for a little accent decor (thrifted books & a vintage picture of my great-uncle) while still showing off the pop of wallpaper and the classic rattan sides. And I love how it ties into the sideboard and can be used in different spaces around our home as we change things over the seasons. Would you want this piece in your home?

See More of Bee’s Before & Afters: Sideboard Glow Up, Moody Side Entry, & Glam Front Entry