Attic Update – 5 month check-in

2

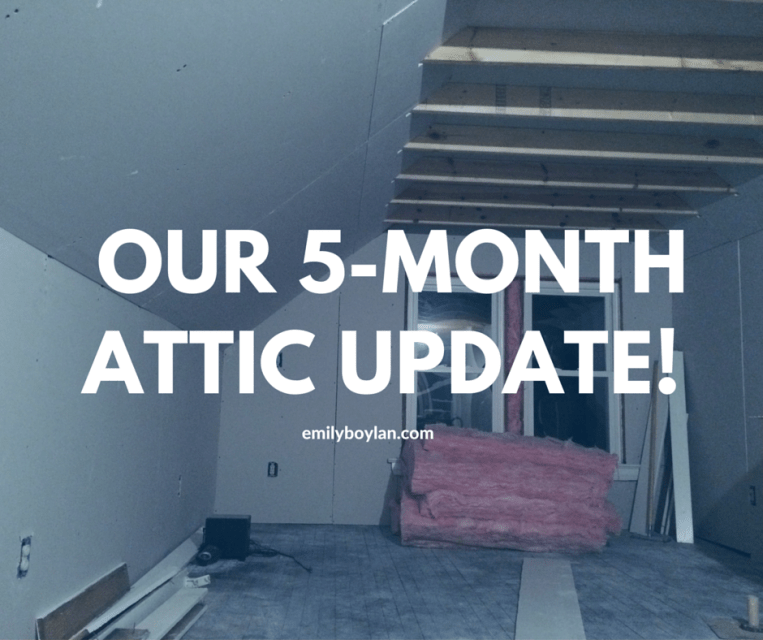
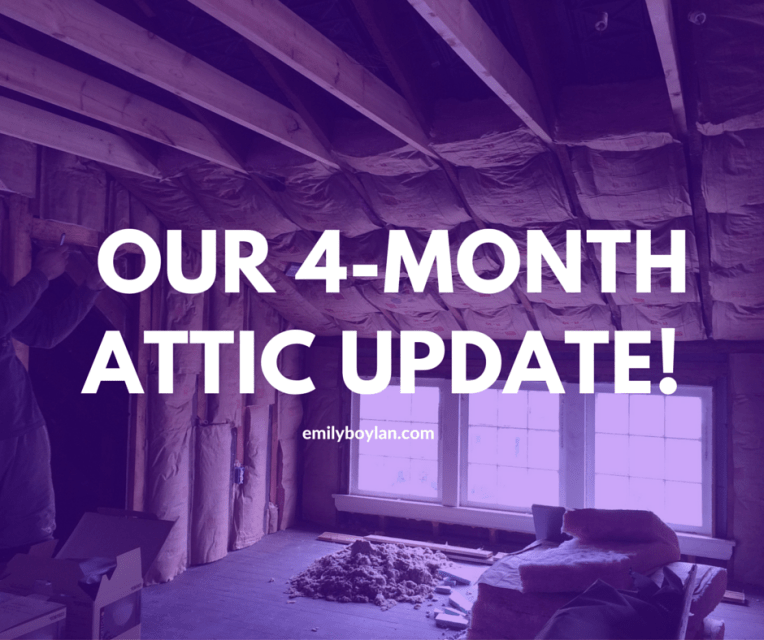
A month ago we were just getting started with drywall but now the drywall is complete! Yes, all 40, 8-foot pieces were used up!  Although there were a decent amount of big pieces, there were also a lot of small random nooks and crannies and grooves.  I can’t say this enough, but B has been doing an amazing job, I know he is completely sick of working on the project – he has put in a lot of long days and nights! But it’s going to look incredible and is already looking awesome!

Since then the mudding has begun.  Which from what EVERYONE… yes, everyone says is the worst part.  So far, it hasn’t been too bad, but then again no sanding has taken place yet.  Which again, I’ve been told I’ll be finding dust in our kitchen 3-floors below, months from now! With the Christmas holiday fast approaching, I am not sure how many useful weekends we will have! But we do have a lot of PTO at the end of this month, so we hope to start painting before 2016!

The important part is that progress is being made! We can’t wait to get up there and start using that space!


Attic Update – 4 Month Check-In

Our 4-monthAttic update!
Well in case any one is loosing sleep out there, here is an update on our attic! hehe. Since my last update a month ago; it’s been nothing but insulation.  B has been doing an awesome job at insulating the place, adding baffles and making sure everything is “properly breathing.”  Insulation is a messy and time consuming job, but the end is in sight!

Drywall started this weekend, and the space is looking like a room again!  Last week we made a Lowe’s trip and tried to pick up and order a lot of the finishing touches for the attic, like paint, blinds, closet doors and the drywall! So now it’s really getting there.

A few of the questionable items, like what we are going to do with the floor have been cleared up.  We are going to paint it a light grey and call it a day, we bought durable gloss paint for a more heavy-duty finish. We are also hoping to put some sort of carpet tred or runner up the stairs to soften the squeaky steps.

I have a few more fun projects up my sleeve for finishing touches, I’ve made good progress on re-beading our chandelier, and am sketching some DIY plans for our custom wing-back upholstered headboard.  Another part I can’t wait to get doing is customizing the walk in closet with useful shelving and making the most of the “small” space.

We’ve put two-solid days in this weekend of drywalling and will continue nightly after work.  B’s brother and dad will be in next weekend to hopefully finish up the last of it!

Keep your fingers crossed everybody! We are getting there!

DIY – Wooden Christmas Tree

Let the unveiling of wood crafts continue! Here is one to surely be easy with lots of options for customization!

With the 100-year old beams from our attic, we created these beauties.  Figuring out the measurements was half the battle – so hopefully the sketch below will help you! We also created a slightly longer and narrower tree so that we can have a little wooden tree family this holiday season in our front yard!

Wooden Tree How-To
Once we had all the pieces cut, we screwed the horizontal posts starting with the square topper first and worked our way down, eye-balling the distance, we even intentionally made a few crooked to give it a custom feel.  The version below is the one I made for my mom – with the bible verse; “For unto us a child is born.”  I free handed the lettering (with a Q-tip, yes I know strange, but that’s my paint brush of choice) with some white paint I had around the house.  I used some small trim work nails for the star and wove colored string around to create the star pattern.  Last but not least, stick you post in the ground for Christmas and you’re one step closer to decorating for the holidays, you could even wrap some lights around!

Happy Crafting!!

DIY – Give Thanks Door Tags

I initially shared some of my wood crafts (see here) that I hoped to do with all of our left over wood from our attic.  Well I’ve made some progress, and wanted to share one of the first ones finished, it’s an easy DIY for your outdoor decor.

IMG_8241
Just a reminder: all wood was reused from our house, so I worked with what we had.

After the cutting was complete I wanted to create a faded chevron pattern, so I free handed the pattern with white paint on the tags.  After that dried, I sanded down significantly so the pattern was faded, enough for the wood grain to show through. Next I carefully free-handed the ‘give thanks’ on the tags, with a permanent marker. For the finishing touches, I found some old rope that the previous owners so generously left at our house and eyeballed the length and cut! Tied a knot, and done. Please I was able to use supplies from around the house, this virtually cost me $0 to make, just a couples hours here and there after work!

Finished
I gained inspiration for this from ‘That’s My Letter‘ – although the tags she made are much larger, I might go back to the drawing board and see if I can make mine a bit larger (with more scrap wood). The best part about these, is they can be reversible for the next holiday, I plan to share the flip side in an upcoming post (hint: green and red).

Decorating for Fall

In case you didn’t know, I love fall – I mean… who doesn’t?  But one thing I don’t like is the immense amount of Halloween specific decorations that are available or the standard cheesy scarecrow and thanksgiving cornucopia.  So I wanted to share ways to keep the decorations up from end of September until the Christmas tree’s are being chopped down!  Also this is the first time decorating our house, so I needed some extra inspiration!  Breaking this down, there are a few focus areas to really spend your time, be creative and make a statement.

Focus Areas: Front Entry Space, Mantle, Dining Room

You can really make an impact with your outdoor decor, simple sprucing and added pieces are easy accents to make a big difference. Mums and pumpkins are no secret, it’s having the right amount and pairings that really set you apart from your neighbor.

Moving inside; there are two places to focus on, your mantle and dining room table. The mantle is the focal point in your living space, making a statement with this, again, can be done using simple and inexpensive elements like pumpkins and candles.  For me, I think the simpler the better – that way you don’t have to go overboard. I love these examples below.

Your dining room is the place where the family will connect, especially over one of the biggest dinners of the year, Thanksgiving.  Having a centerpiece that is no fuss and can be kept up for almost two-months, allows you to focus on the meal plan and less on the supporting elements.

Since this is our first fall in our house, I’ve been having fun figuring out ways to decorate these areas of the house.  I know it’ll transform over the years, but I’ve been loving being able to buy fresh mums, pumpkins and gourds!  It’s been a work in progress, but I hope to share some of my key spots soon with you!

Happy Decorating!

Front Door Makeover

If you may remember, I was having quite the dilemma figuring out which color to paint our front door.  After much deliberation and making sure B liked the choices too, we decided on… <drum roll please> … on Sherwin Williams, Commodore!

We went from blah to blue! And it looks awesome.  I think the part that makes this blue pop even more, is the life I restored back into our original door knocker.  It too had been painted the same ugly tan color as the door… the original brass knocker… painted! I couldn’t believe it! Nicole Curtis would be proud of all the elbow grease and extra effort I put in to restoring this.  My initial thought was to just spray paint it gold – but I just had to try and get all the (2-layers) paint off and restore it to it’s original, gorgeous glory.

IMG_7785

IMG_7783

IMG_7788

How did I get all of that paint off? Boiling water soaks and SOS/Brillo pads, a lot of them! It was tough getting around all the detail in the top, but I kept on and it totally paid off.  Next steps is to swap out that storm door with a full glass storm door – as much as I would love to ditch it completely, I like having the front open for a breeze in the summer and guarding the cool wind and snow in the winter.

This was such an instant upgrade and I’m so pleased with the way it came out, better than I thought!

Attic Update


Well we first started our attic work in the end of July – we are now nearly approaching October and we still have a lot of work that needs to be done, but finally after a delay we have progress happening again!

We had a minor hiccup finding someone who could finish our electric work, but hopefully that will be complete tonight. Then the fun begins: insulation and dry-walling! Both will be a first for B and I – and it honestly all sounds a little daunting! Especially lugging everything up to the 3rd floor, but winter is fast approaching so we will need to keep moving quickly and make sure we do everything right.  We’ve received a number of opinions by professions so I know we’re on the right path.

A few things that we hadn’t accounted for was needing to hire someone for our electric (our neighbor was helping us out, but schedules just got busy), so that was an added expense. We are also waiting to receive a quote on refinishing our floors, however they’re pine and painted – apparently two not so great things, sooo I am sure the estimate will be far beyond what we expect, so we need to figure out plan B and plan C. Do we just put in new floors? Or do we just paint our current ones again? I’m not sure yet what we will decide yet. Another to-do is finishing our chandelier, I got one for a steal from Lowe’s for $15, it was an old display fixture that had some broken strings – I’m going to switch those out, just need to buy my supplies!

The list of to-do’s isn’t getting any shorter, in fact it keeps growing! But I am excited to be making progress and ready to get some things complete!

Do you have any tips for dry-walling?

Mums. Plaid. Boots. Pumpkins.

Ever since Wednesday, the beginning of Autumn, it’s now acceptable to decorate for fall! Here are some of the essentials for fall. And it comes down to the basics, Mums, Plaid, Boots and Pumpkins.

Beyond adding mums to your front foliage for a last bit of color on your porch- pull the colors of mums into your home to brighten the darker nights.  Sherwin-Williams’, ColorSnap app allows you to pull colors from any photo and find the same color, it’s amazing.  Use these as inspiration in DIY projects or painting your pumpkins!

Thanks to Target, Plaid is covering every other commercial accompanied by catchy songs we loved from our past. If you haven’t checked out Target’s Plaid section, please do – you’ll fall in love with at least one or five things. Promise. But instead of going overkill in everything plaid, here are some other ways to incorporate plaid in this fall without giving your house or wardrobe a complete makeover.

Plaid - Essentials
01 | 02 | 03 | 04 | 05

Boots! As much as I love a good knee-high boot, I am really loving the bootie look for this fall – classic, easy to put on, and versatile with jeans, tights, and dresses!  Here are some of the boots I have my eye on this fall.  Of course, having a great pair of rain boots for those dark nights is key too.

Boots_Fall Essentials
01 | 02 | 03 | 04

Pumpkins! Of course, you can’t forget about pumpkins! One of the most important things when picking out your pumpkins is getting a variety of sizes, small pumpkins can be great around the house as accents or focal points in your centerpieces.  Larger pumpkins are great to serve as the supporting cast to your mums.  Creating wooden pumpkins for an easy DIY helps with cost year over year, and can allow for updates and custom pieces in your home, inside or out.

It’s hard not to love fall, it’s one, if not my favorite season for many reasons, but especially the ones above!

Wood Crafts

With our recent attic project (see here) we have a lot of old wood that we’ve replaced, meaning we have a lot of old wood sitting in our garage waiting for something amazing to happen to it! So I have a few projects brewing in my head that I hope to start working on for the upcoming holiday seasons for some nice holiday decor. I also have a few projects/presents in mind for family and friends. Here is just a few sneak peaks of a few of my ideas…

I might even brainstorm and create a few ideas of my own for more holiday-esq door signs and decor.  That is one thing I love having year round, and with the front door about to be painted within the next month – yes a color has been chosen, (you have to wait to be surprised) we will be able to showcase some of those new ornaments.

Hope you have a crafty, inspiring weekend!