
With our bathroom project coming to a close – I wanted to share a few of our trials and tribulations, specifically from tiling our entire shower from floor to ceiling. Tiling the shower was never something we didn’t feel confident doing – we had successfully accomplished a smaller tiling project a few years prior, so how hard could this be? *smiles*
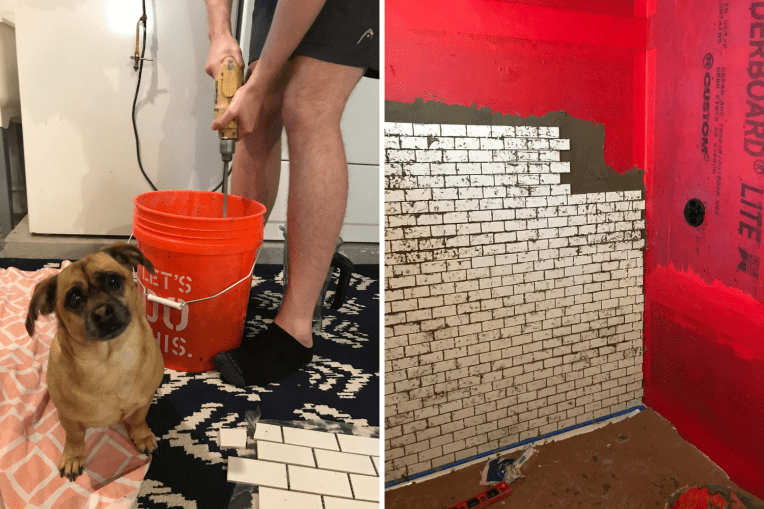
To preface, we did extensive research and YouTube how-to video watching and there were definitely a few steps that these DIYers seemed to leave out of their tiling videos that sort of killed us, from a timing and extra work perspective. Also – a lot of DIYers were using individual tiles vs. the sheets, so I couldn’t gauge if we needed to do anything special or not!
What I Wish We Would’ve Known
(1) Over Estimating Tile Purchase by 10% – Soooo this was something I’d seen on the inter webs, but not something we accounted for – this involved us having to run out and buy a couple more boxes of tile, while we were mid-way in the tiling game. This meant extra money we weren’t planning on spending. Not to mention a few of the boxes we’d purchased included broken tile sheets – so we were able to exchange/return others we worked with. We also hadn’t accounted for ceiling tile – so this was something we also had to pick out and purchase while we were prepping for this project.


 For our pantry makeover – I ended up painting the entire inside, this is one of the few spaces that lingering green from the previous owners – and although I’m a fan of some color, I love what white paint does to a space, especially a small one! Since this space is not the greatest constructed – I didn’t want to mess around too much so I stuck with aesthetics and just updated the existing layout & pieces. Here is the evolution off the de-greening.
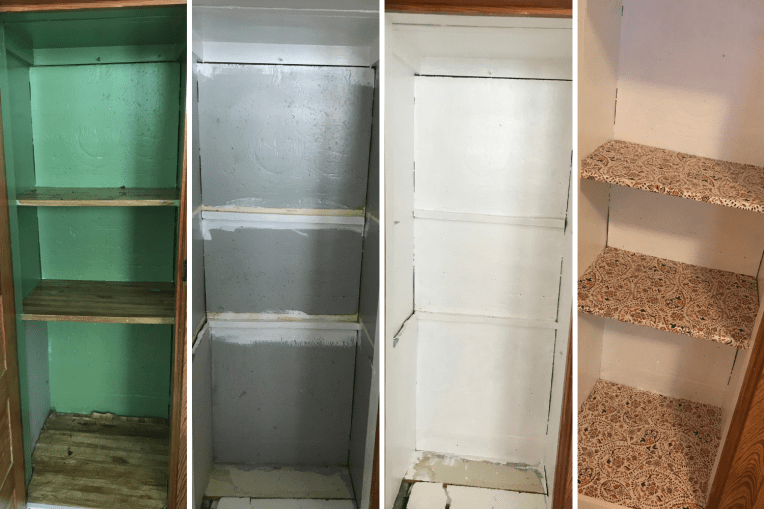
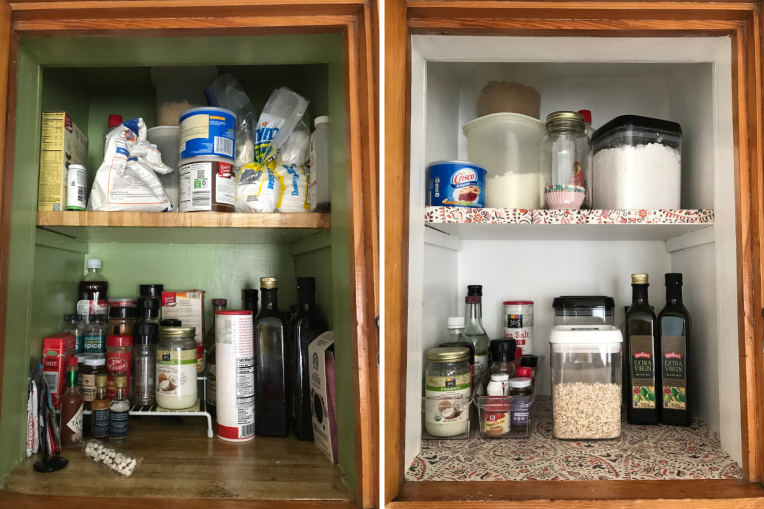
 The other benefit of cleaning up the pantry was I ended up organizing and consolidating some things like our tin-foil, plastic wrap and sandwich bags into a hanger on the pantry door which basically freed up an entire drawer in our kitchen! So the organizing, consolidating and purging spread out beyond the pantry which actually gave us room for things. With using up leftover paint we had, and buying some organizers and the leftover wallpaper I spent about $60 for a small thing of paint and 10-different organizers. I’m unsure about adding labels, so I may still add a few more fun and functional finishing touches.


 What You’ll Need:
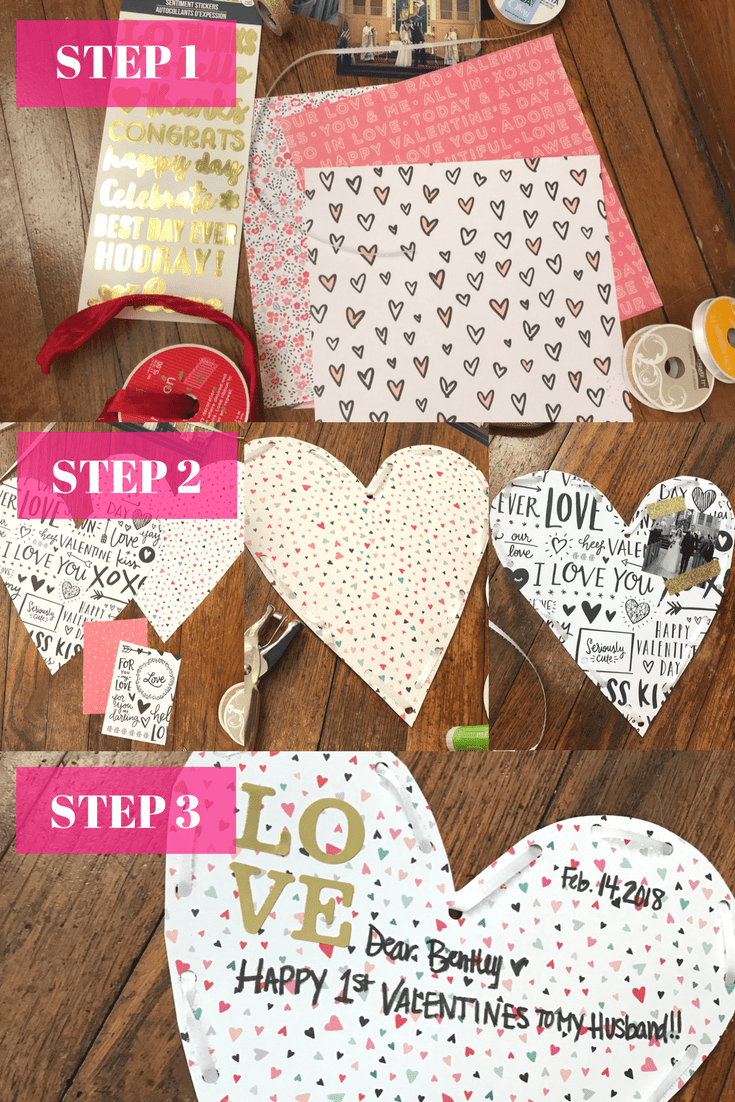 Since I am an avid scrapbooker, I had a lot of these supplies in-house stocked away. But scrapbook paper is usually on sale for 7 for $1; ribbon is around $3.99 a roll, stickers can add up if you buy a bunch; but finding some that can be used as accents won’t break the bank. Not to mention you can always find a great coupon to help. If you stock up now, you’ll have a mini stockpile ready for next year, woo!


")
")
")
