
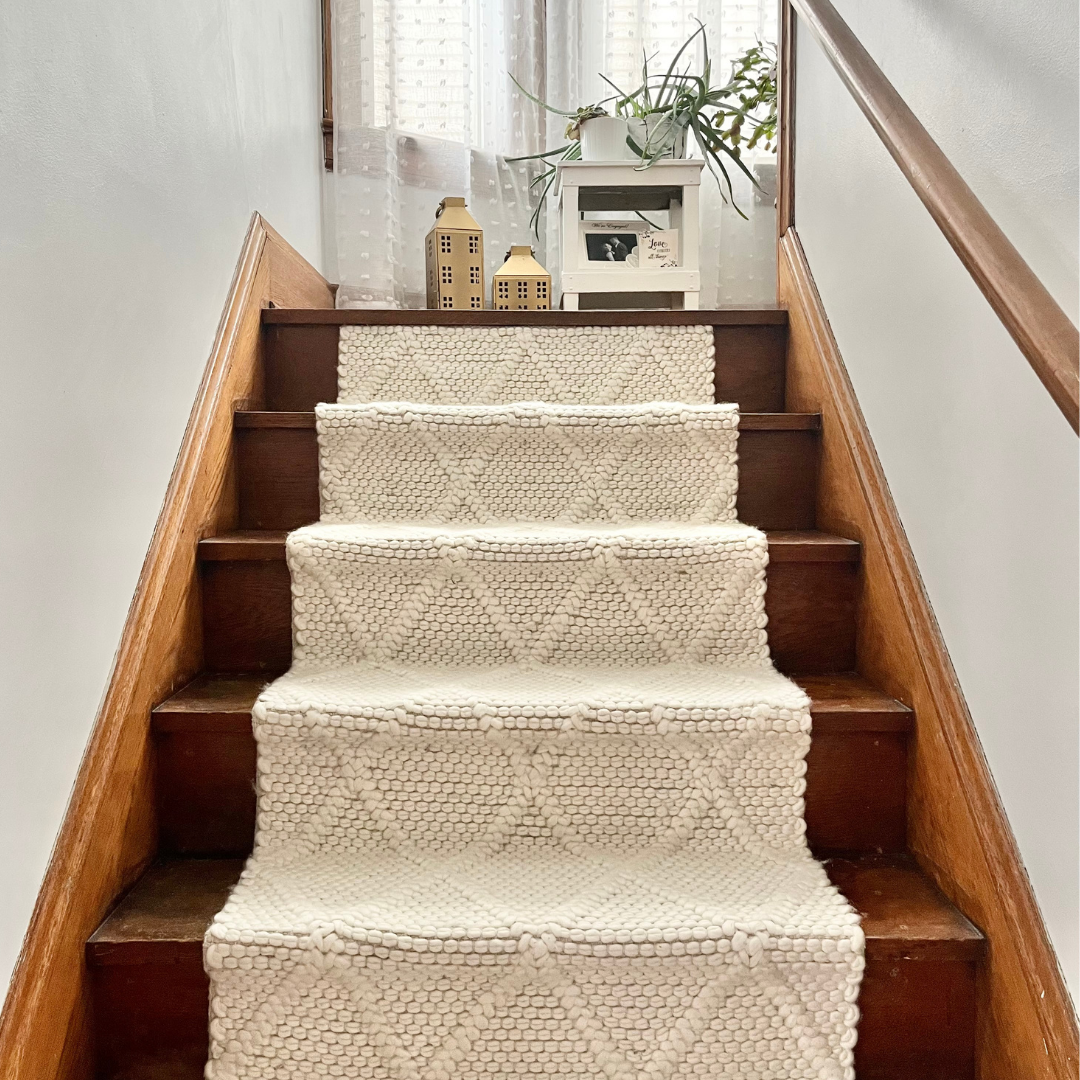
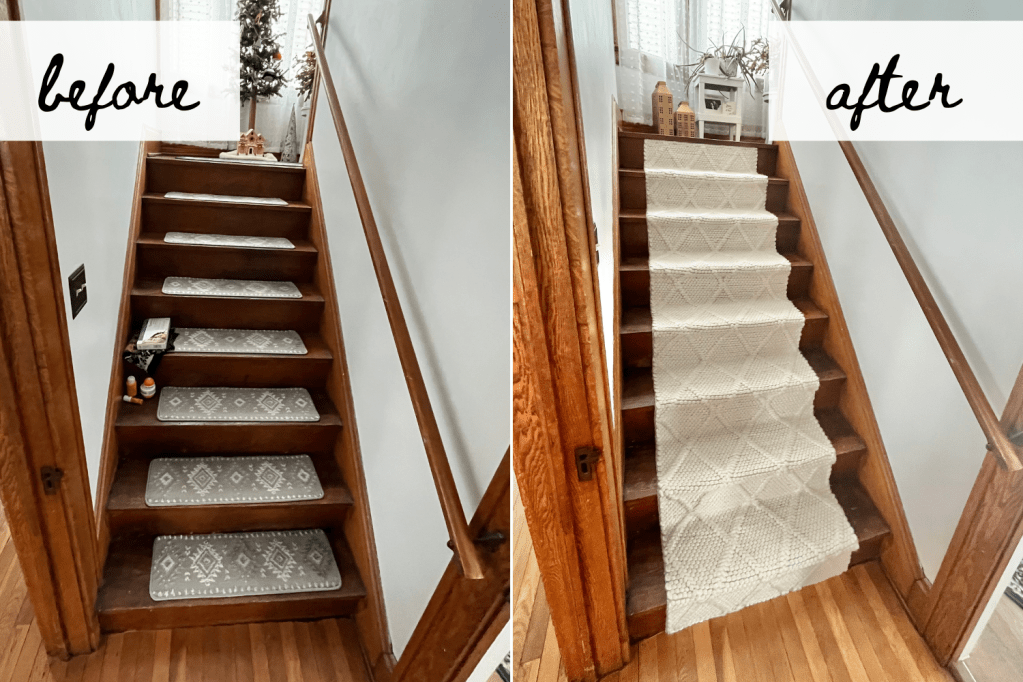
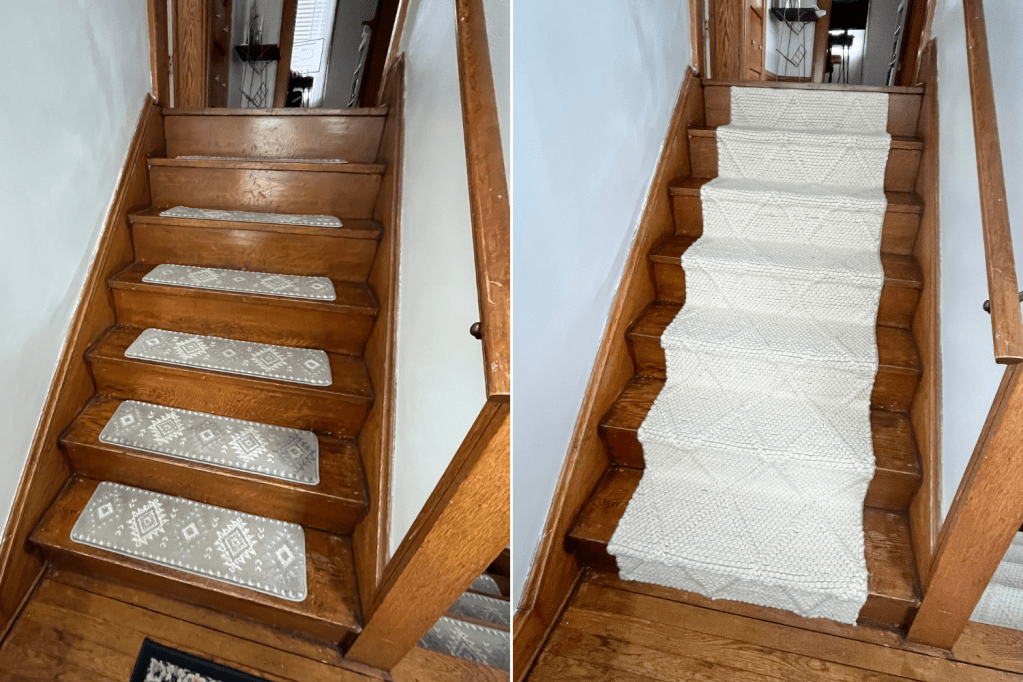
Our first project of the year is complete! After being sick most of January, we finally had enough energy to conquer this project which was a quick 3-hour project with a huge impact. After seeing Peony and Honey’s stair runner makeover, the wheels were spinning, but nothing started to move. It wasn’t until we put our removable stair treads back on our bare wooden steps that I was not loving the look anymore! So I did a little extra research, found some runner options, and pitched the idea to B.
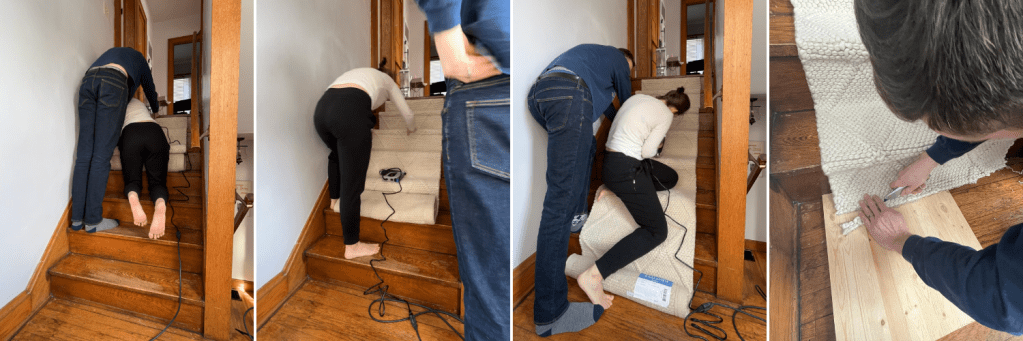
We had a two-tiered staircase with a larger landing with bay windows going up to our second floor. So there was some debate about how to treat the landing – which may still be coming, but for now is going to be bare wood floors. Regardless, we needed to get two runners for our project to account for the two runs. We figured out our length needed by measuring the stair height and tread and then multiplying it by the number of steps to get our total length in feet. Oh! And this is definitely a two-person job if anything to help keep the carpet tight while the other staples in place.
DIY Shopping List:
– Runners according to your measure length – we ordered a 2x10ft and a 2x12ft rug
– Electric Staple Gun
– Staples
– Pliers
– Exacto Knife
I was honestly hoping this project would be a little more affordable, but we ended up picking out runners that were more expensive, which drove the majority of the budget. The runners are definitely more plush, which was good for hiding the staples. This one couple, which was part of my research did theirs for $100 – so it’s definitely possible to do this on the cheaper end with some more affordable rugs and different nailing tools. This DIY project was around $360 for us.
Before we got started, I vacuumed and washed the steps with Murphy’s Oil Soap to make sure they were super clean (& dry) before we put the runners on. After all of our construction, they definitely needed it! The smaller of the two stairs took us a little over an hour to get the runner on, and then larger steps, closer to 2-hours because it was a little bigger and these are the main stairs you see from the first floor.
Step-by-Step:
1. First you start at the top of your stair, with the flat end of the rug – make sure it’s centered within your stair with equal length on either side before stapling into place. Stapling along the sides of the rug and top is key to getting it secure!
2. Make sure it’s tight, as you work into both back of your stair to fold over top on the stair topper.
3. Once you get to the first ledge, it’s important to fold over and staple along the length to keep it in place and tight! Ours was tricky because it was very plush, so finding the sweet spot in between the plush was crucial to getting a tight and secure staple in.
4. Basically rinse and repeat down your stairs! You definitely get the hang of it after the first couple of stairs.
5. Once you get to the bottom, get an exacto knife to cut your leftover rug. We put a piece of wood underneath as to not damage our flooring and get a good straight cut across. Using heat along the cut edge will help from fraying – I suggest a heat gun. (We ended up cutting a little longer, and folding under to avoid the fraying).
6. Afterwards, I went back and replaced any staples that were super noticeable, or hid them by adjusting the rug with pliers ever so gently. I also went and reinforced any sides and areas that moved more than I liked.
B and I love how this turned out – and it is definitely an upgrade! As I mentioned, we may add a runner to the landing that matches or update the landing rug on the second floor to match this as well for a little more cohesion. I also feel like we need some new curtains for the bay windows… *immediately opens the Target app*.


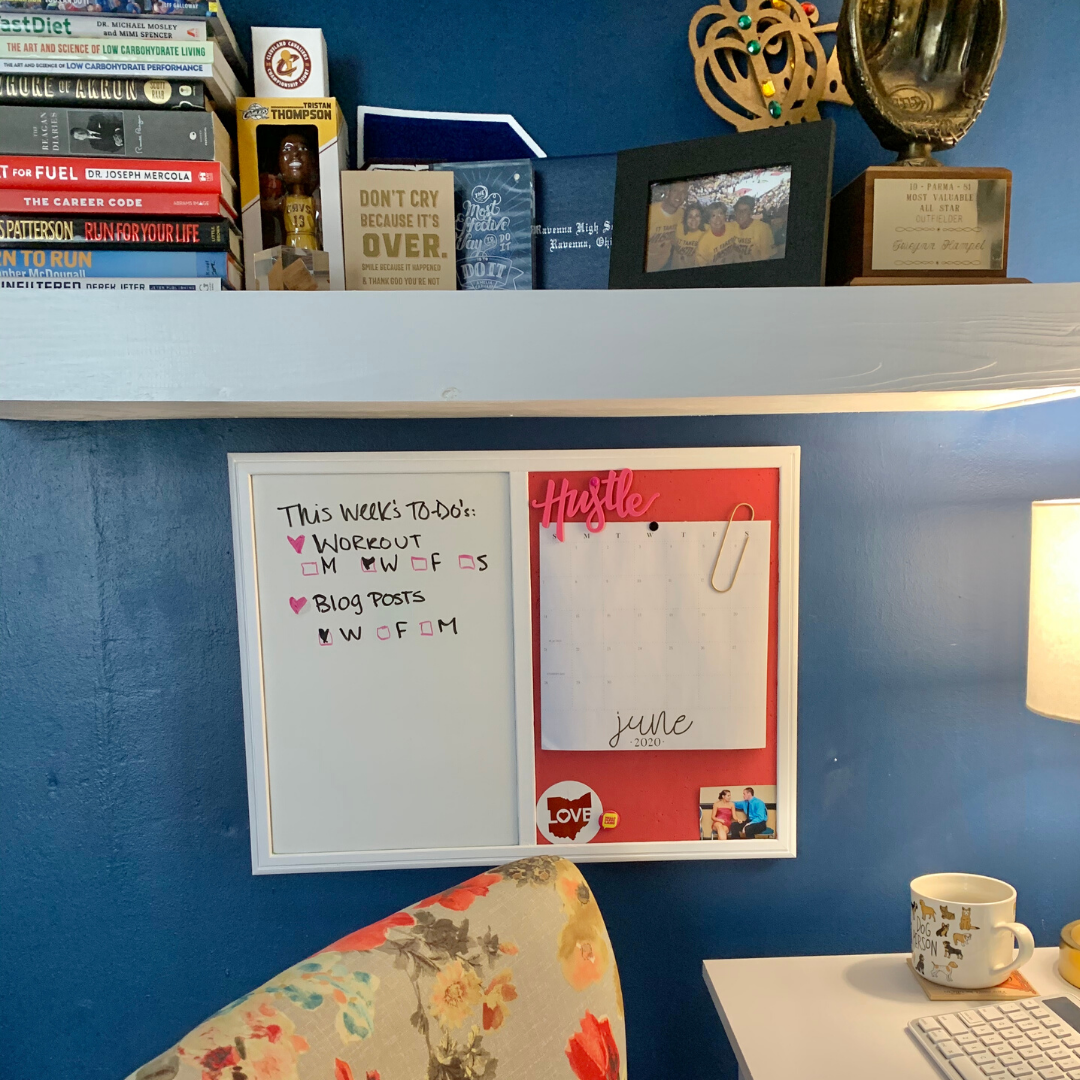 The best part was I was able to cover up my high school doodles that have lived on for over a decade *cringes a little* and give the dated wood grain a fresh and affordable update with the craft and paint supplies we already had. It just required a few coats of paint and a little patiences.
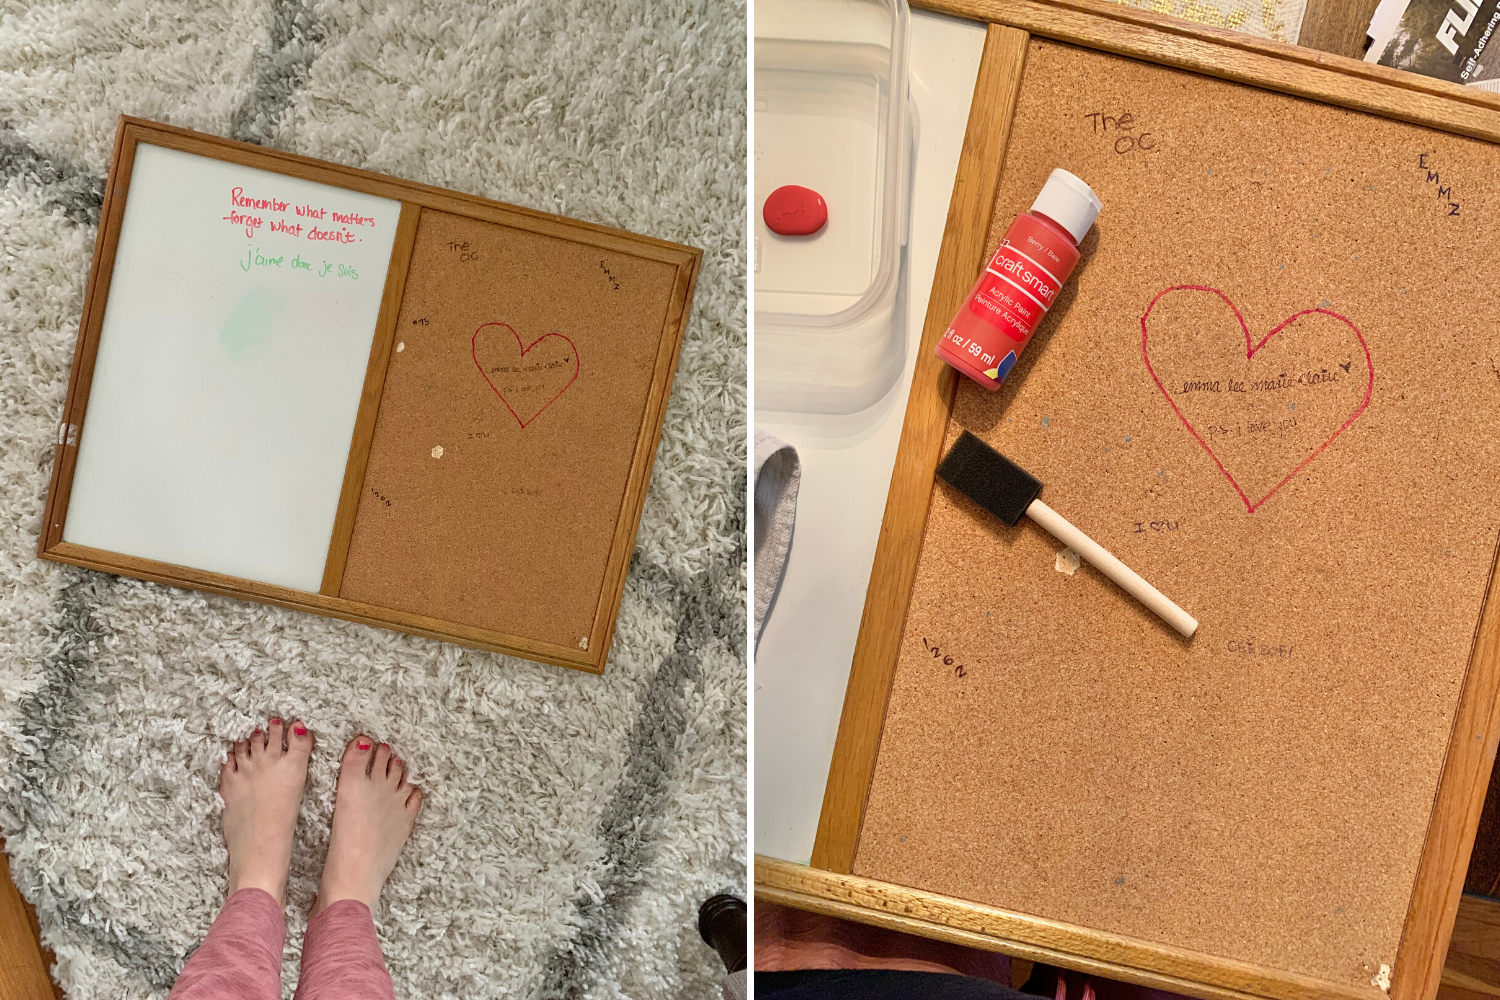 Step-by-Step:
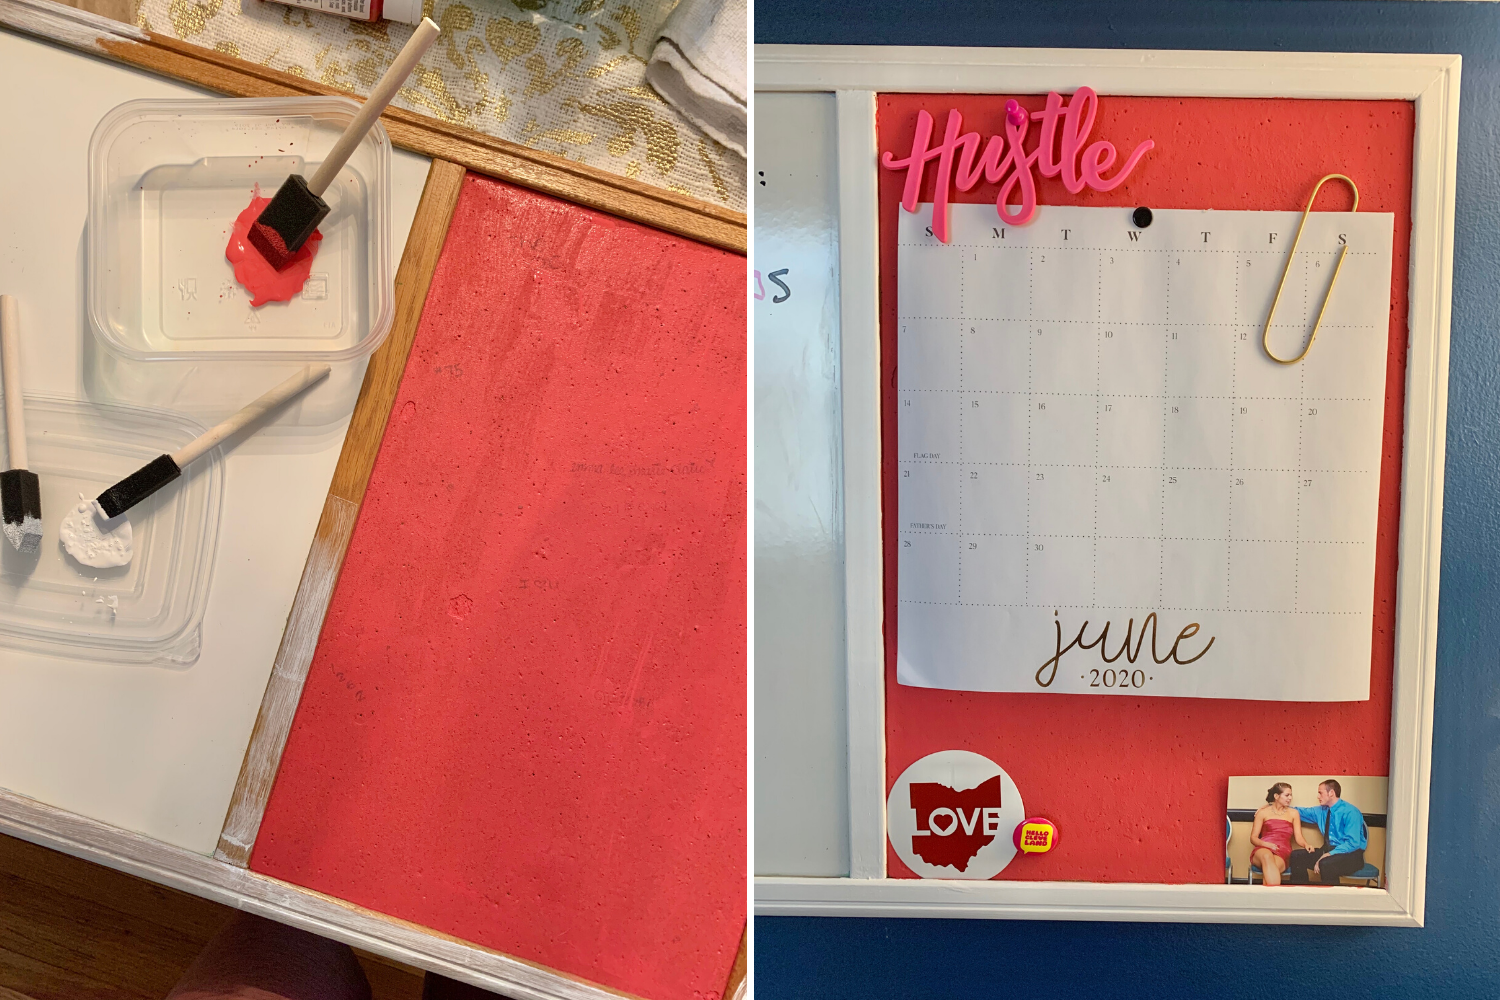

 Craft Supplies:

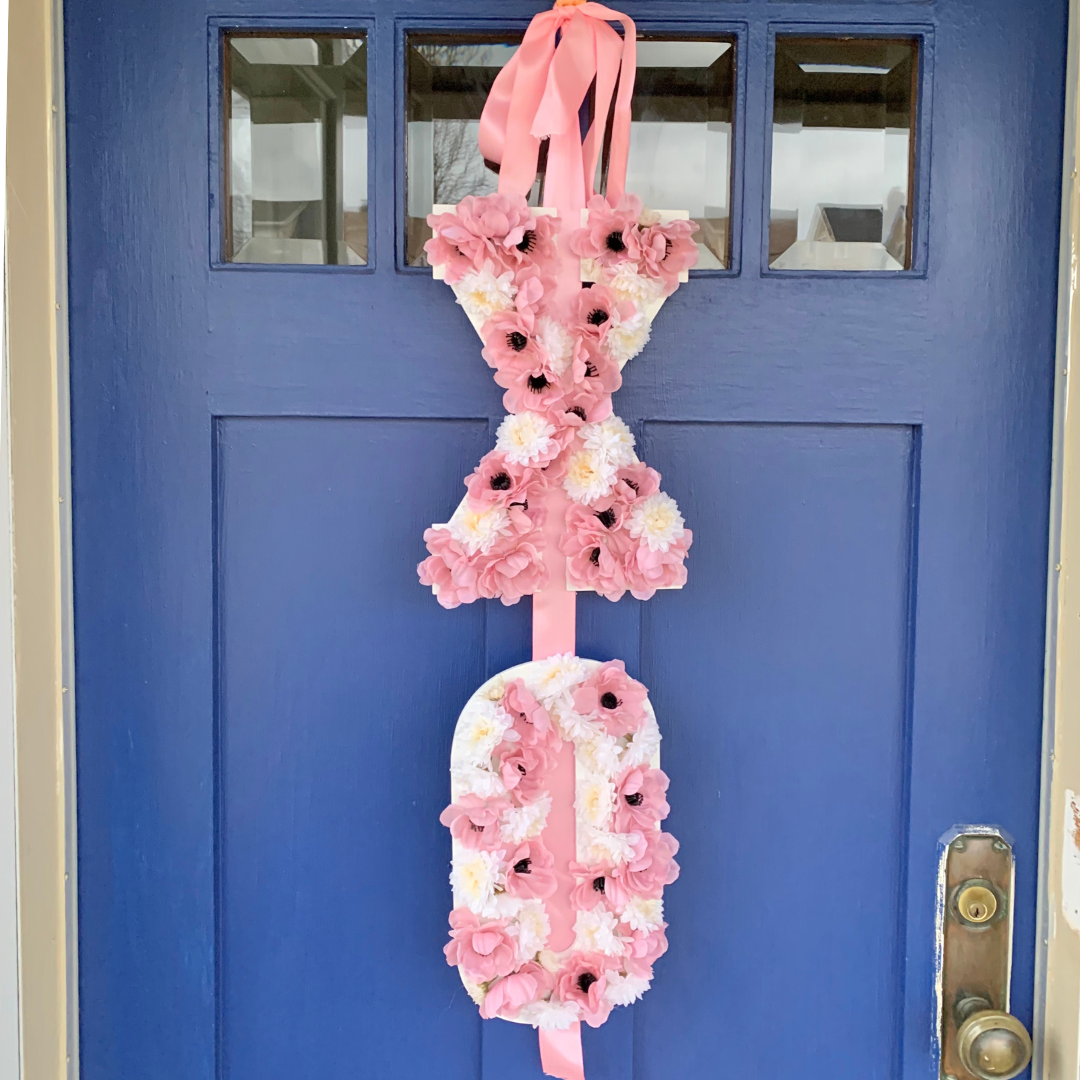
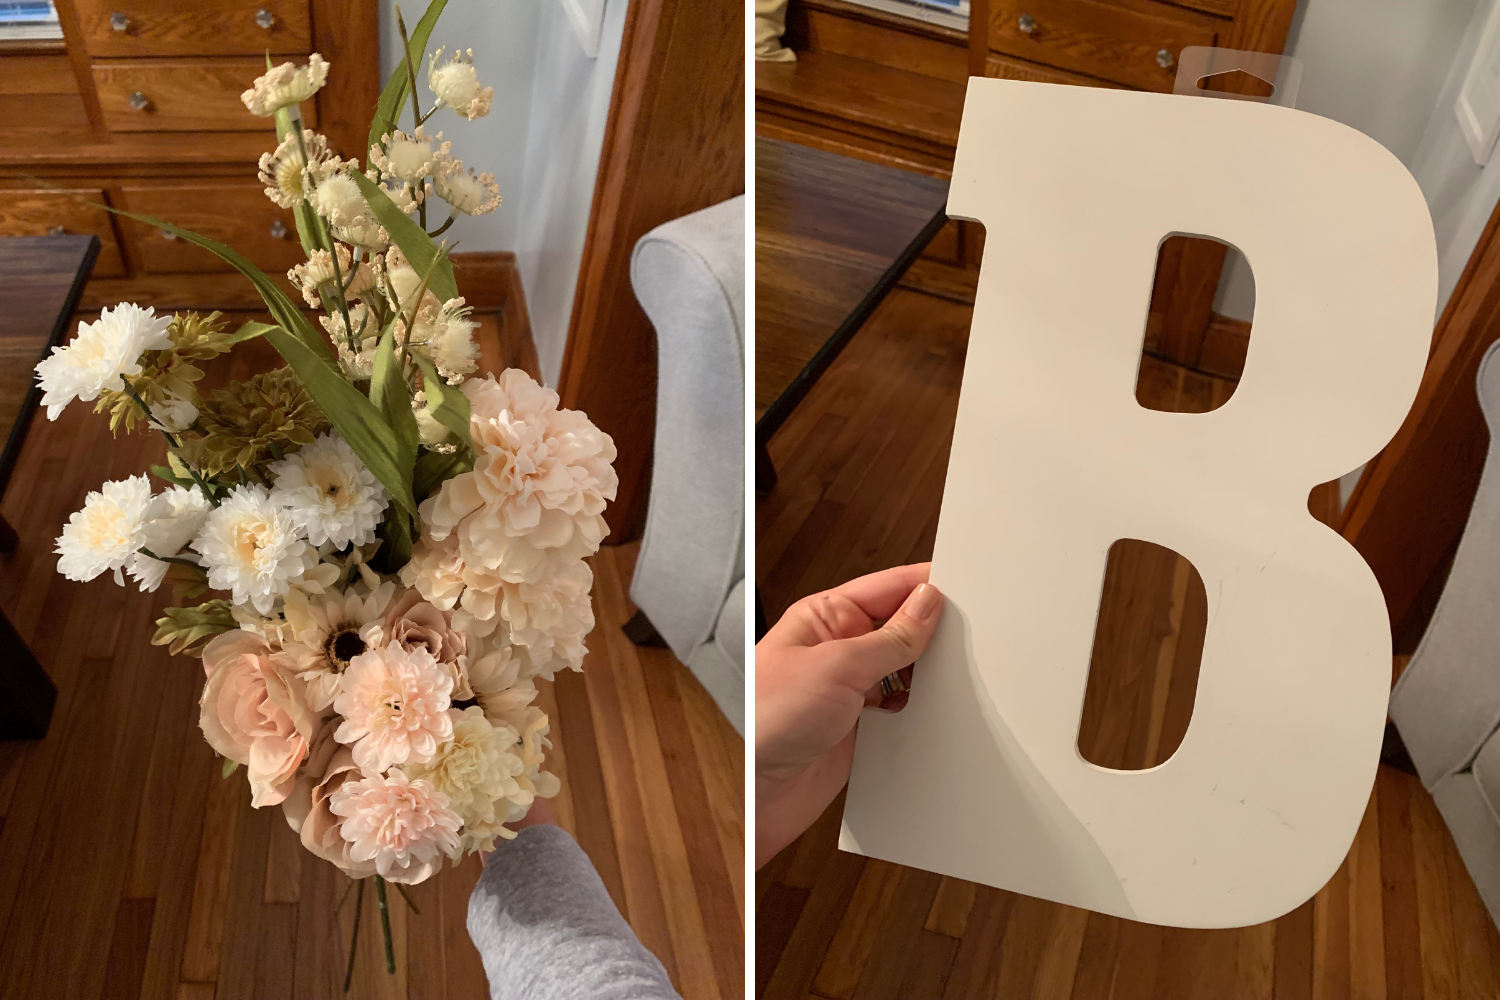
 Ok! Here is what you’ll need to get started, in addition to a step-by-step guide to filling in your letters with florals and then securing for a stunning statement piece for your front door!
")
")
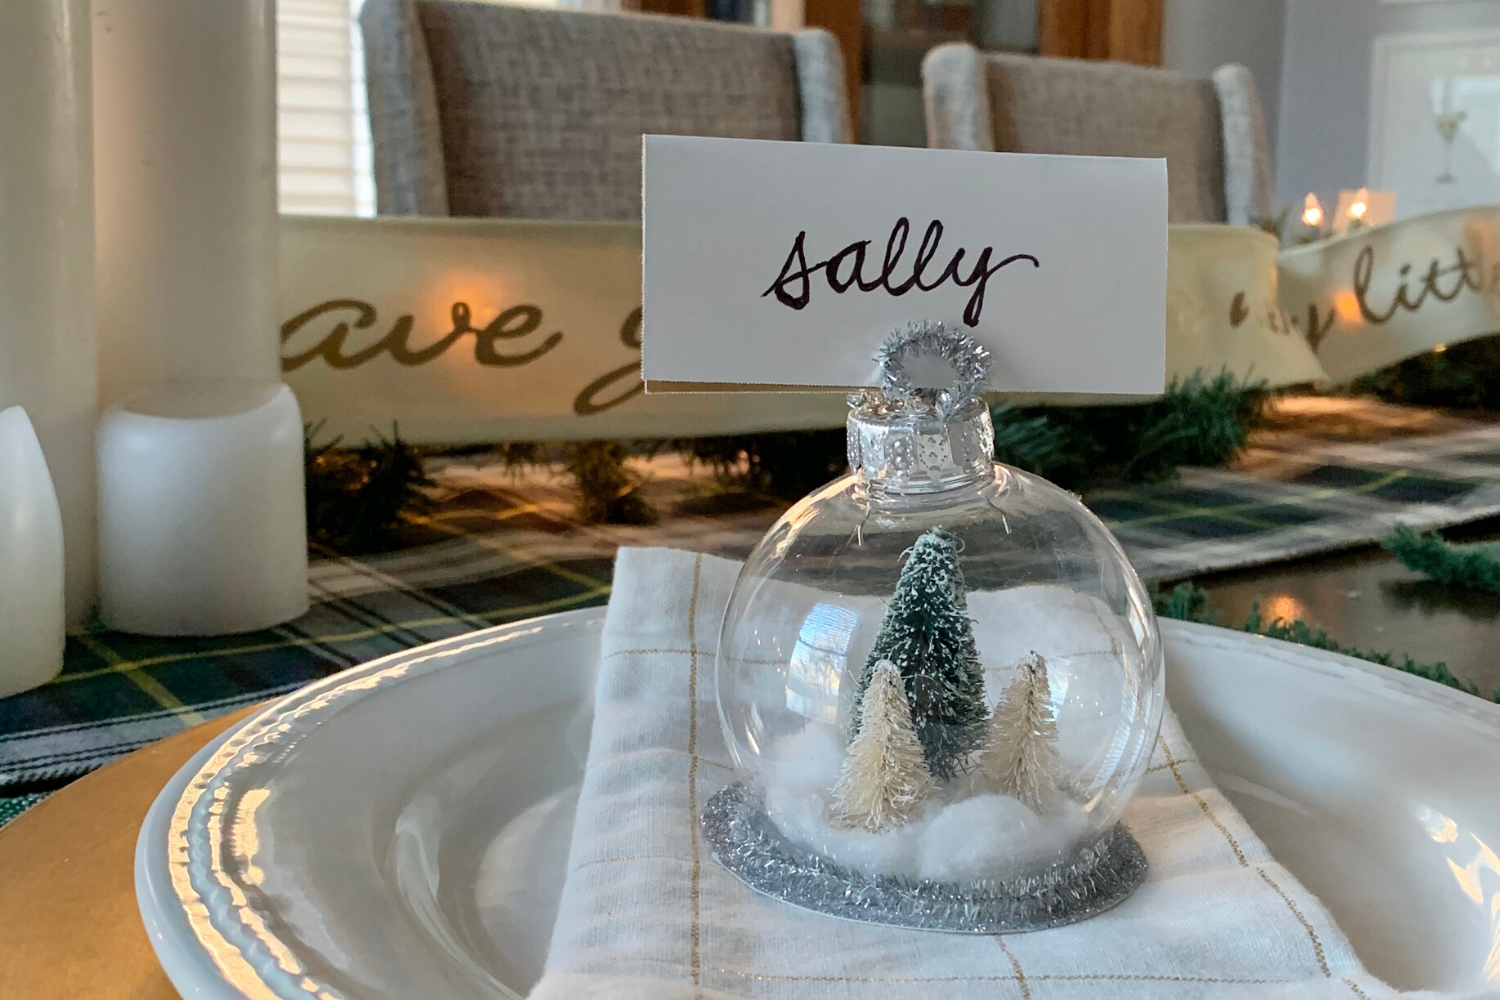
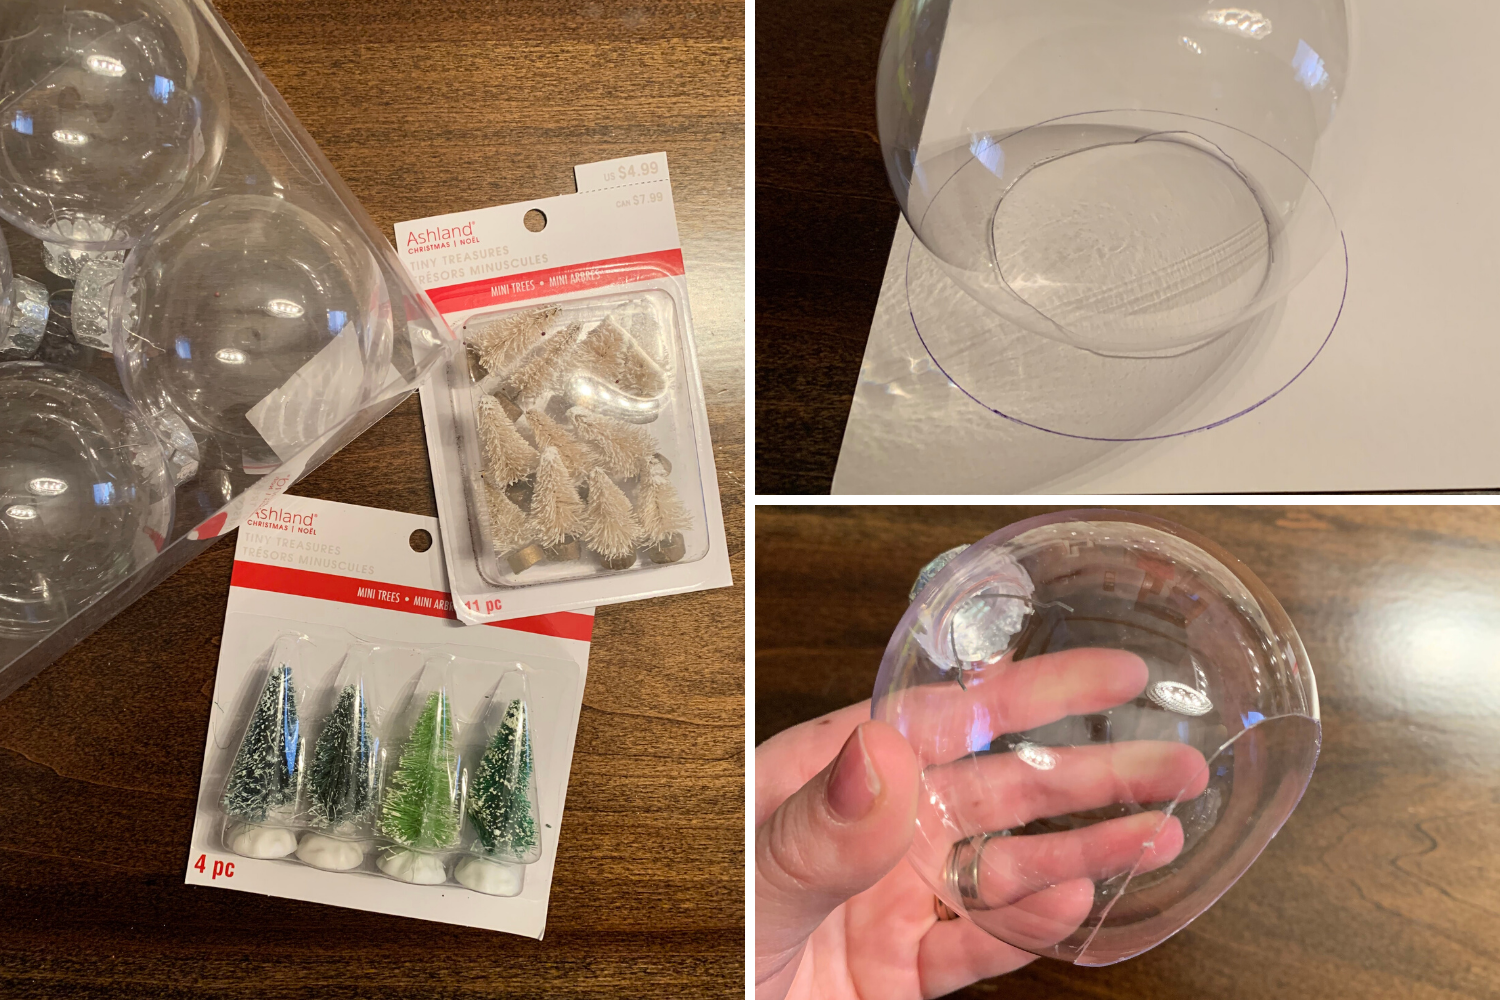 2. Woo! We have our openings, so now it’s time to cut our our bases and start planning our wintry scene. I used thicker card stock, that I ended up painting and putting glitter on — I would highly recommend buying
 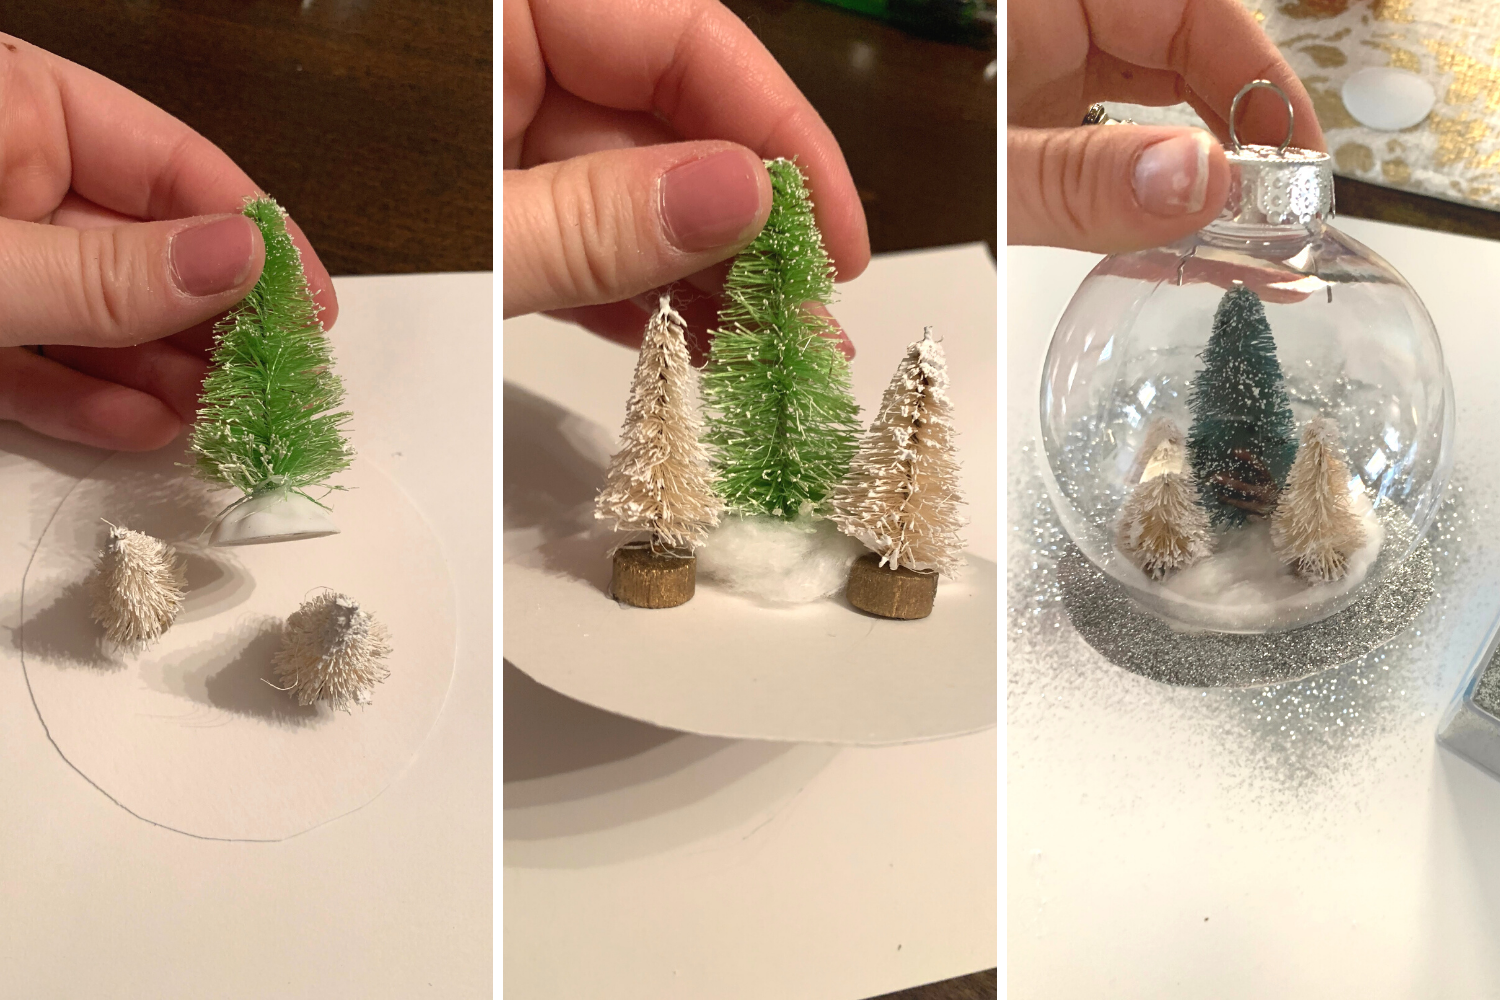 5. Now, depending on if you bought glitter paper or not, this step may not be needed. Using mod podge glue I painted the top of the white paper bases and then covered in silver glitter over a paper plate to catch the excess. I had to touch up a few spots once the glue dried and I dumped the remaining glitter off to see emptier spots. If you bought glitter paper, you are 10-steps ahead of me!
")
")
beelifeblog")
beelifeblog")
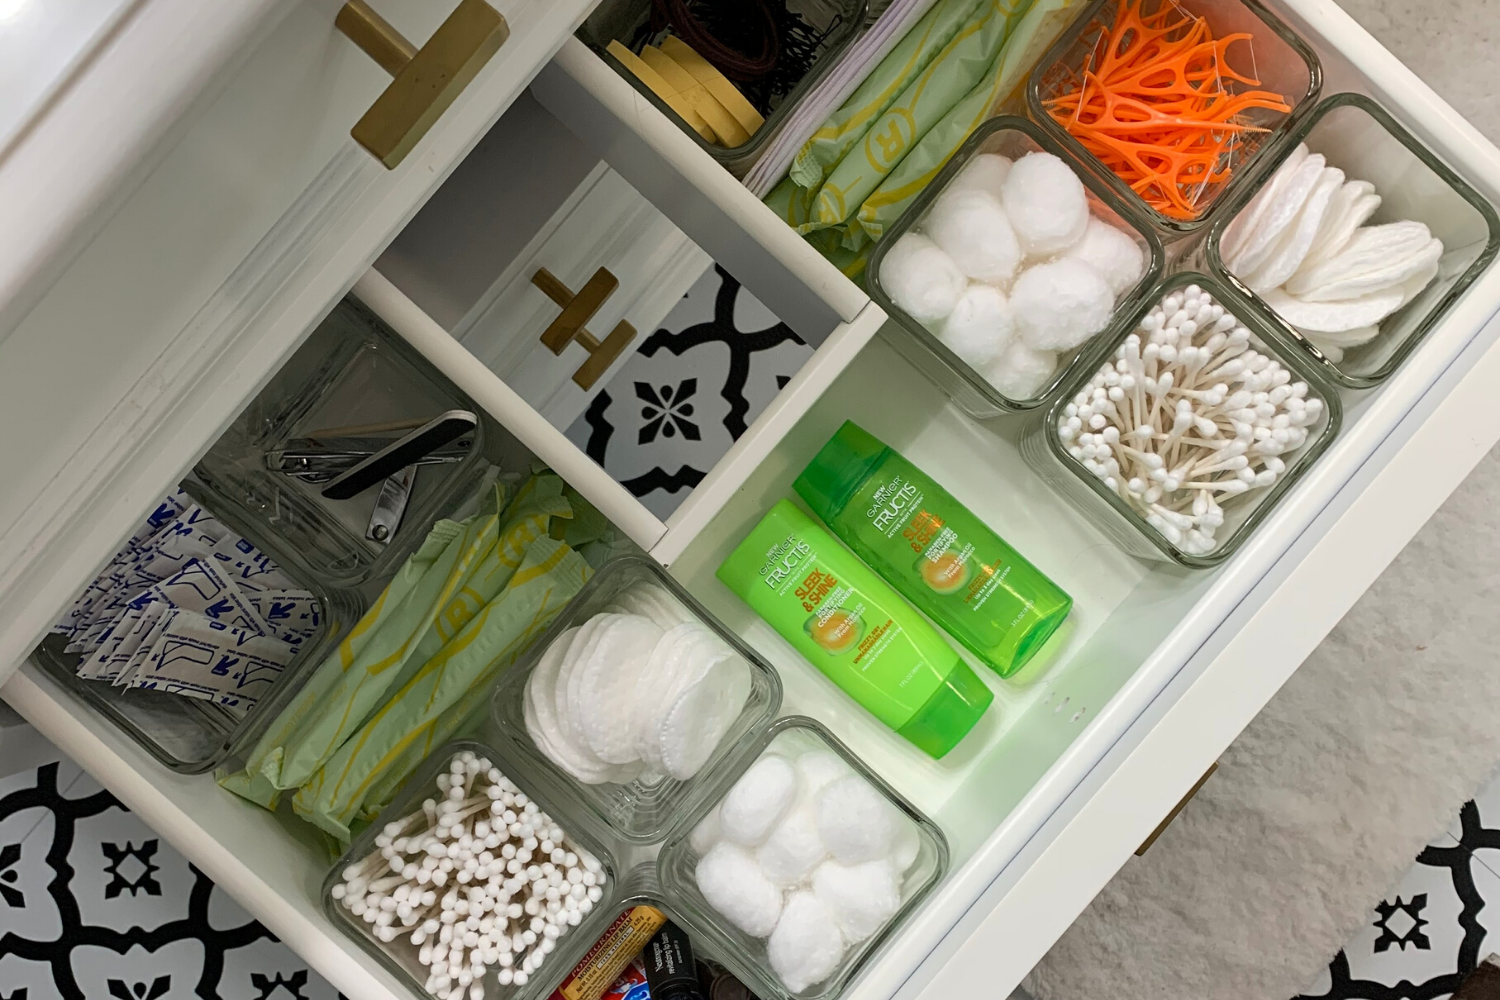
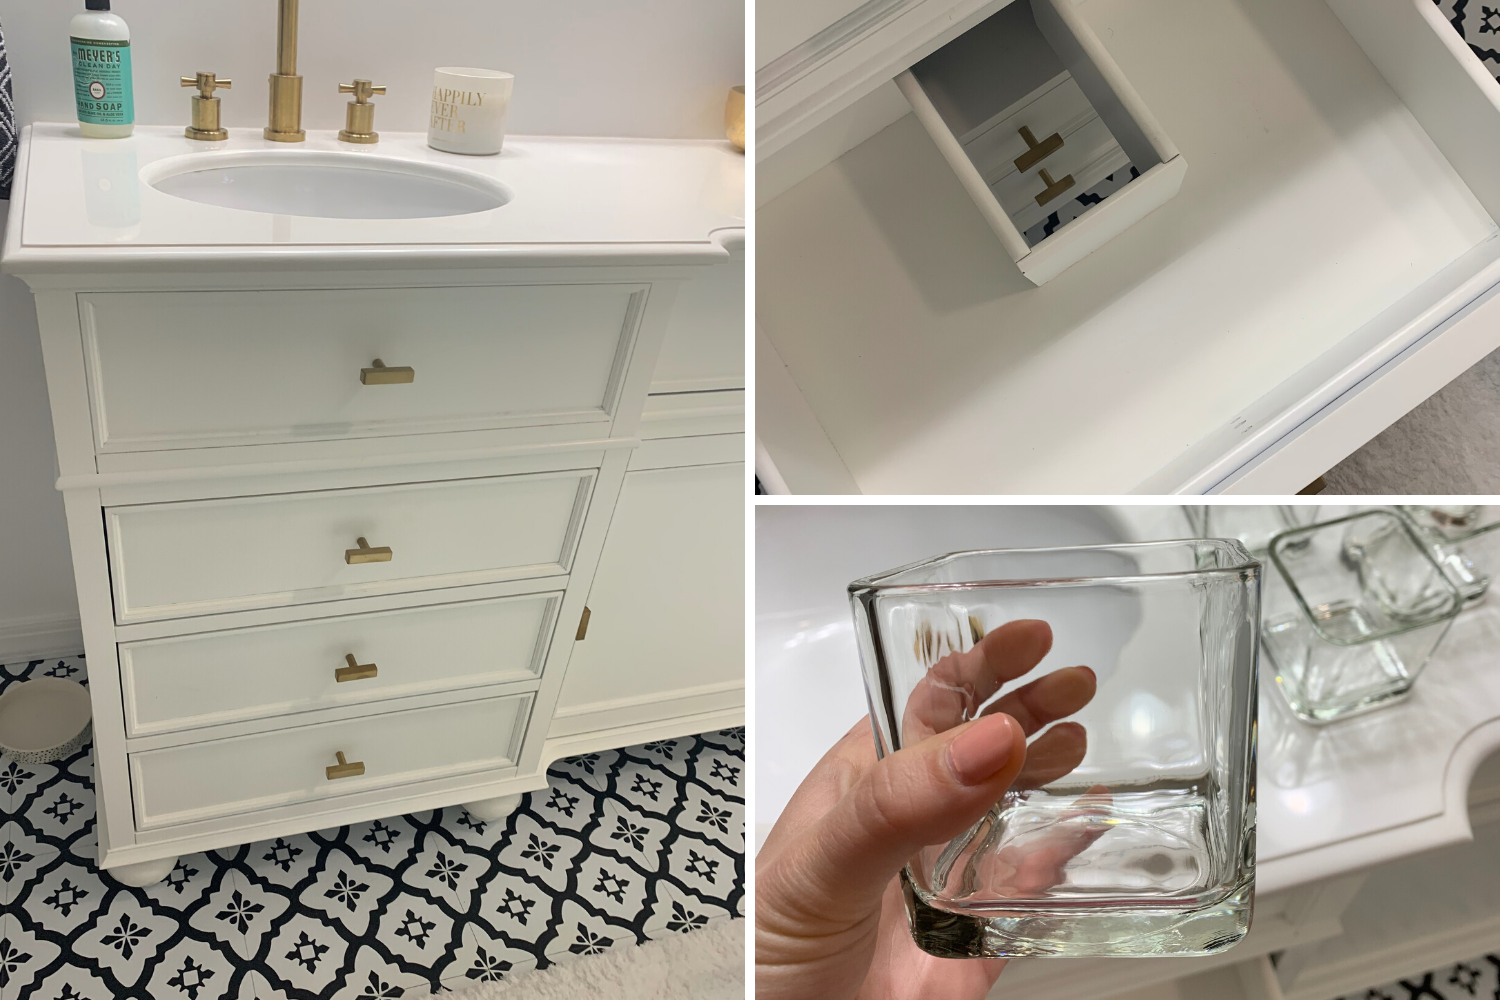
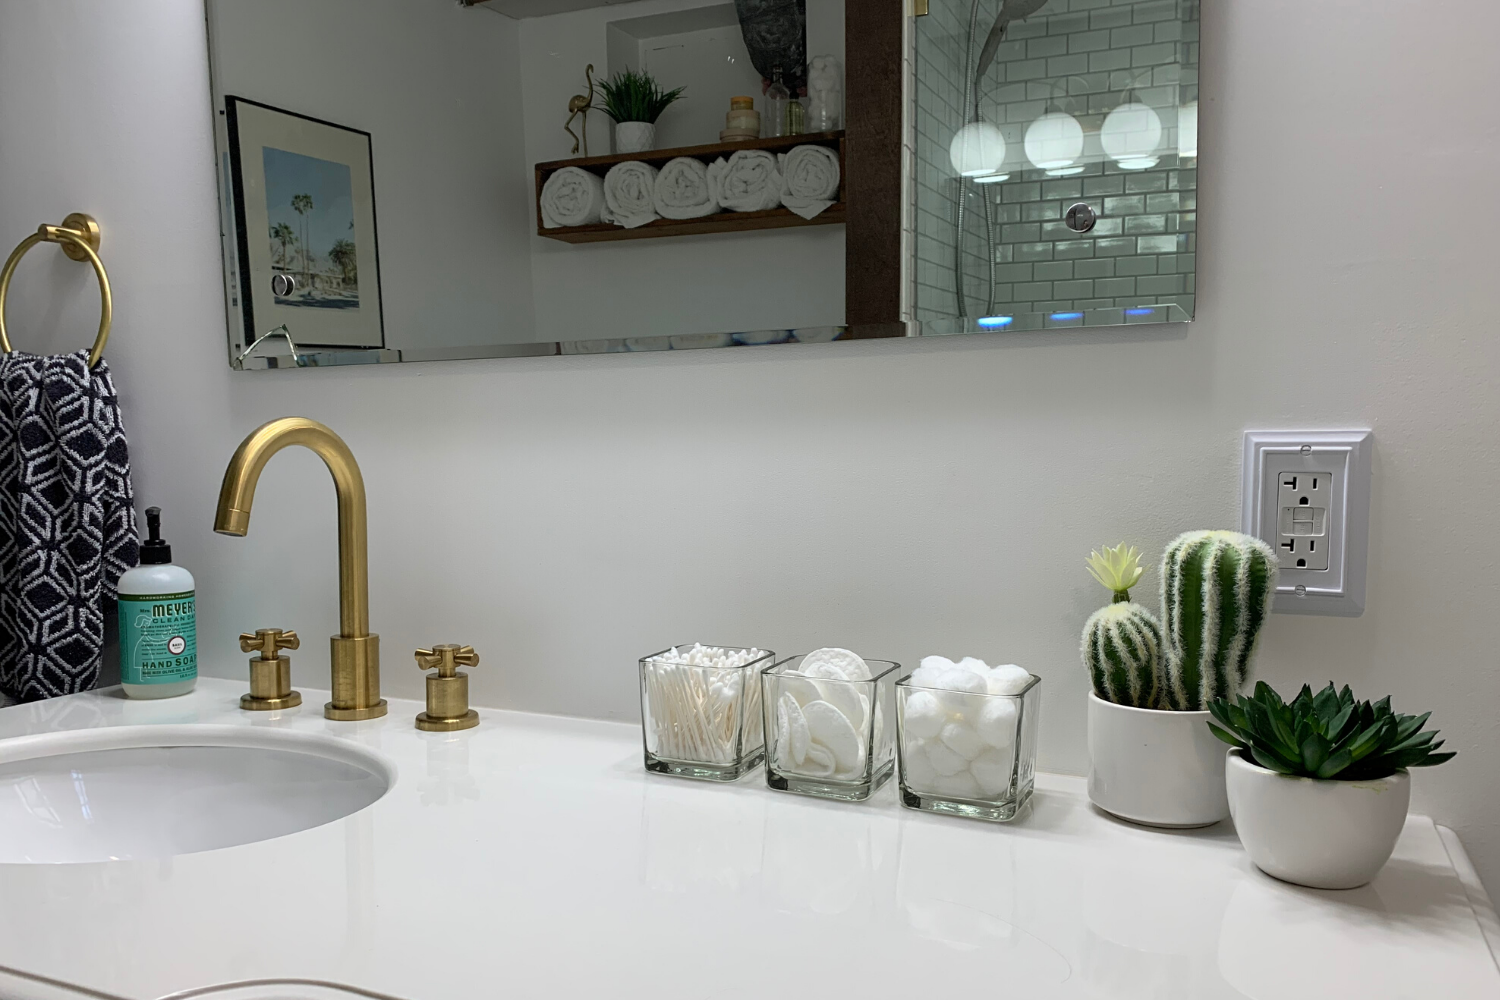 I’m not used to having so much space to fill up, especially in my bathroom! But I love how this came together and is nicely organized while also having options for guests while the essentials for us — another drawer is completely full of toilet paper, but I still have a few more drawers that have extra space for more towels and other bathroom essentials!
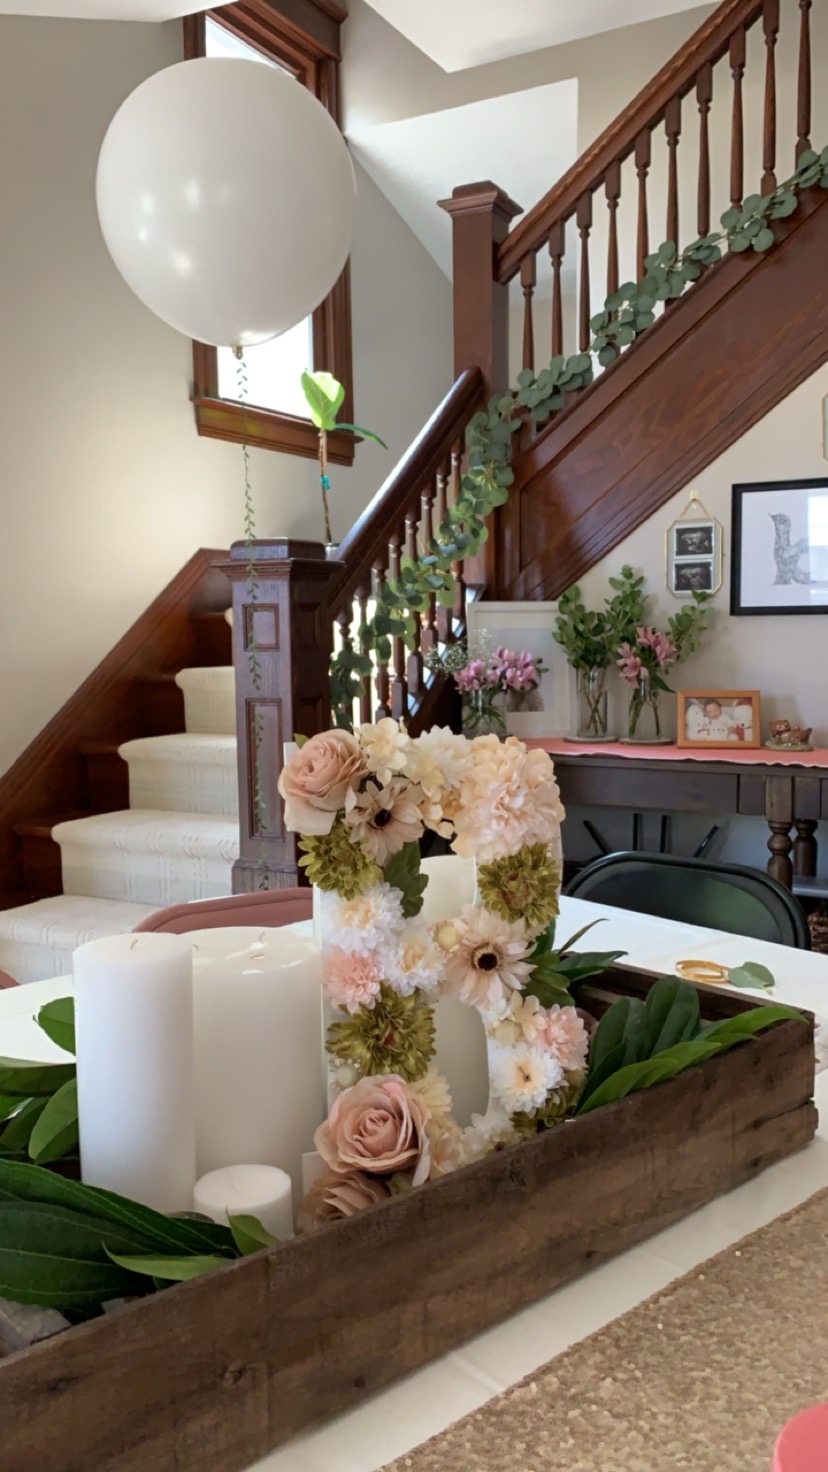

")
")
