
Are you ready for a swoon worthy before and after?! As I mentioned in my last latest obsessions post, I’ve been gearing up for another fun before and after and getting my office closet organized, as it was in a dire state. This space is one of the most utilized closets in the house, besides our clothes closets. As it’s my go-to closet for craft supplies, scrapbooking essentials, seasonal decor and other office items – so it’s used a lot, and needed more shelving!
The Issue. I would have to unload multiple containers to get the one I needed, it was a pain in the butt and NOT functional. We also had a filing cabinet that was conveniently stored, as it was a bit of an eye sore, but also took up a lot of space and left for awkward openings for the rest of the storage containers.
In general, there was just an overall lack of shelving — B had previously installed a white shelf at the top which helped immensely at the time, but just wasn’t enough. I also had a few larger tubs that took up a lot of space and held a lot of things, with this being a smaller, crammed closet – these larger tubs didn’t help. Check out the before pictures…
")
")
The Solution. I needed more shelves! I knew I could add in a few shelves in the nook area to the left, but didn’t want to close off complete access to those. One solution was to add in long shelves the entire length all the way down, but felt that would still cause for some unpacking to access other things.
I needed the nook shelves to be accessible, while still having full storage across the entire space of the closet. I looked at a few different nicer storage and shelving units, but the sizes weren’t quite right or were too tall with the existing shelf already in place. So I opted for my trust cube storage, but looking for a larger 8-cube piece from Target and then some other white shelves from Lowe’s that would allow for customization and cutting. I got a 48″ white laminate shelf that I cut for my larger shelf, and a 23.8″ white laminate shelf that I cut in two for the nook area and utilized these shelf brackets to hold in place.
The final solution was also downsizing in a lot of the storage containers and also getting rid of that big, bulky filing cabinet – it had to go!
")
")
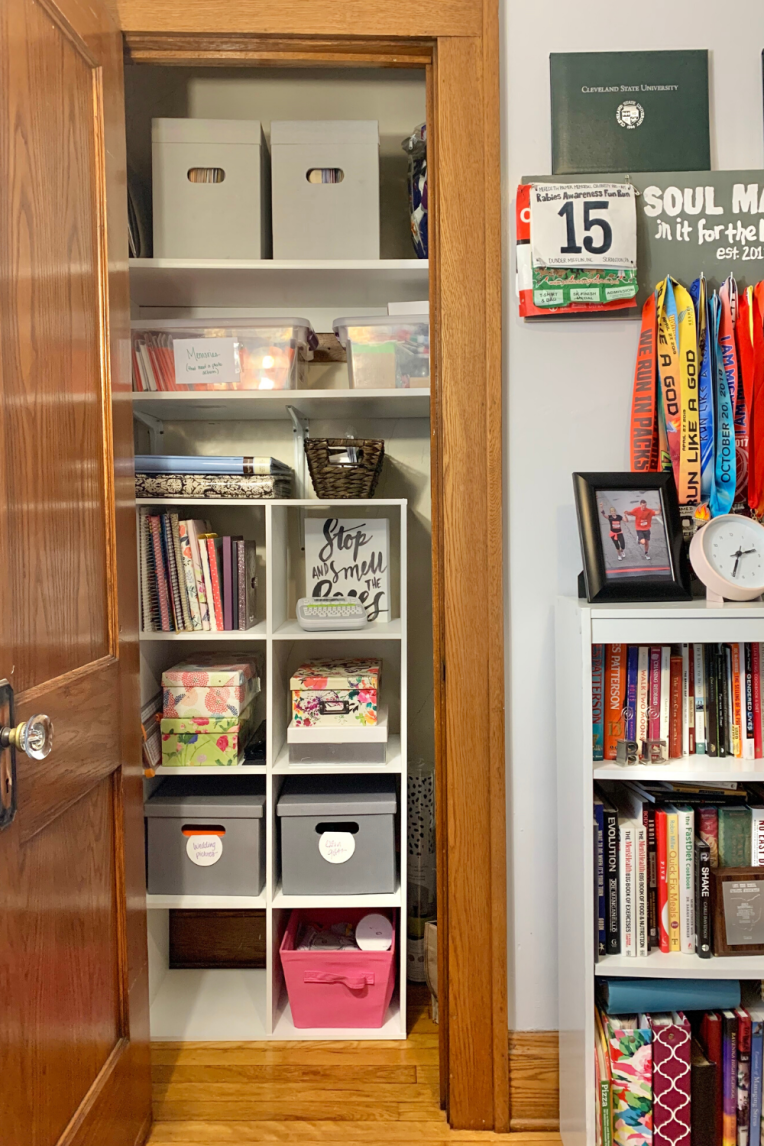
Final Organizing. The filing cabinet was easy to nix and opened up so much space — but I did still need some storage solutions that were function to hold on to some files. I found these fabric gray filing boxes and bought two of them to see how far that would get us in the consolidation process! They worked out perfect and were just what we needed, and they look great in the space.
I also moved some of the larger tubs that contained seasonal decor, down into our basement with the rest of my decorations so they’re all in one space. From there downsized my craft supplies into smaller boxes and containers and labeled them. This has been much over due, and will be so helpful with crafting and putting away!
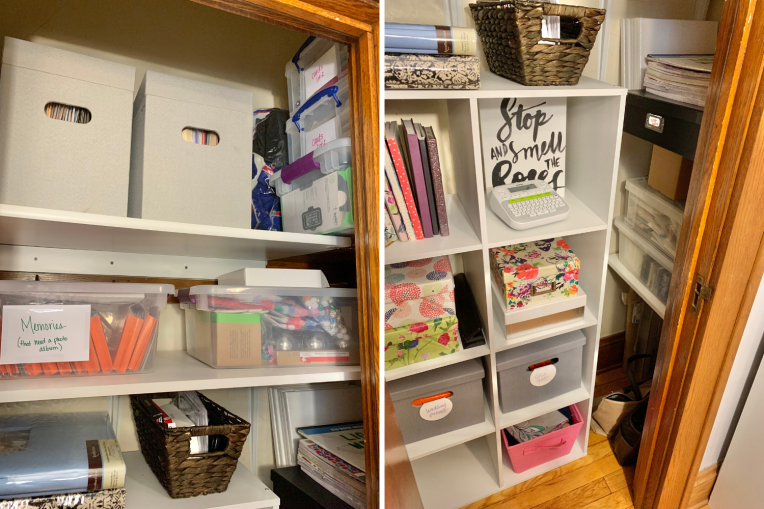
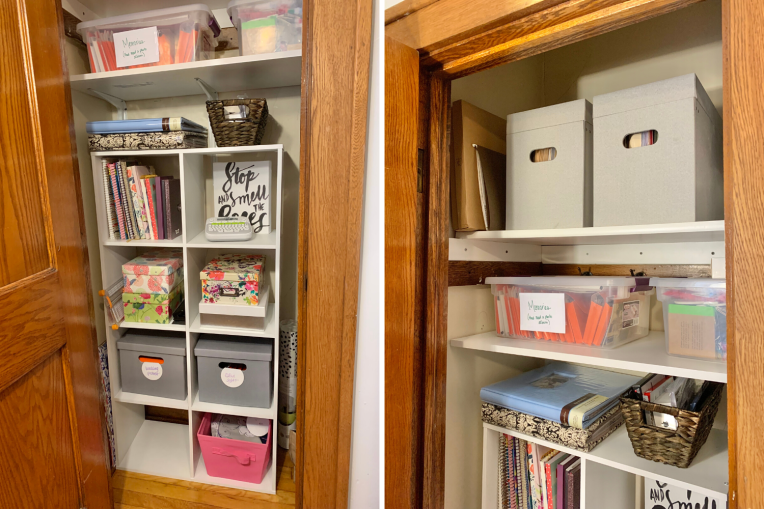
This space was instantly transformed with this new storage which ultimately allowed me to customize for my needs, for this space. I spent about $125 on the new shelves, supplies and fabric boxes and I just love how it turned out! Eventually I’d love to get all matching storage containers and boxes — but I used old boxes and baskets that I had since the all matching wasn’t in the budget and I had a lot of containers that weren’t being fully utilized.
Questions? Thoughts? Leave a comment below!

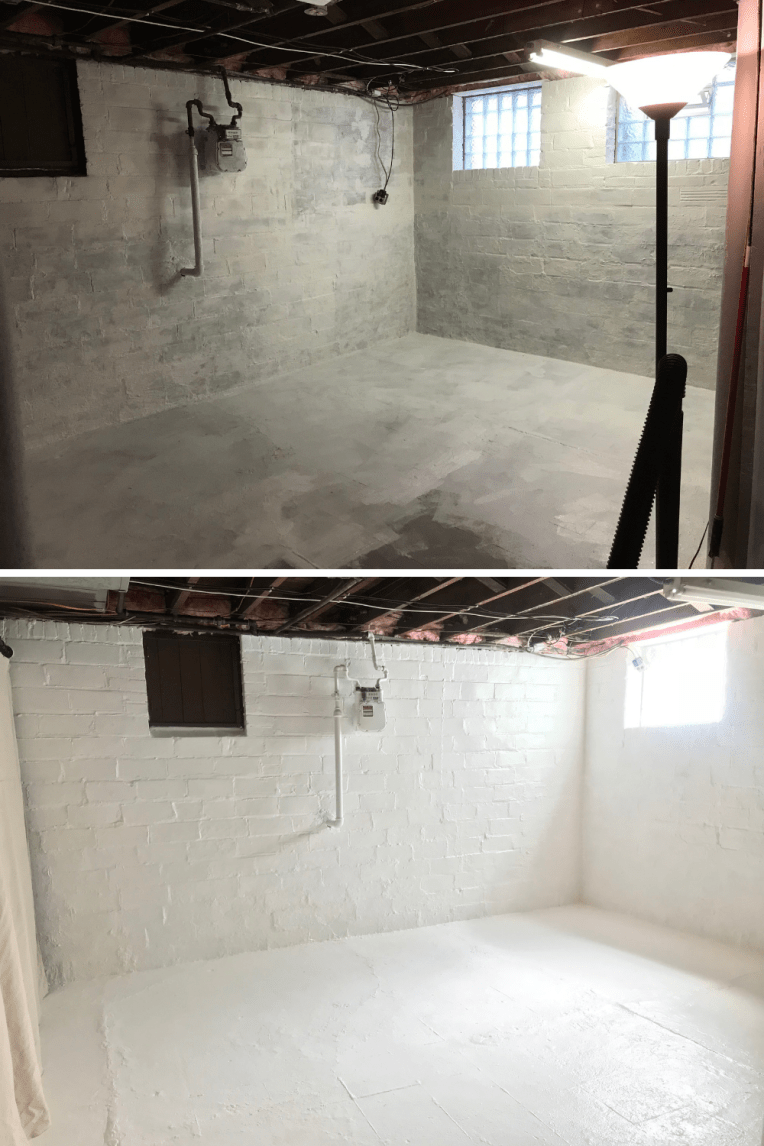 Painting & Waterproofing: This was super fun, not! *tongue out face* … in order to properly prep the space we had to do a lot of scrapping, sanding and getting the exterior walls ready for the waterproofing paint. This was dusty, tiring and time intensive – but we wanted to make sure we were doing this right! Once the wall was prepped – we started painting with the thick waterproofing paint – I think we ended up doing at least 2-coats, and then painted with normal paint overtop the waterproofing paint. We even painted the floor! So we had a completely white space – the paint alone made our basement look 10x bigger!
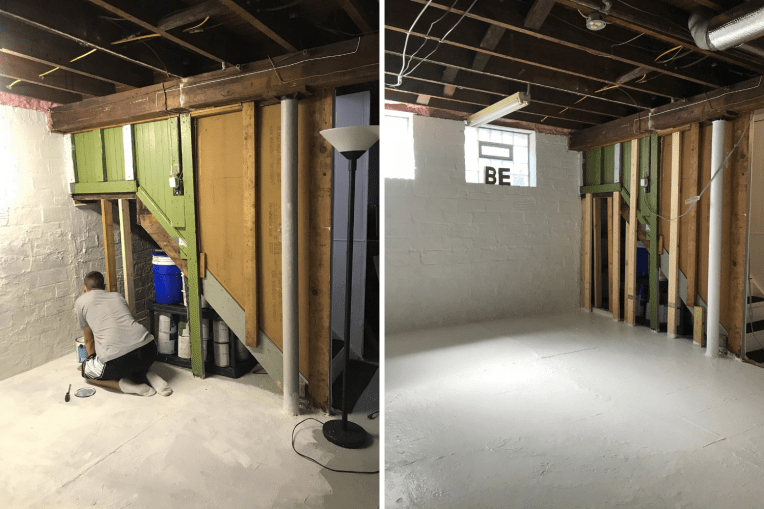

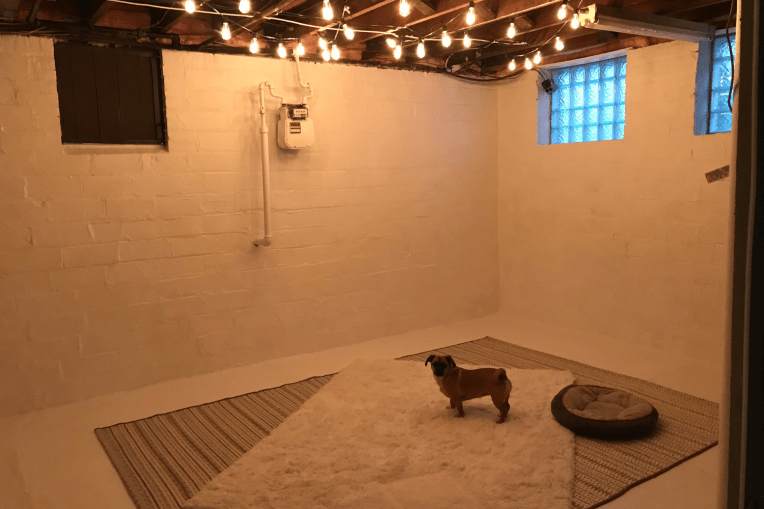 I can’t wait to show the finished space with you soon – with custom art and other
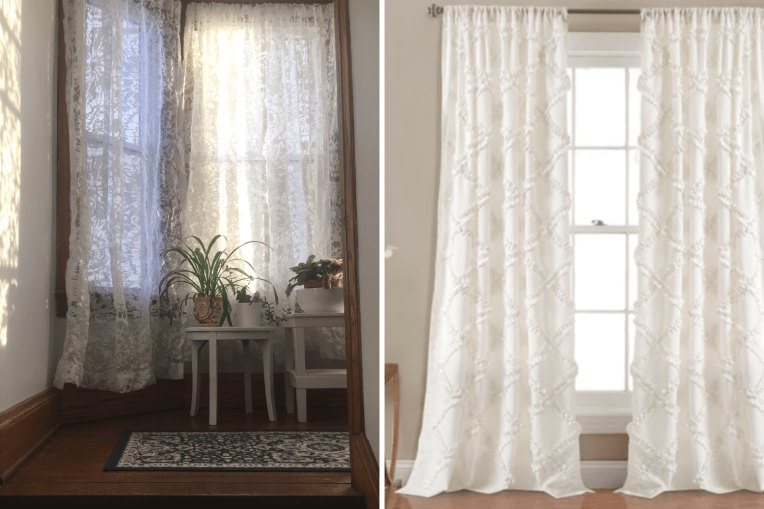 Front Coat Closet. After updating
  We’ve been working through some other projects like our bathroom remodel, which was moving quickly but now we’re just waiting to gear back up on it for finishing touches – which I use very lightly! In between, I’ve been decluttering and better organizing these commonly used spaces around the house. Beyond planning for house projects, we’re starting to plan for trips this year – it’s always important for us to get away, recharge, explore new places and eat some good food!